I got around to painting the calipers over the weekend, went with the black G2 kit so as not to be a poser with my standard brakes.
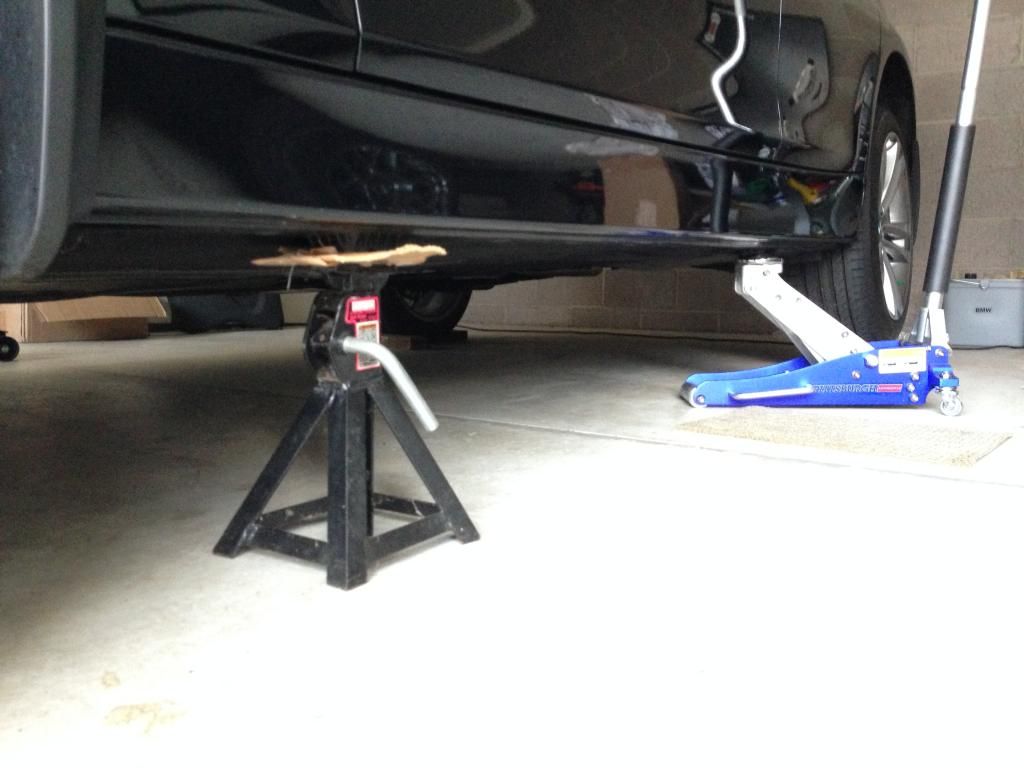
Getting this car onto jack stands was a little nerve-wracking, and I knew it wasn't going to be easy. The underside is ridiculously covered up for aero effect, there is simply nowhere to go for a lift point aside from the plastic boxes.
I didn't want to run out and buy 2 more jack stands so I did the front then the rear, mixing half the G2 kit at a time. I previously ordered a couple of delrin jack point adapters off eBay that worked great, for a fraction of the cost of the (aluminum?) ECS/Burger alternatives. I used those with my floor jack to raise the rear point to where the front point was high enough for my floor jack, into which the plastic square fit nicely lengthwise. I sandwiched a piece of cardboard for good measure. It held up great but is a little scary still, considering it's plastic.
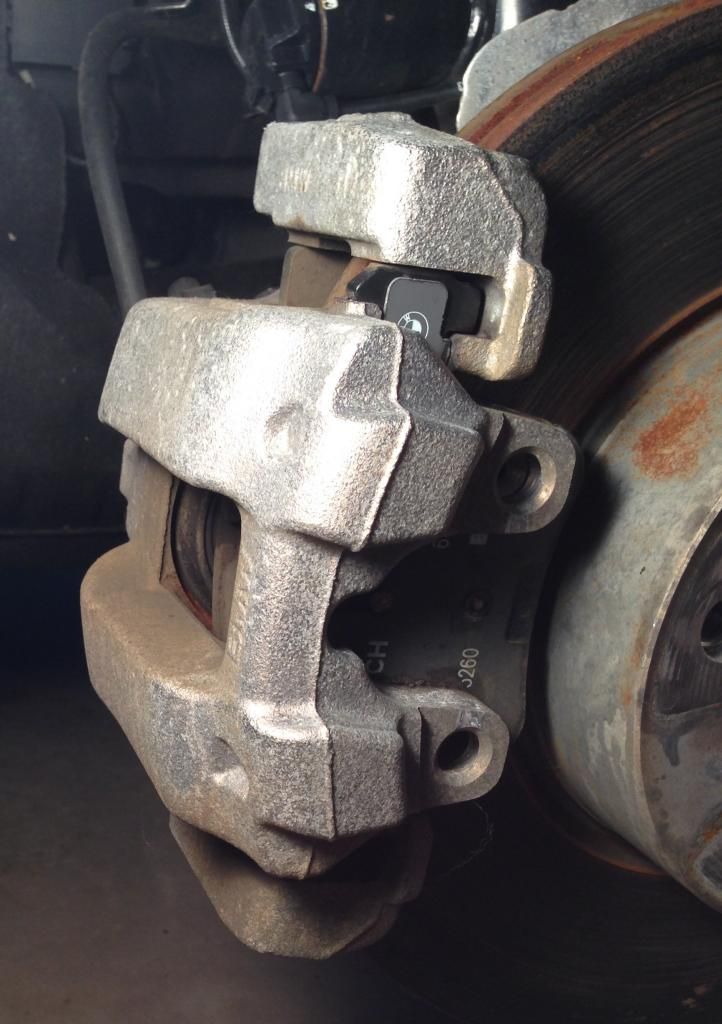
Here's what the front passenger looked like initially, the driver's side was slightly better. I popped off the rattle clips already. Note that the car has 8,000 miles on it at this point:
Not bad but definitely needed to be gone over with a wire brush. Here's the after:
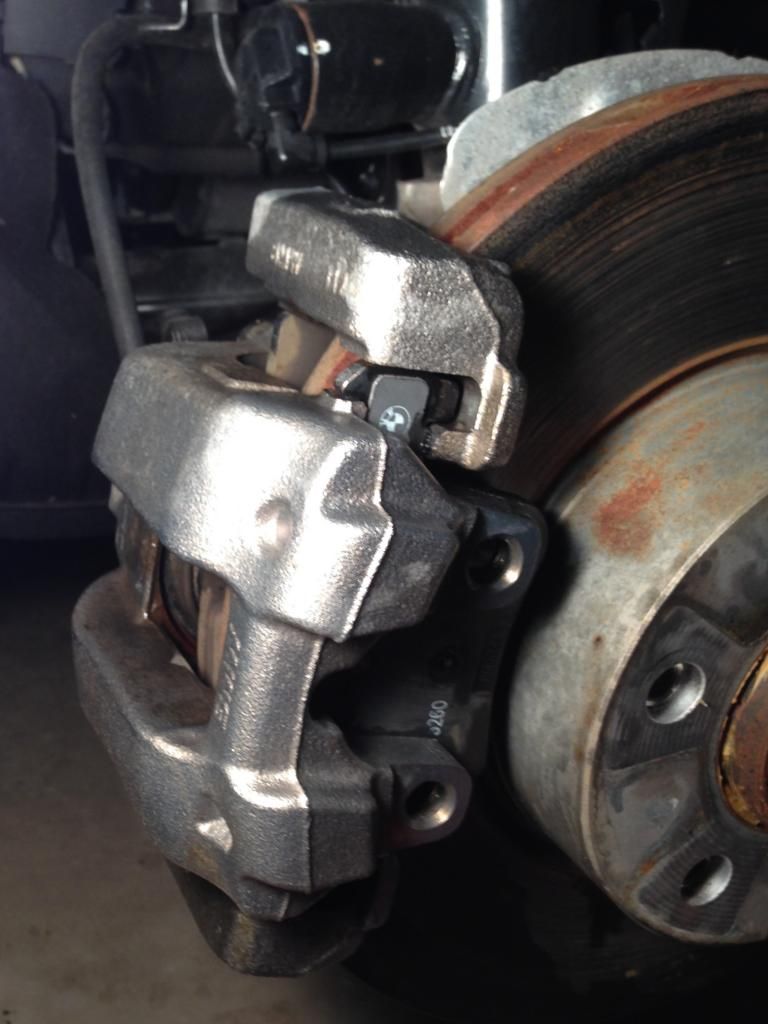
The G2 kit is applied with a brush, so minimal masking is required. I taped off the rotor near the caliper and just used a steady hand elsewhere. Here's the finished caliper:

At this point I decided I should prevent further corrosion of the rotor hats because they already showed some rust, so I went to town masking and sprayed them with plasti-dip that I had lying around:

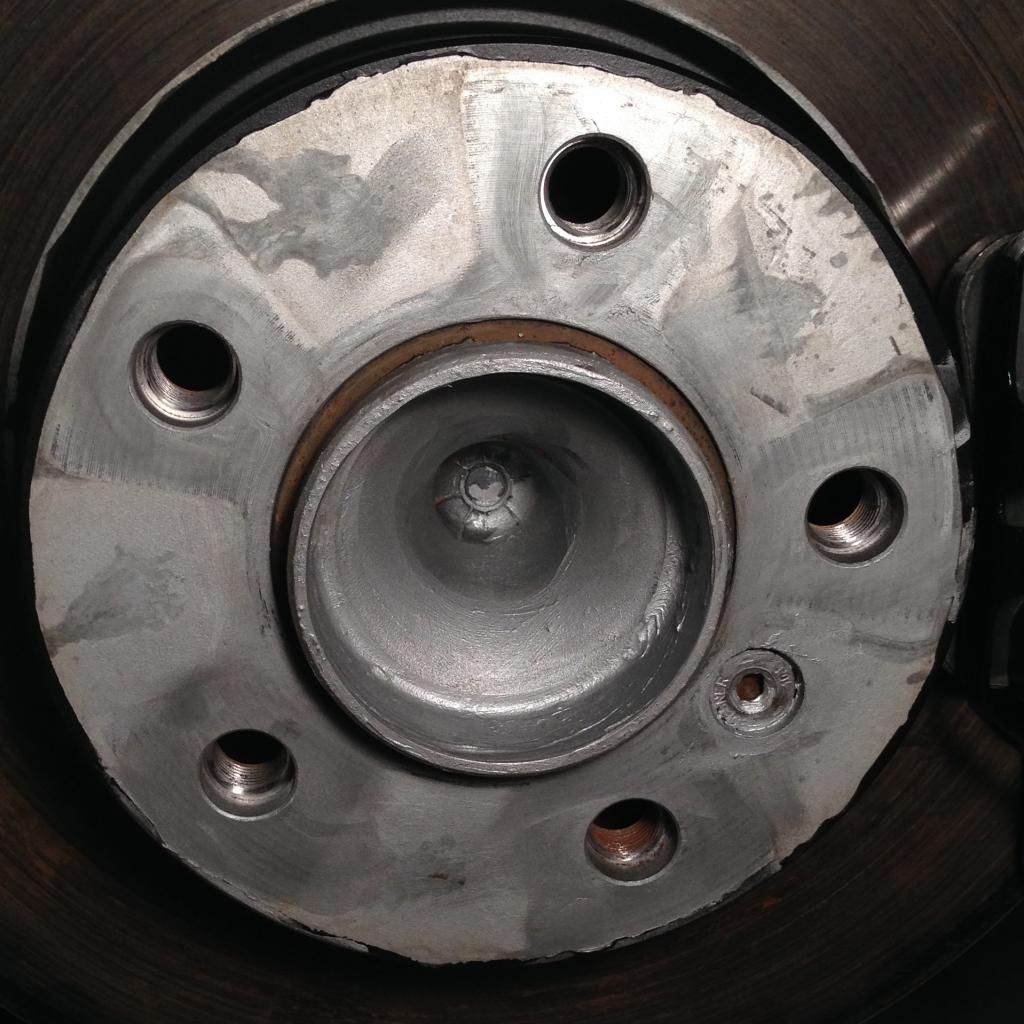
The inside of the hub was starting to look nasty so I thought I'd nip that in the bud too, if I can. I smeared the area with anti-seize and rubbed a small amount on the face of the hub and the rotor retaining screw:
I took this opportunity to clean the backside of the wheels and apply WheelWax, no photos of that.
The next day I moved to the rears. Here's a before shot, the inside of the hub and the axle nut area were pretty bad:

Pretty shocking for such a young car. I'll finish posting the rest later once I put the car back on the ground.