|
POWAH!!!
Drives: 2007 e92 328xi coupe red
Join Date: Nov 2010
Location: Snowville
|
It's been a while.... 56k go put thermite in your computer
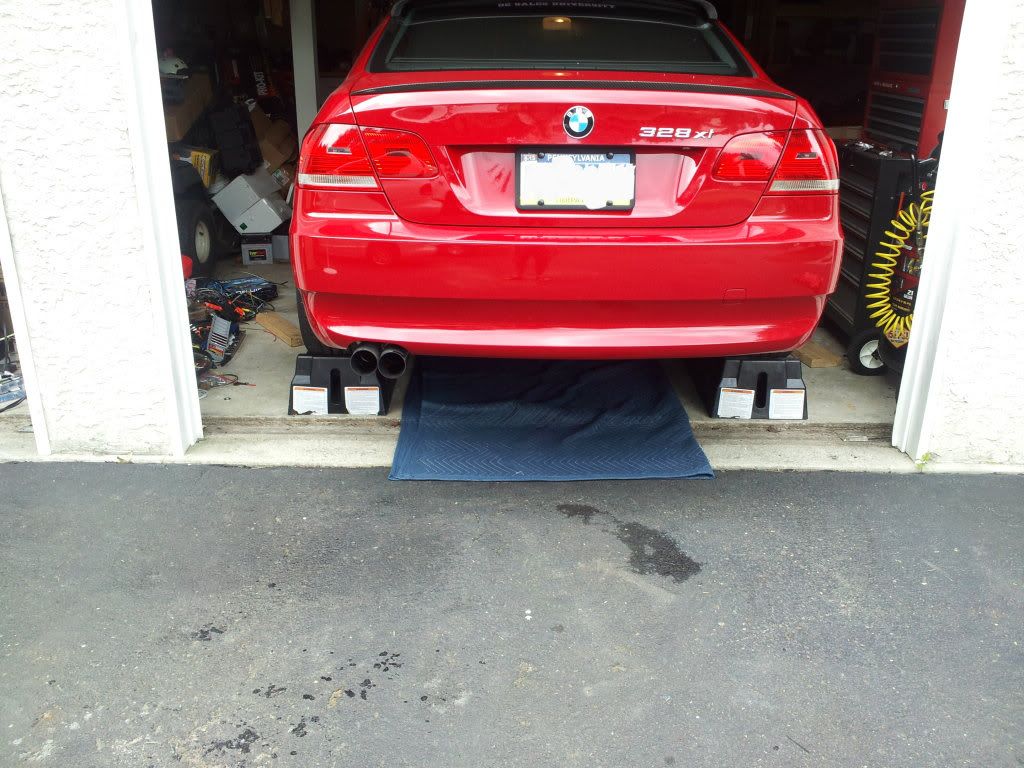
Hey guys. It's been a while since I've last been on this forum... I still have my e92 328xi with all its goodies and I still love it to pieces. Not much to update on it unfortunately, other than the x-brace I installed a few months ago. I have a 3 stage intake manifold sitting in the garage waiting to be installed. I might actually get around to do that since I have about a month off for winter break. 
Tried to install the x-brace in the garage, but the torx bolts would not budge!! Ended up twisting and ruining a torx bit trying to undo them.. 
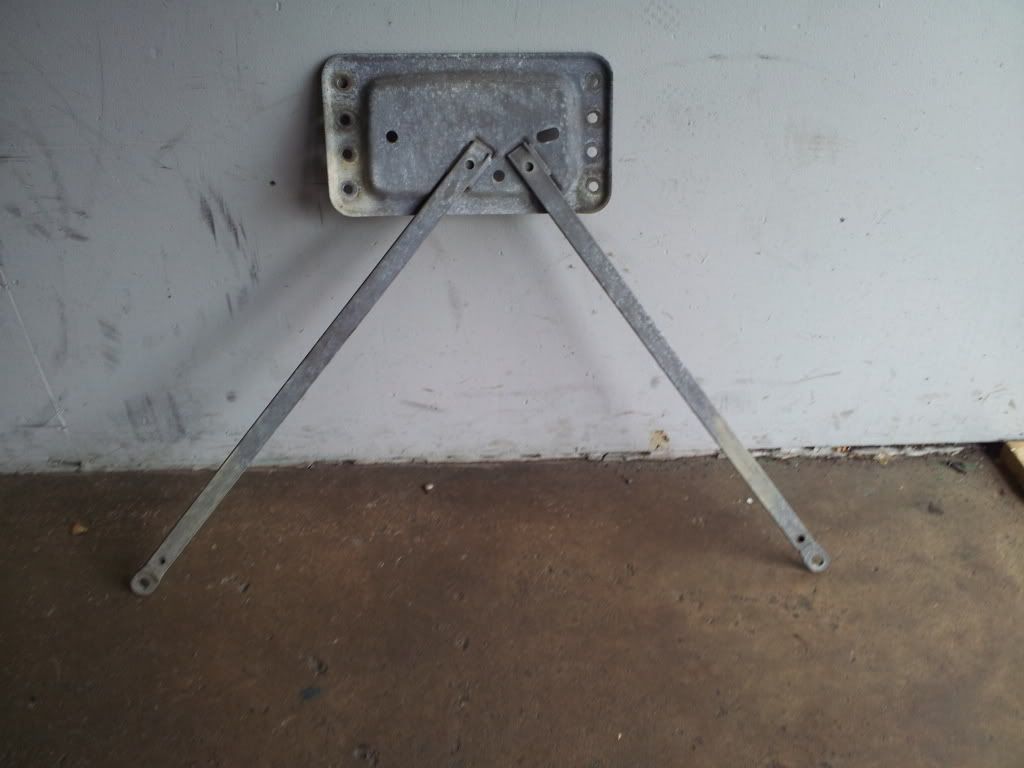
Old junk.
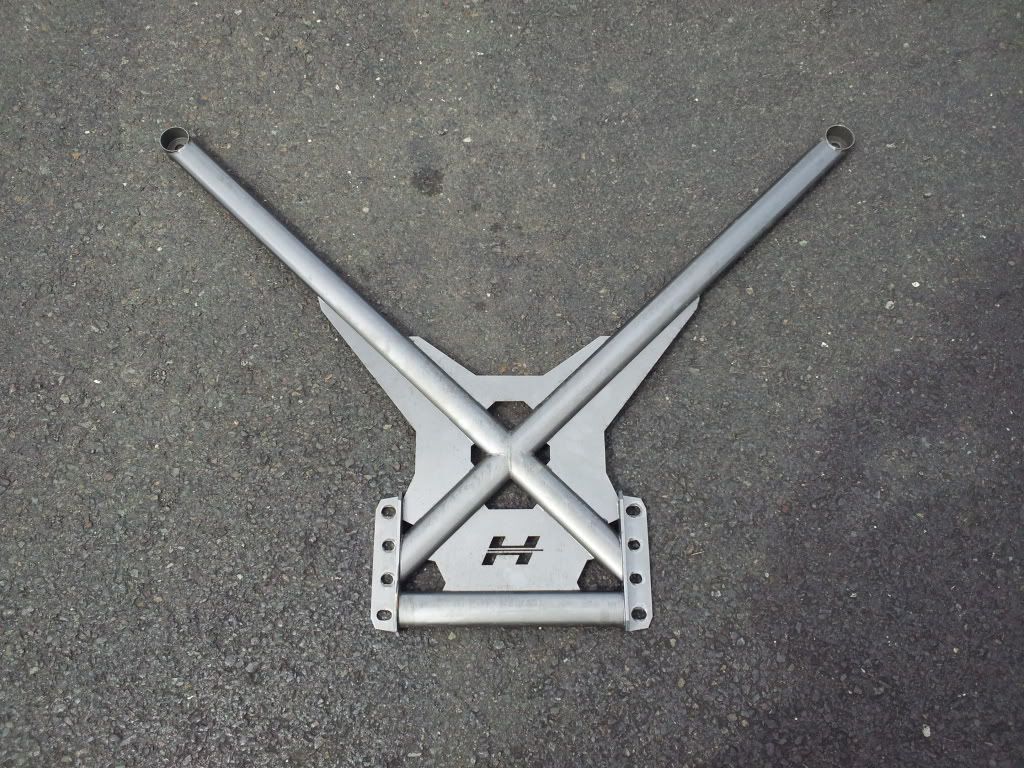
Beautiful 
Installed 
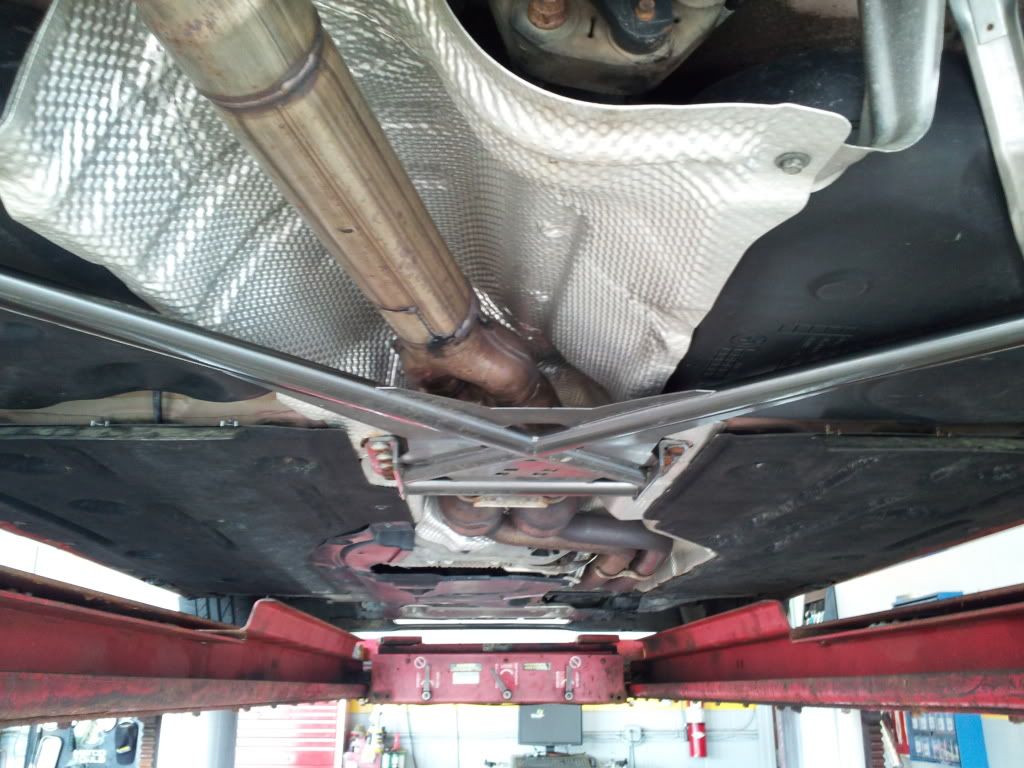
After installing the x-brace, I did notice that the back end of the car felt quite a bit more rigid and it feels more rigid going around corners. Definitely a worthwhile mod.
------------------------------------------------------------------------------
Now.. I, like many other 328 owners, have been waiting for someone to come out with a supercharger kit.. I eventually got bored waiting and began looking for something else to satisfy my addiction to modding.... And my addiction to superchargers.......... And inline 6 engines.....
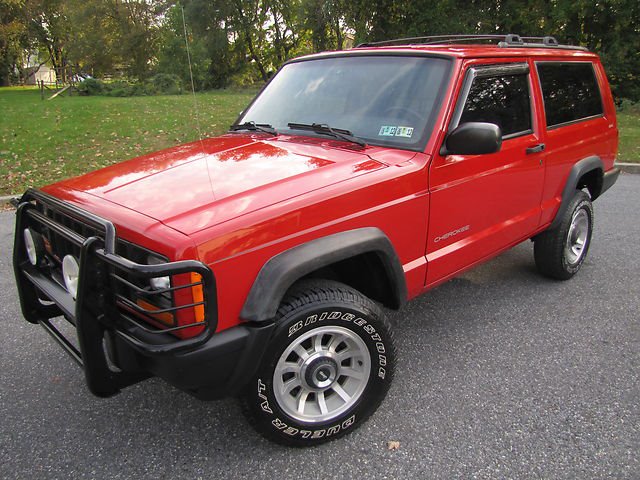
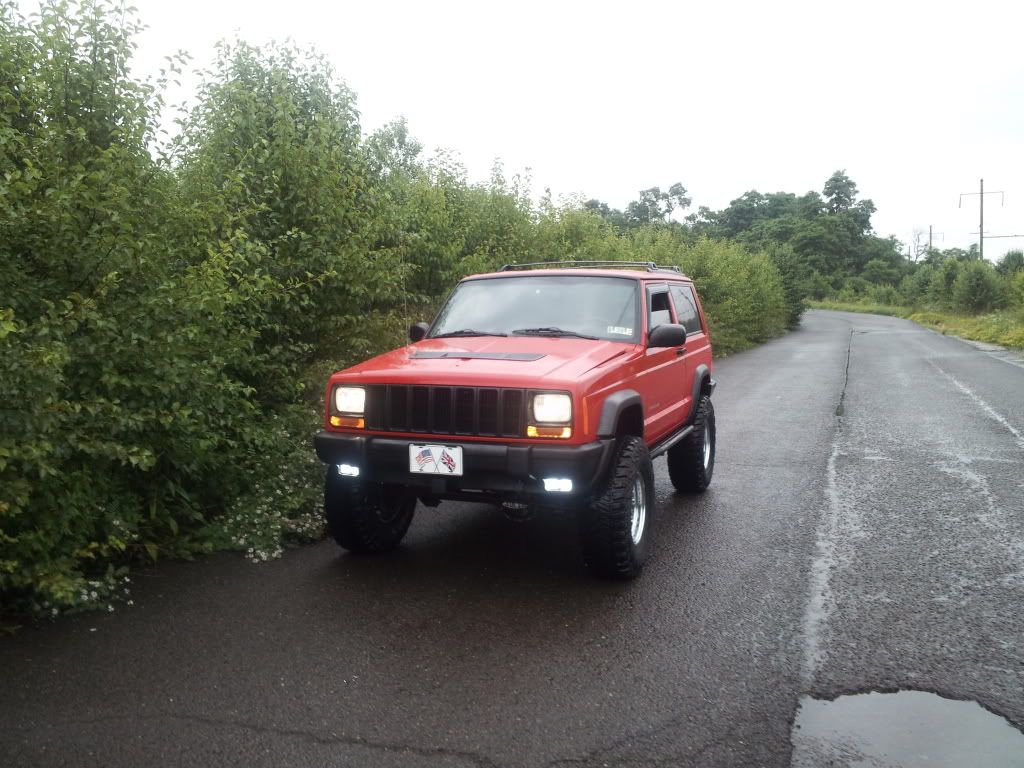
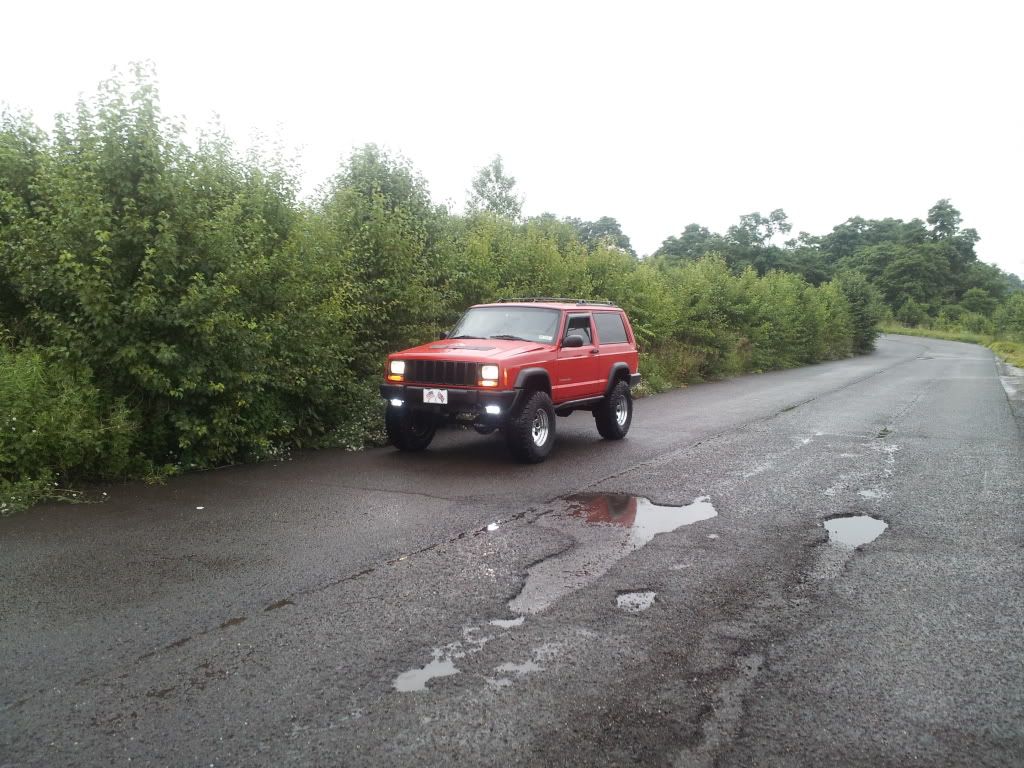
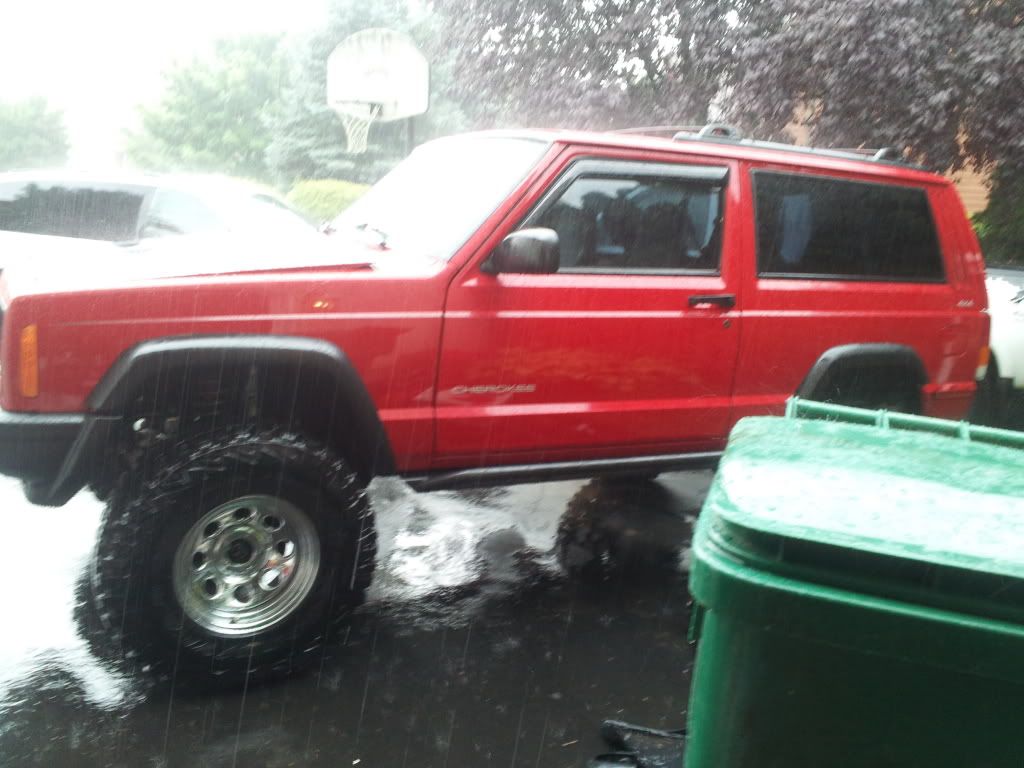
So about a year ago, I found a 1998 2 door Jeep Cherokee that was for sale locally and slowly began modifying it with the intention of going to Rausch Creek off-road park with it as often as possible. As many of us probably already know, it is incredibly difficult to keep is simple like that. One thing led to another and now I have this beast of a Cherokee that sits at right about the perfect balance between a street Jeep and a trail rig.
Now. About that supercharger... A company based out of Australia called Sprintex developed a non-intercooled twin-screw supercharger kit for the Cherokee. When it was brought over to America, there were some headaches with tuning it. The piggyback it came with didn't work properly and a good solution to tuning it hasn't really materialized. My dad and I, being the gearheads that we are, did our thing and installed a highly modified Sprintex kit onto my Cherokee with many extras and used a custom Split Second piggyback to control the fueling (using a 7th injector which sends fuel through the supercharger) and the timing and it also has a MAP clamp. The MAP is plumbed to boost (clamped so voltage stays within spec) and the Jeep ECU instantly snaps into open loop once it hits boost and I can add as much fuel as I want.
It just so happens that the Jeep 4.0 inline 6 and the BMW n52 both use MAP sensors... I might be one step closer to having a supercharged n52. Now all I have to do is wait for my extended warranty to run out and try and get a hardware kit from someone assuming there isn't a complete kit out by that time..... 
I felt like sharing what I've been up to over this past year and I have decided mirror my Jeep's build log on here. So, without further ado... I present Project: Keepin' it clean!!!  I will try to keep it update as best as I can.
Here's the link to the original thread for those who are interested.
Quote:
Originally Posted by bpas328xi

Hey guys. Here's a little teaser until I have enough pics to really spoil you guys. Lol.
General specs:
4.0 I6
AW4 automagic
NP231
d30
Chrysler 8.25
Power mirrors and manual everything else
about 165k miles (swapped idiot cluster for full cluster)
Current mods:
RC 4.5" coils
RC 4.5" leafs
New stock shackles
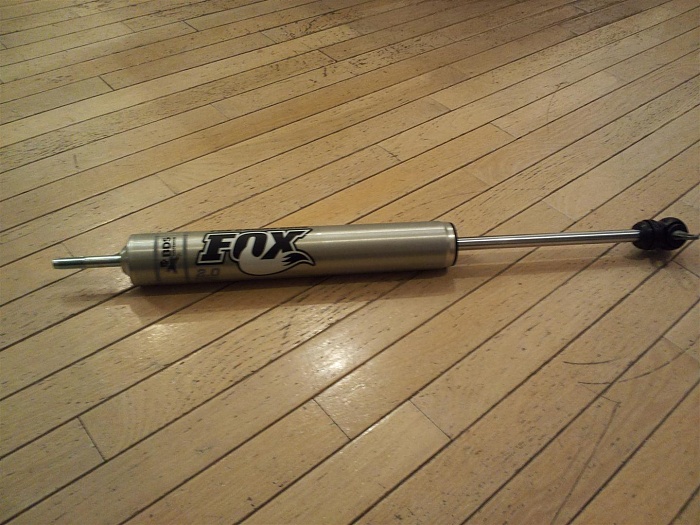
Fox Racing shocks :w00t::headbang:
RC adjustable trac bar
RC SYE
Zone swaybar disconnects
JCR stage 3 rock sliders
JCR gas tank skid
JCR transfer case skid
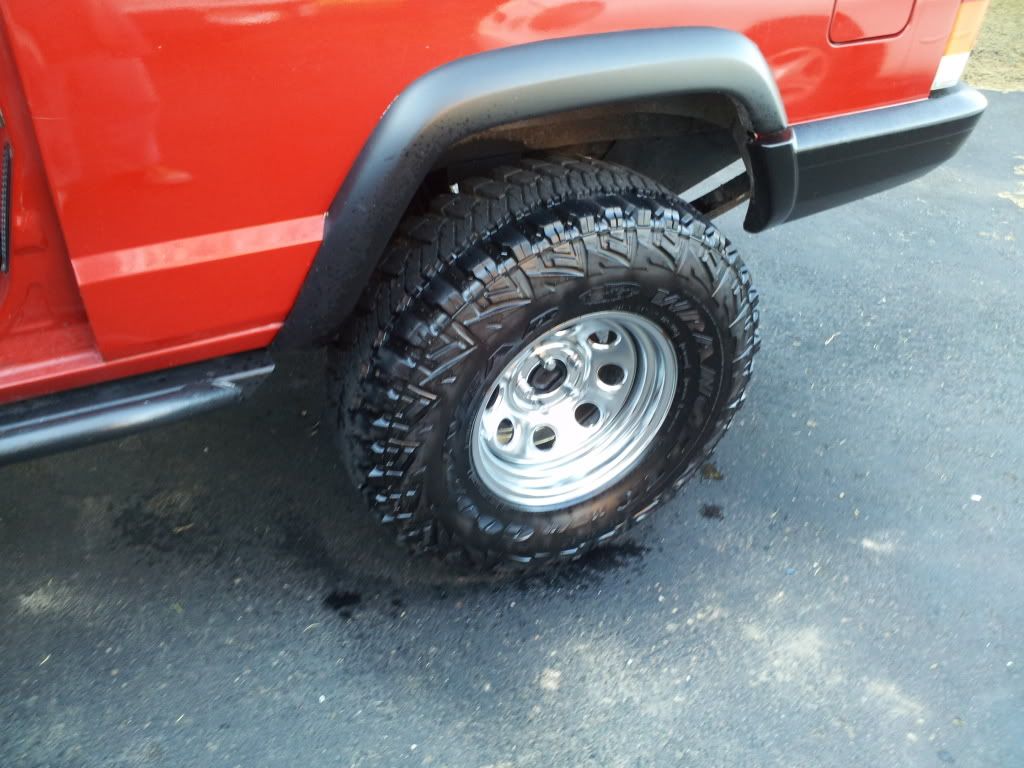
32x11.5 Goodyear MTRs w/Kevlar
Craiger chrome rims :beta1:
Sony Xplod head unit
Infinity 6.5" speakers in doors and sound bar
Sirus XM head unit
Magnaflow cat-back exhaust
Curt front hitch
Curt rear hitch
SOLID diff covers
Grand Cherokee steering wheel with cruise control buttons + 1996 Cherokee vacuum servo = my cheap cruse control retrofit ^_^
TruckLite LED headlights
Gibson ceramic coated headers
703 injectors
Boostec supercharger
Subwoofer for "useless cubby"
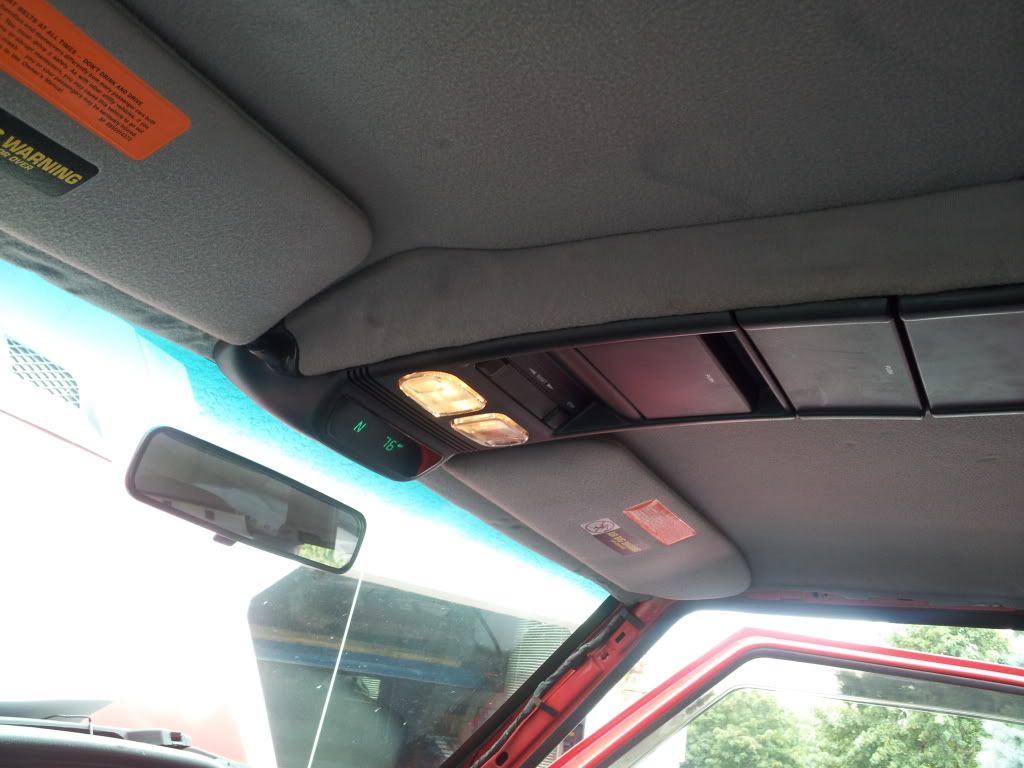
Overhead console
Shift kit for AW4.
Mods that need to be installed:
Bunch of other odds and ends that I'm forgetting atm.
Mods with a strong chance of happening soonish:
Diff locker of some sort
LOTS MOAR LIGHTS!!! (I'm afraid of the dark :whistling2  Dream mods
Claton's longarm kit and rear coil conversion
Rubicon D44 axles and associated lockers.
NSG370 6 speed manual
Swap in GM 3.7 I5 (sounds like a v10 :3 ) or 4.2 I6 to keep with the I6 thing, ITBs, headers, cam, tune, twin screw supercharger.
Straight pipe.
MasterCraft Baja RS Reclining Suspension Seat Black/Red/Red (and maybe retrofit in some seat heaters)
So... Here's the pics I have so far. (They uploaded in a funky order. The last pic is how it looked when I got it) I hope to have many many more by next week and do a ton of mods. YAY SPRING BREAK!!!! :w00t:
 |
Quote:
Originally Posted by bpas328xi
|
Quote:
Originally Posted by bpas328xi
Not really an update, but I got some bling. Gibson ceramic coated headers (got a killer deal) to replace the banks revolver headers (don't fit the supercharger intake manifold).
:guns:

 |
Quote:
Originally Posted by bpas328xi
Finally getting some work done! :thumbup:
Removed the bumper and endcaps [which were troublesome since the PO had riveted them to the bumper... :brickwall:]
Started to redo my projector install and put the ballasts in the grille [scratch that. I mounted them by the horns].
The last pic is about as far as I got before I had to throw the grille and headlight buckets back on to protect everything from the rain. Mother Nature just will not cooperate with me. :cursing: So now my Cherokee is sitting in the driveway half naked and missing a headlight... And I broke some of the fasteners holding the front bumper on. Gotta go to Lowes and get some washers and lock nuts. :brickwall::wallbash: And paint the grill, headlight buckets, endcaps, and bumper satin black. :brows:
Should have the 7th injector back from being flowed by the end of the week. Then all I need is a swivel socket and I can put the Gibson headers and start installing the supercharger!
Then it's all just a matter of finishing all the other little projects I have going on with this thing. Lol.
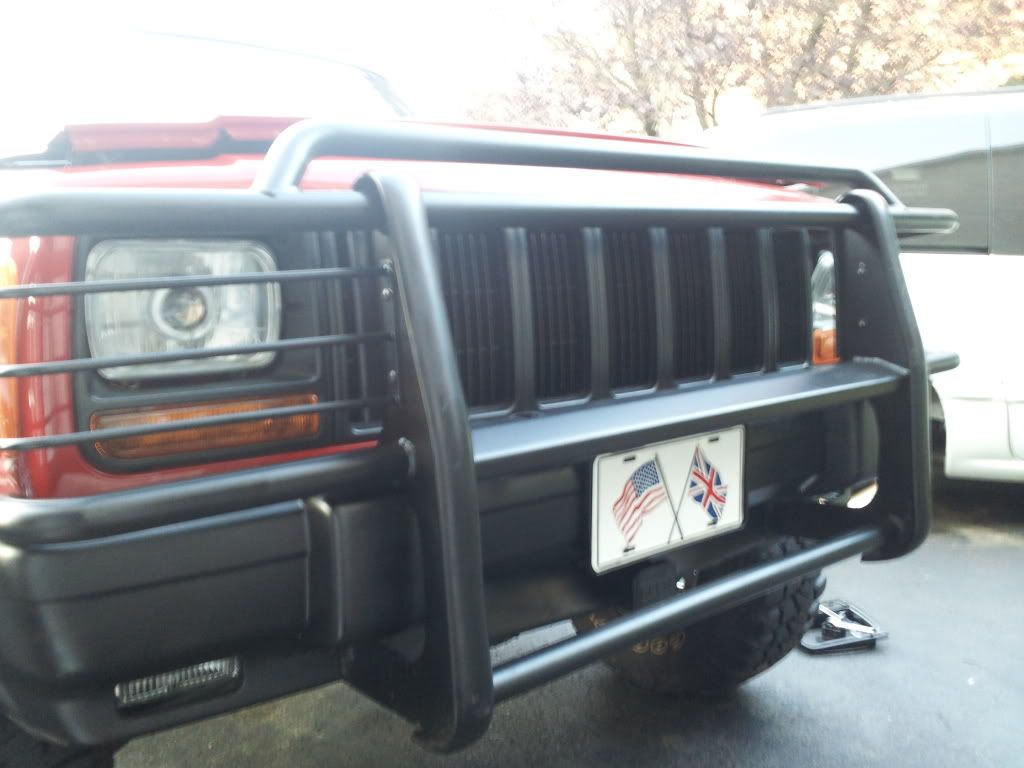
In other news, I think a JCR front bumper (maybe rear too] is in my near future with a integrated hitch, foglights, and d-rings. :euro: Probably going to lose my bullbar though if I get new bumpers..  [decided against it. Keeping the stock bumpers and the brush guard (love that thing)]
And I might be doing something special with the front blinkers soon too... :shifty::whistling2:


 |
Quote:
Originally Posted by bpas328xi
Another piece to the never ending puzzle known as my Cherokee just got here. GOMLsaurus. :gunsmilie:
15 different flash modes and I can only use one of them on the street... "steady on".
 |
Quote:
Originally Posted by bpas328xi
UPDATES!!!!!!!!!!!!!!!
This is what I accomplished yesterday and today. 
Got the supercharger fully installed (for the most part) and tested. IT LIVES!!!!!!!!!!!!! 
Until she started to eat her serpentine belt... *facepalm* :brickwall::wallbash:
Tomorrow I gotta get some new bolts for the belt tensioner that don't stick out as far as the stock ones, wire in the AEM F/IC 6, wire in the boost gauge, wire in the dual temp gauge (for measuring air temp pre and post S/C), finish my projector retrofit, install and wire my HID fog lights, reinstall my Hellas, paint some stuff, reassemble my front end, and put the bullbar back on, retrofit in the overhead console, and some other mods that I'm forgetting at the moment.
Then all I have to do is download the AEM tuning software, put a basic tune on it, drive on the street and see how it feels and maybe go into boost, and then get it dyno tuned. :thumbup:
I'll take a video of it running and driving at some point and post it here. :euro:
And now... LOTSA PICS!!!!!!!!!!! :rockon:

Naked.

Gibson ceramic coated headers w/ wrap. There is no such thing as overkill. :guns:

Intake manifold.

Twin screw... NOM NOM NOM!!!!!  

MOAR NOM NOM NOM!!!!!


Don't.Laugh. My Volant CAI wouldn't clear the hood so I had to go to Pepoys to get these... At least they're Spectre. Lol. I'll be ordering a Spectre cowl induction kit and some silicone elbows to replace these soon.
|
Quote:
Originally Posted by bpas328xi
I'm not sleepy and I'm bored which can only mean one thing.. MORE PICS!!!!!!!!!
Here's what I've been up to on this rainy day.

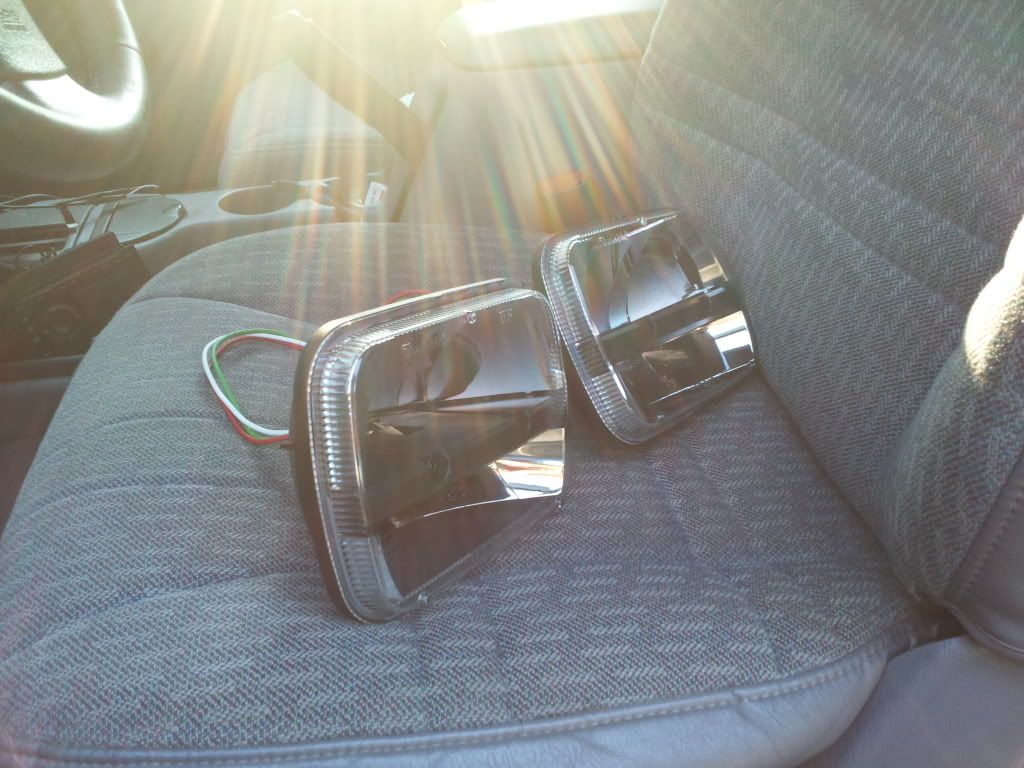
Couldn't finish wiring up the fogs because everything was wet and it was drizzling... So I decided to work on another project.

The unsuspecting LED light about to be cut open... I eventually changed how I was holding them because I kinda cut through the electrical tape... :brickwall: Just ended up clamping them how the wood is clamped.

Whoops. :cursing:

Diamond coated metal cutting discs. Much better. :gunsmilie:

MUHWAHAHAHHAHAHAHAHAHAHAAAA!!!!!!!!!!!!!

Open. YAY!!! :w00t: Probably a good time to see if they still work..

THEY DO!!!!!!!!!! :rockon:

And that is what they looked like when I decided to stop taking pictures (but I kept working on them and finished the pair ).
Now I just gotta install them and wire them in. :tt2: |
Quote:
Originally Posted by bpas328xi
Rubicon Express trackbar kit just got here. All I have to say is one word. BEEF!!!!!!!!
The welds on the upper bracket are just ridiculously smooth. :icon_eek:
Now I can replace the Rough Country trackbar since it has some lateral play in the joint that mounts to the frame which I'm not too keen on. Who knows. Maybe the RE one will make my XJ track better and have better road manners. If all else fails, at least it strengthens the front frame rails.

Oh yeah. The Spectre cowl induction kit came too. Piping was smaller than I expected... Might be a problem with my supercharger.
Here are some random pics of my current lighting setup. Still have to put the bulbar and 100w hellas back on. Those projectors with the 55w ballasts are BRIGHT!!!!! Drove at night with them the other day and I honestly think they're brighter than the projectors on my other car. Lol.


I need to build a rectifier to power the LED light that I put in the blinker housing because the wires going to this bulb switch polarity depending on whether the running lights are on or not. Right now, I only have blinkers when the running lights are on. :cursing:


 |
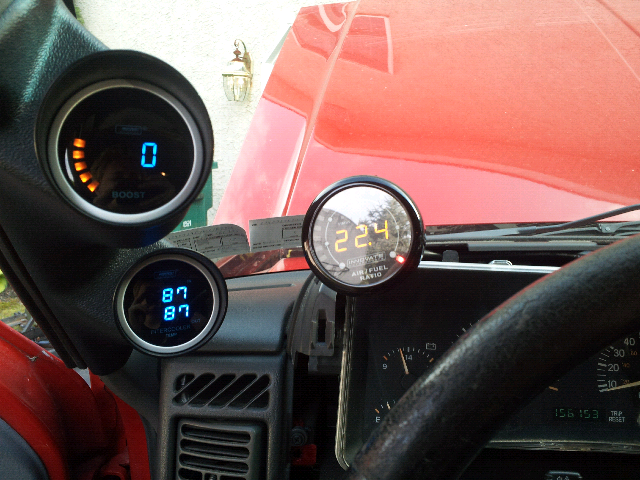
Gauges
Quote:
Originally Posted by bpas328xi
|
Quote:
Originally Posted by bpas328xi
So... Getting a new a/c compressor just shot to the top of my list of things to do. I think the stealership overfilled it when I had them recharge the system, so now the clutch on the compressor is slipping and squealing like crazy whenever I try to turn the air conditioning on. Kinda killer on a 90+ degree day. :wallbash:
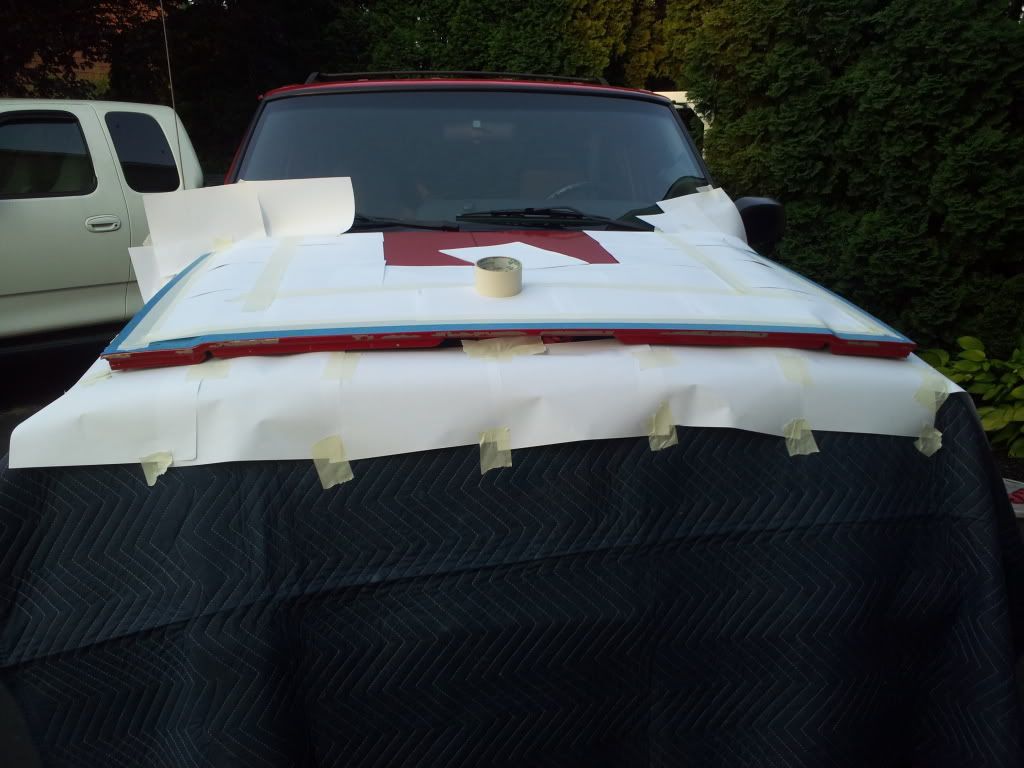
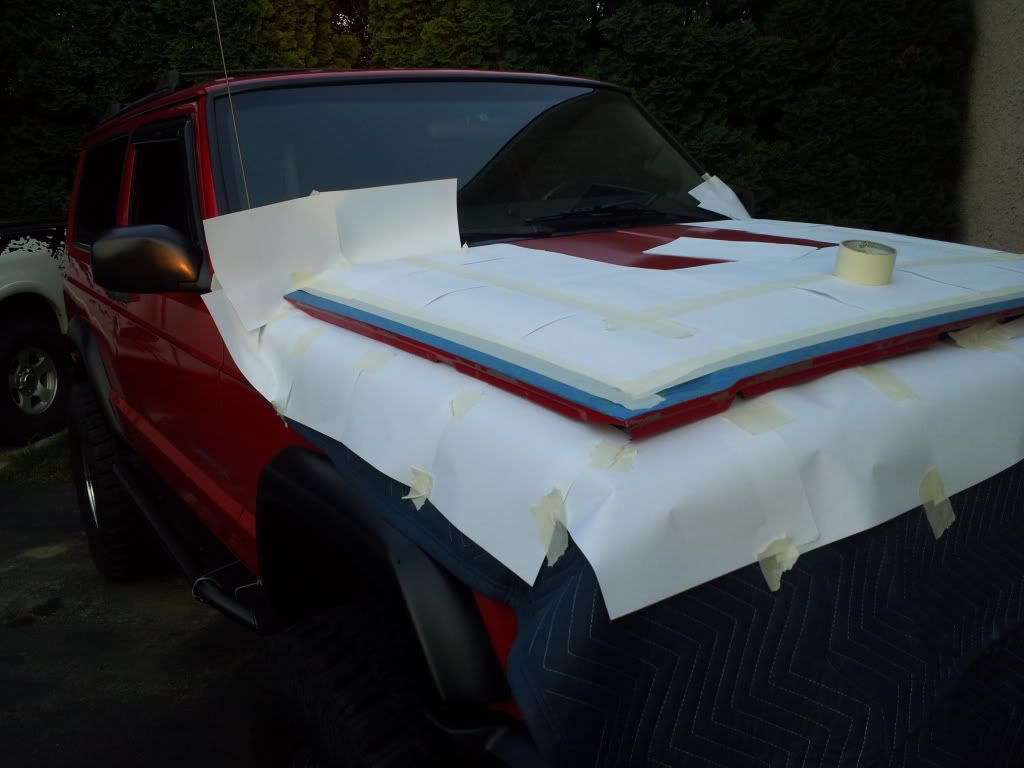
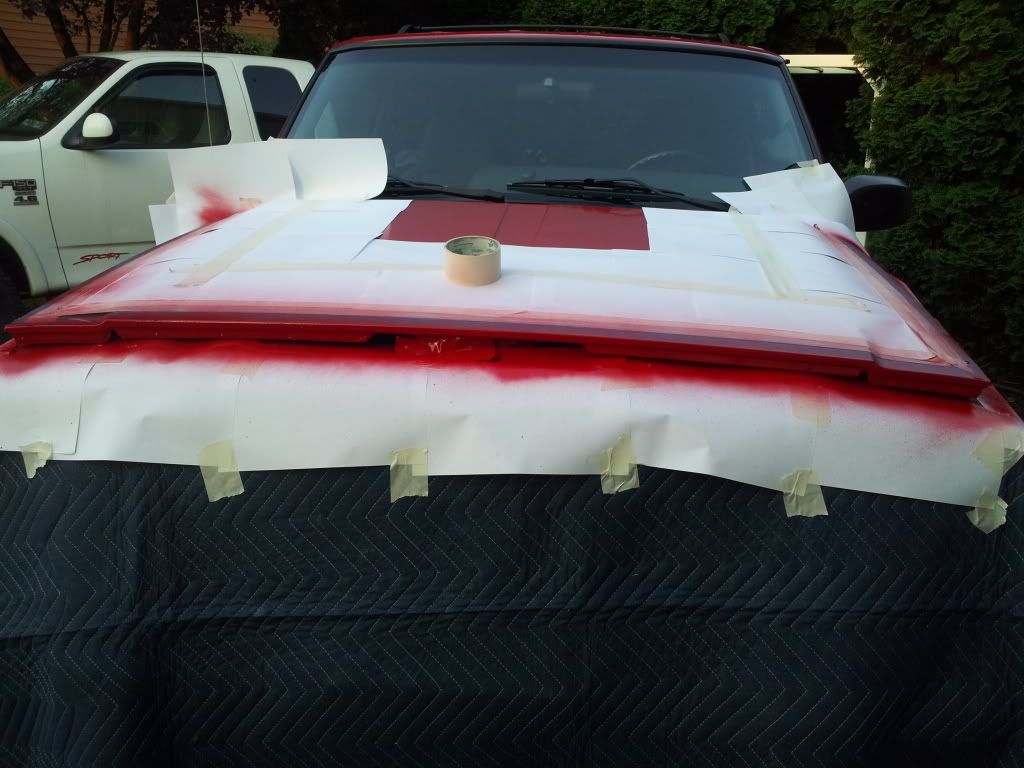
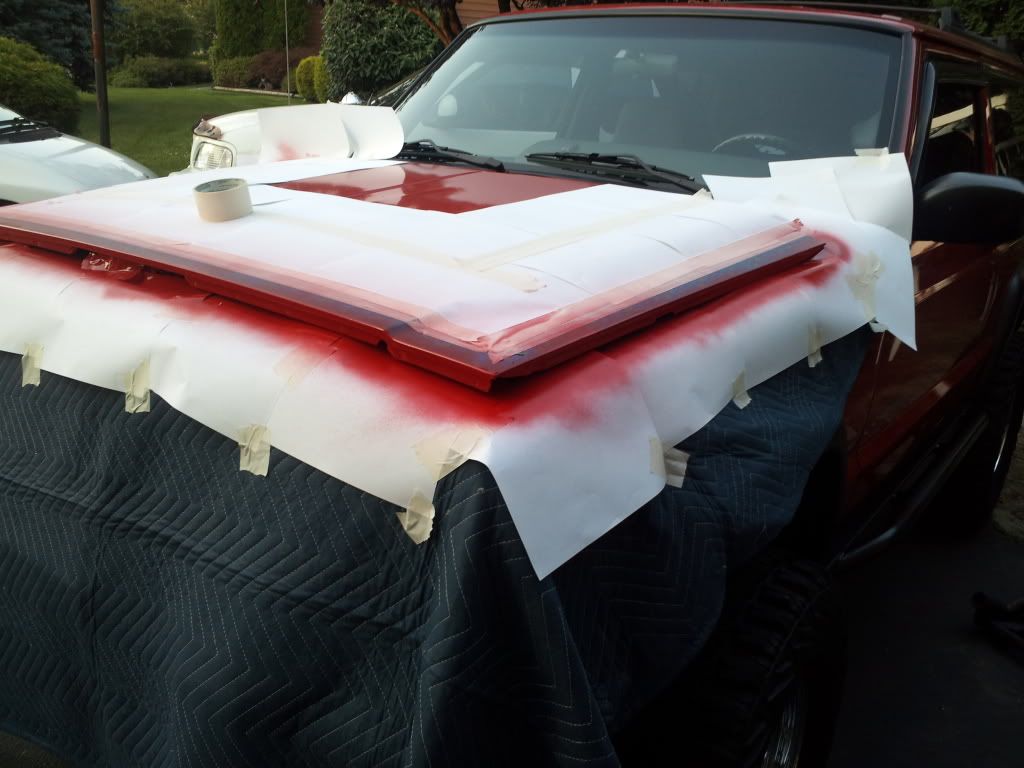
I did get some more progress on the hood though.
I decided to paint the under side of the hood since the paint job is coming out so well on the top (which I honestly didn't expect and why the under side is being painted after the top :sweatdrop . And the paint is a pretty darn close match to the color on my Cherokee. WIN!!! :chef:


My redneck-rattle-can-spray-booth-in-a-backyard setup. (patent pending)


You'd honestly never guess that this hood used to be beige. Lol.
NOW NO ONE HAS AN EXCUSE FOR DOING A POOR RATTLE CAN PAINT JOB ON THEIR CHEROKEE!!!!! :thumbup:
Just skip the matte paints and get the gloss ones!
If I can do this in my back yard and still get decent results, then anyone can.
Total cost for painting the hood: Less than $10 with tax. :guns: |
Quote:
Originally Posted by bpas328xi
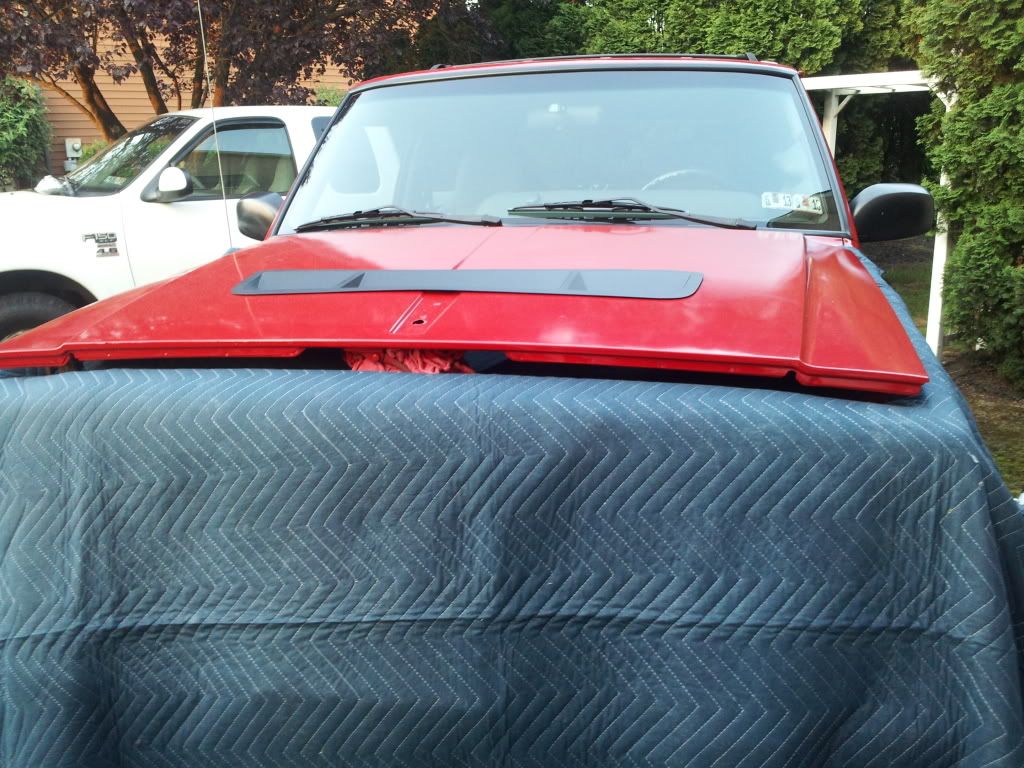
Took my original hood off and replaced it with the junkyard hood that I modified and painted.
Of course, I couldn't pass up on the opportunity to drive to Wawa hoodless. :naughty: Got a couple confused looks and one laugh. Lol.


Just chillin' in the Wawa parking lot without a hood. Nbd.

Then I took the rubber elbow off in the Wawa parking lot to see if running an open throttle body would lower my IATs. It didn't. They actually went up. :huh:
When my dad an I got back home from Wawa, we were still feeling a little bit redneck from painting the hood in the back yard (with spray paint) and we did this... I dunno. The paint fumes must have gotten to us or something.
After we put this on, I couldn't stop laughing. Then I got in the driver's seat and burst out laughing again! :laughing:  Good thing we went on a very short drive avoiding main roads.
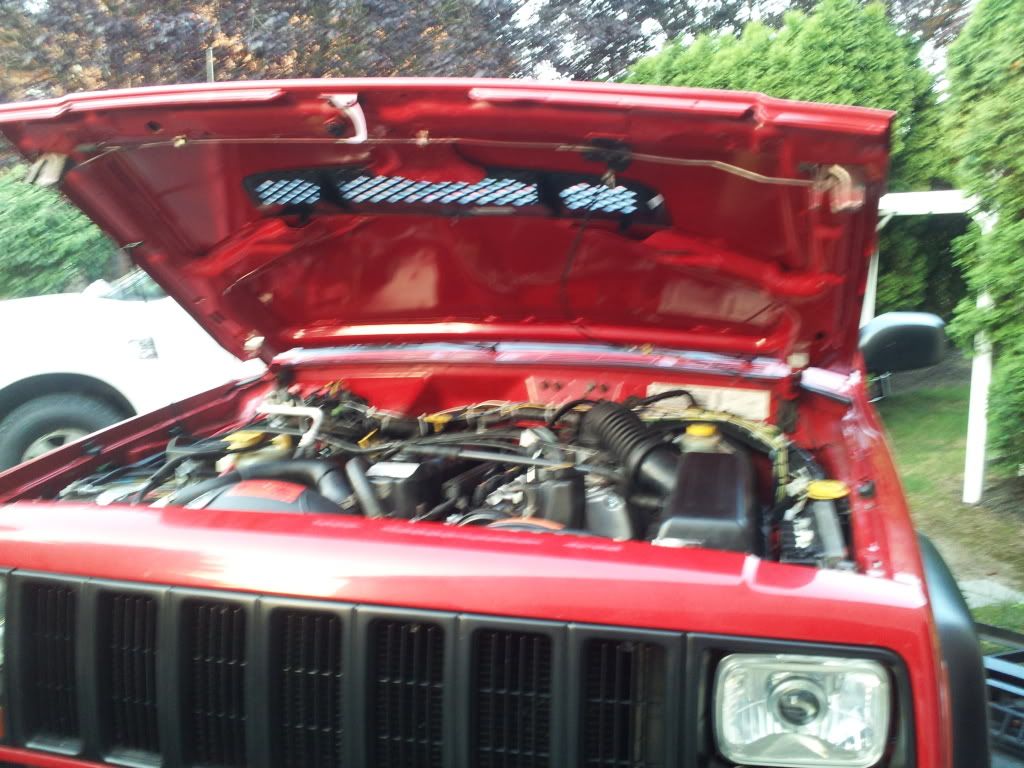
There was a bug flying in front of the pipe when I started it... I think my Cherokee was a tad hungry and went NOM NOM NOM on the bug...


I reckon that the bubble wrap heat deflective barrier added at least 70 hp. :grin:
In all seriousness though, this was the most effective at lowering IATs since it was acting as a "ram-air" intake. Maybe a snorkel isn't such a bad idea after all... If I do get a snorkel, I'll probably rattle can it red (using my newly acquired jedi spray painting skills). So... ARB snorkel or Chinese knock-off? Lol.


Keep in mind, this hood is just a TEST hood. I'll remake it eventually and make it look MUCH better. But this will get me through in the meantime. |
Quote:
Originally Posted by bpas328xi
Okay. Here's a bunch of pics that I've been stockpiling for the last week or so... (I like build threads with lots-O-pics. Lol) :tooth:
Oh, and............... I'M A SUPPORTING MEMBER!!!!!!!!!!!! WOOHOO!!!! YEAHHHHH!!!!!!! :beta1::headbang:
I also got a photobucket pro account since I was running out of pic space here. Hopefully they show up properly... :redx:
Anywho... The first three pics are just because I was bored one day. Lol.

Word to the wise. NEVER use Valspar latex based enamel brush-on paint as it will peel and look like this. :cursing: I now swear by Rustoleum black oil based brush-on paint. :boxing:
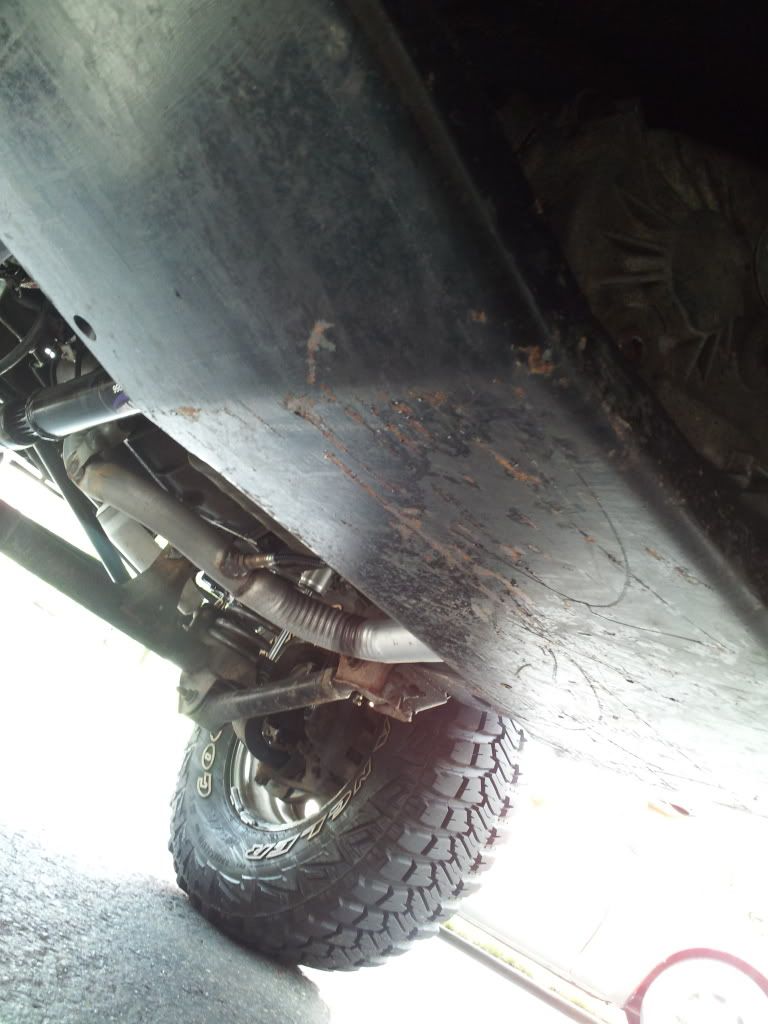
TC skidplate could use some love after being beaten up a little at Rausch a few months back..
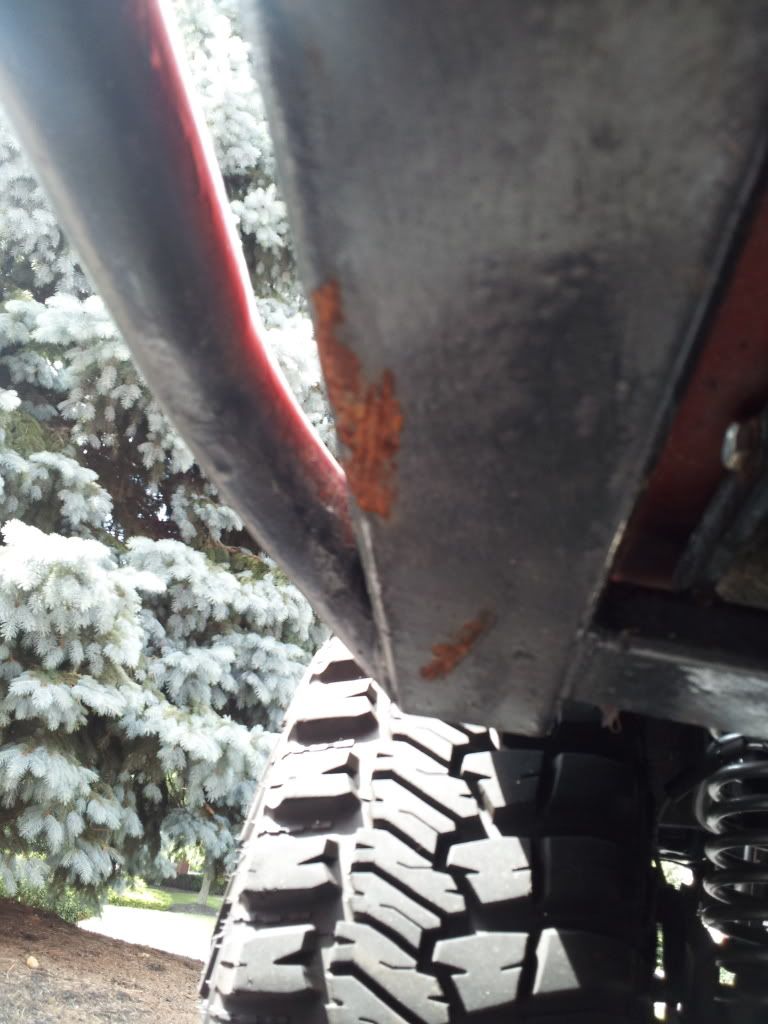
Rocksliders got little bit of a workout too. Lol.
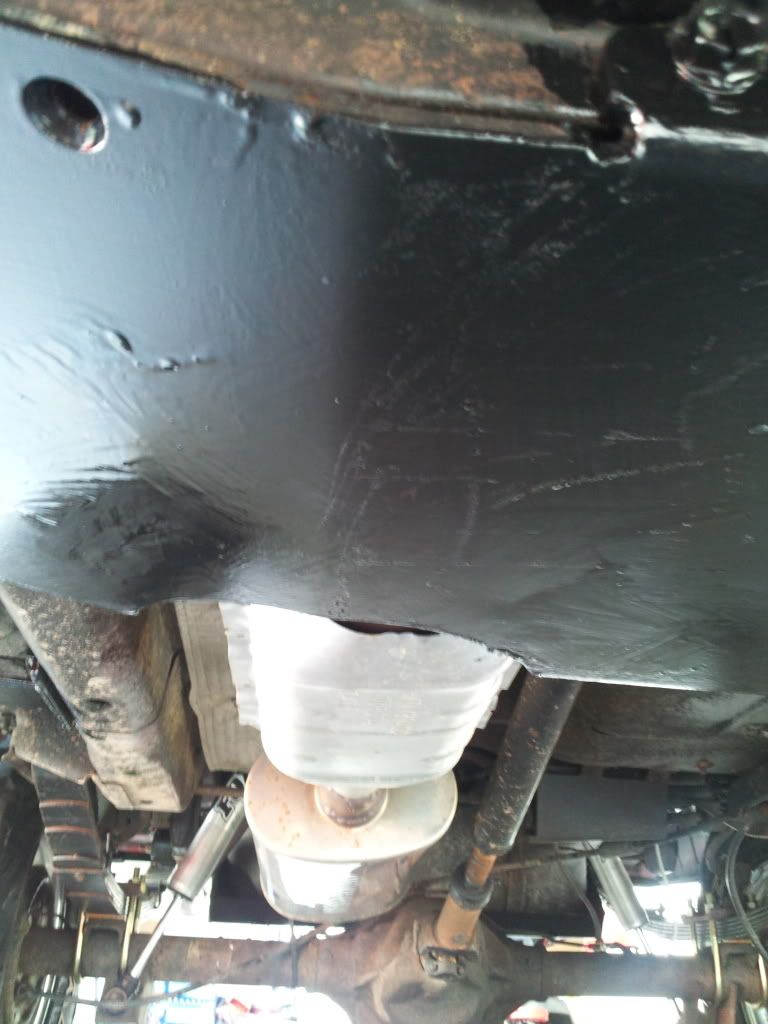
TC skidplate painted.
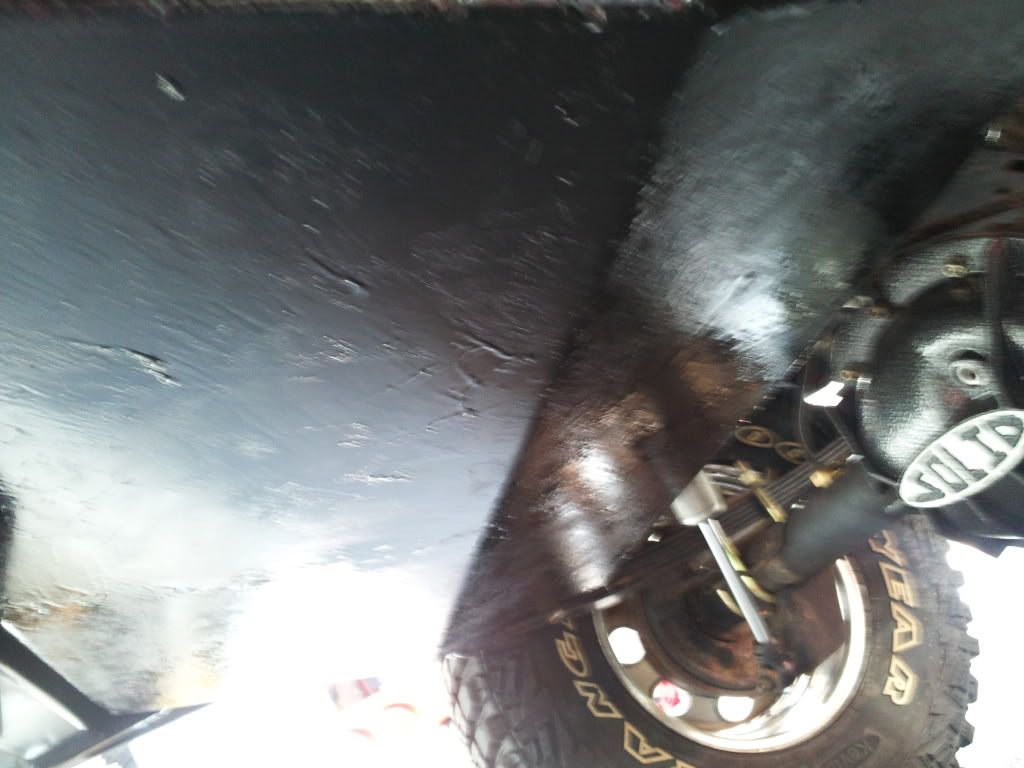
Gas tank skidplate painted (1st coat. added a second thicker coat after I took this pic).
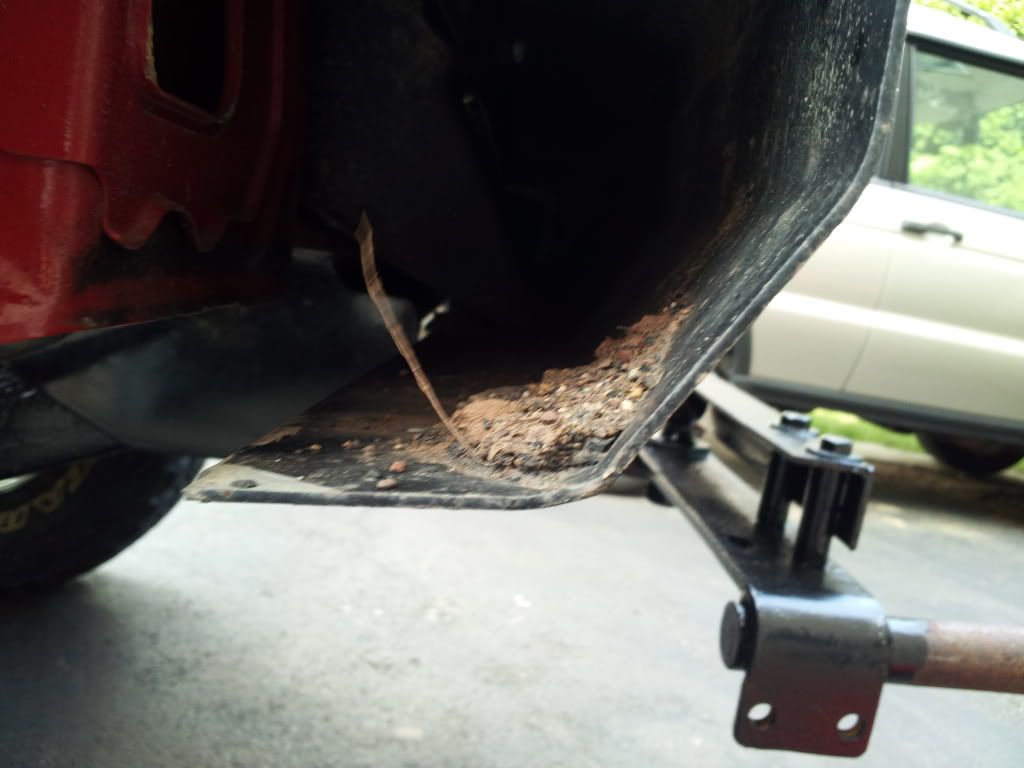
Hmm... Dirty.
NO RUST!!!!!!! YAY!!!!!!! :thumbup:

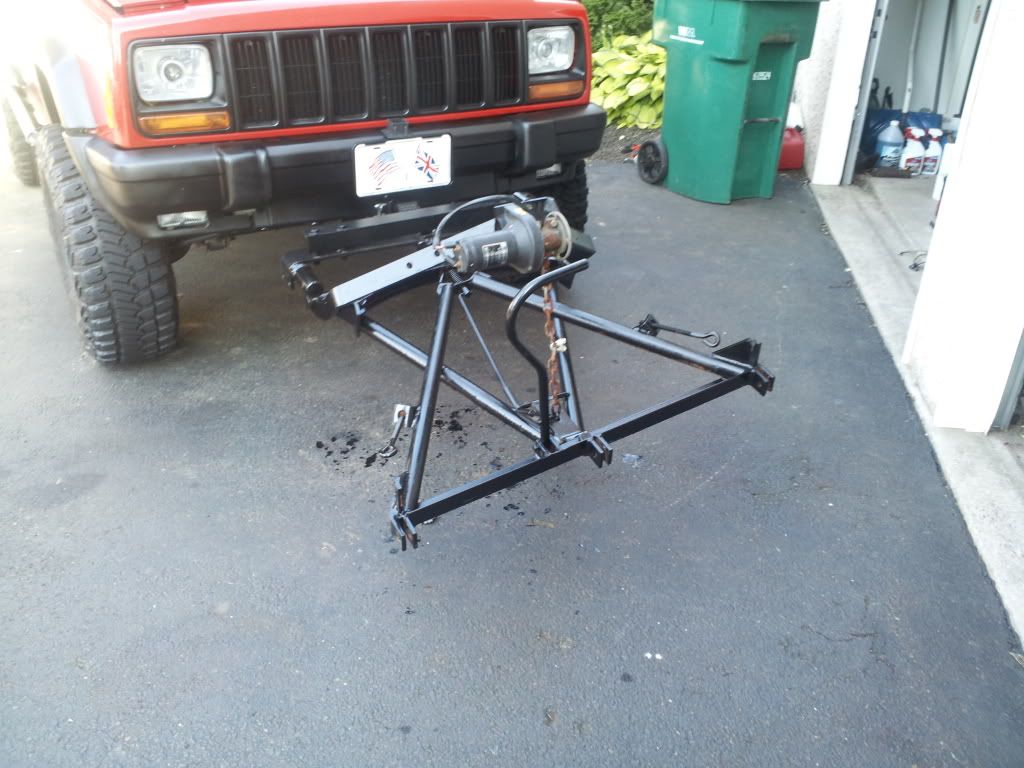
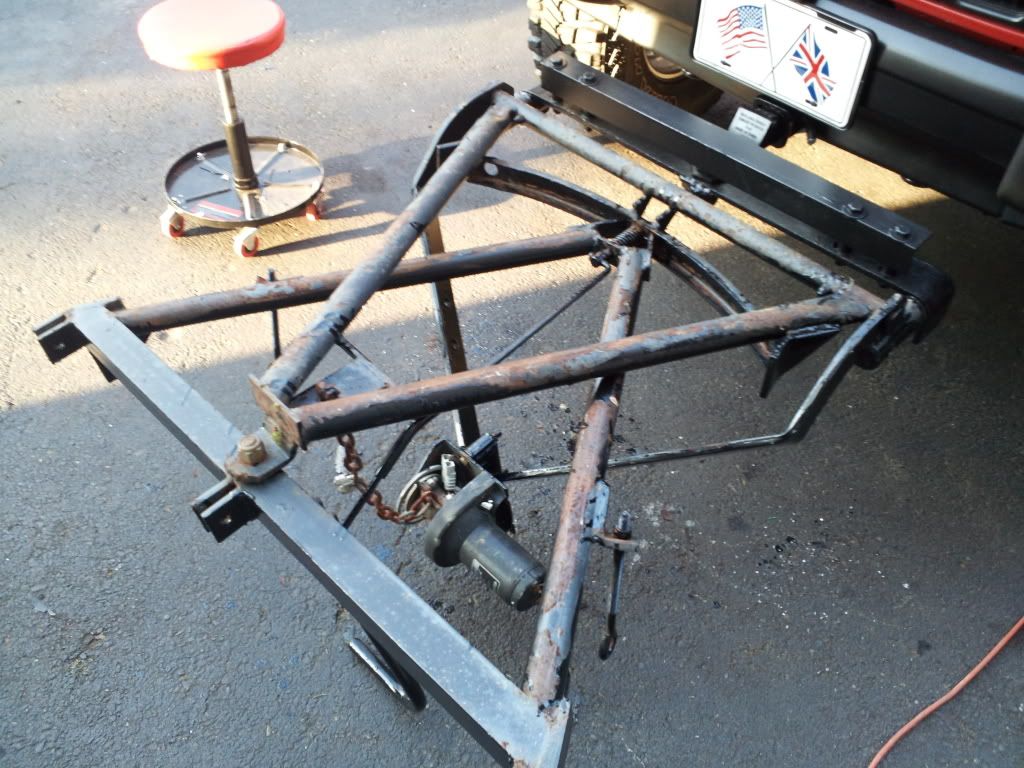
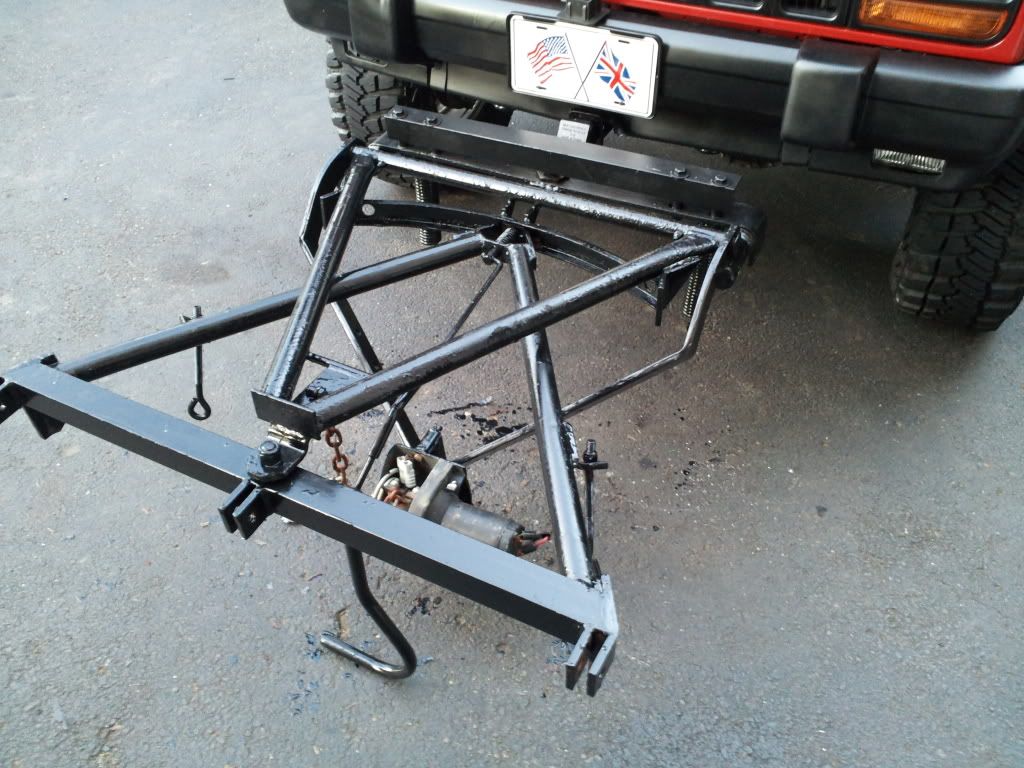
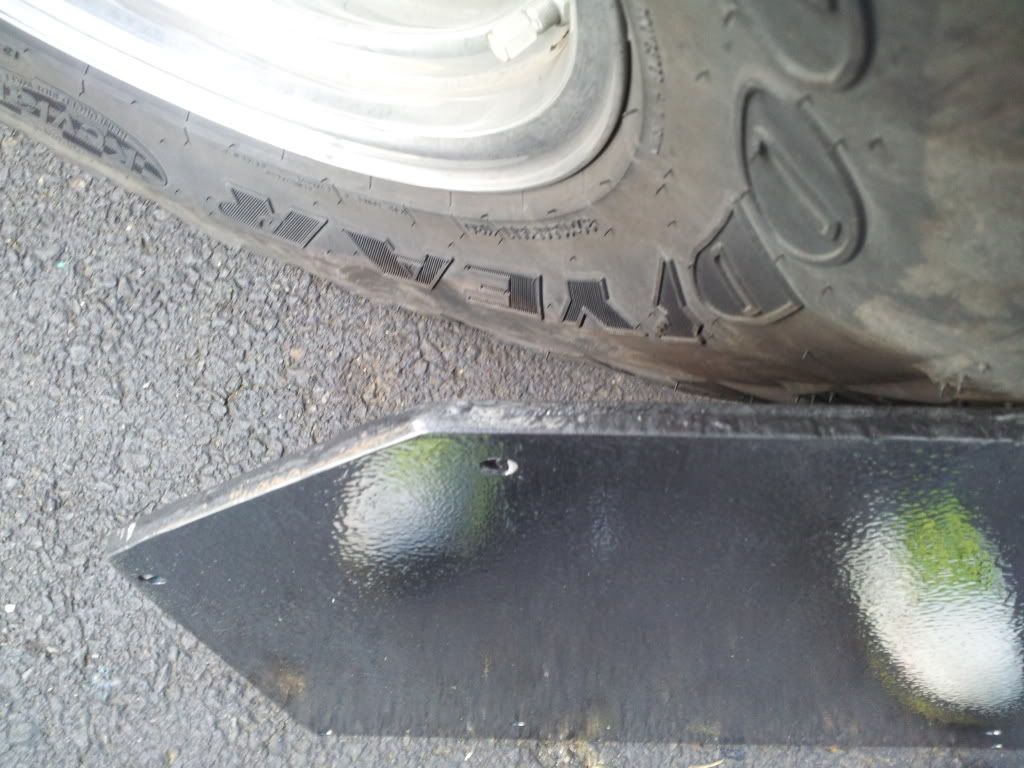
That big hunk of steel is my hitch mounted snow plow idea I've been working on for a while... Almost done. Lol.
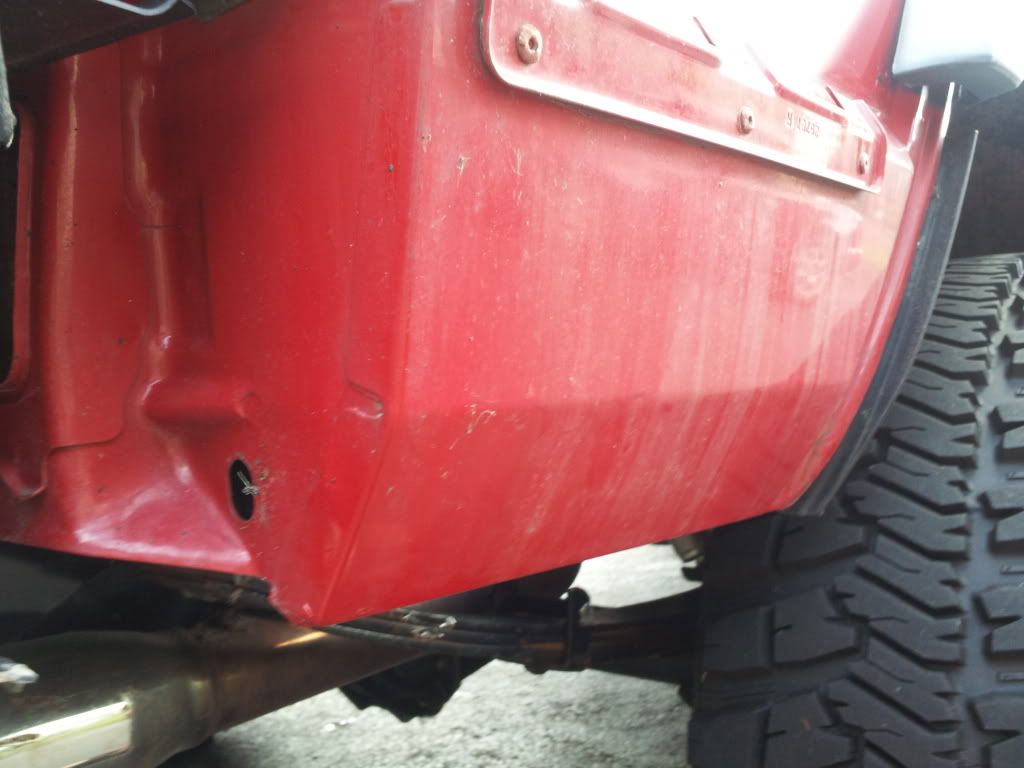
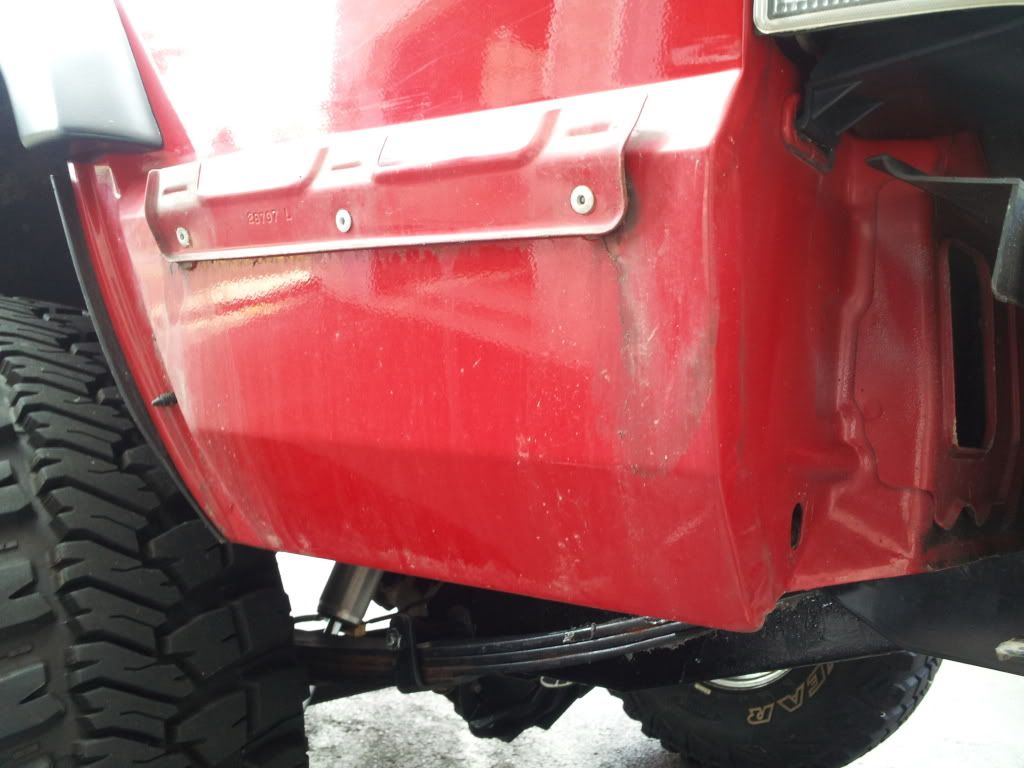
THIS ONE IS RUST FREE TOO!!!!!!!!!! :tt2:
Time to paint the bumper and endcaps.
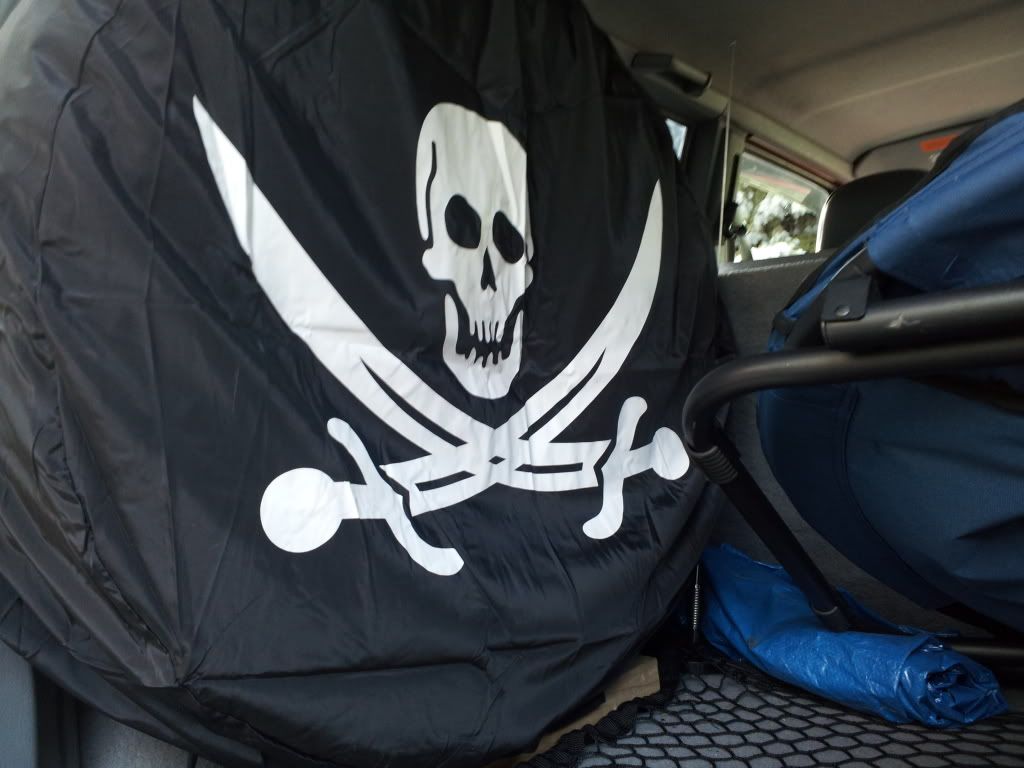
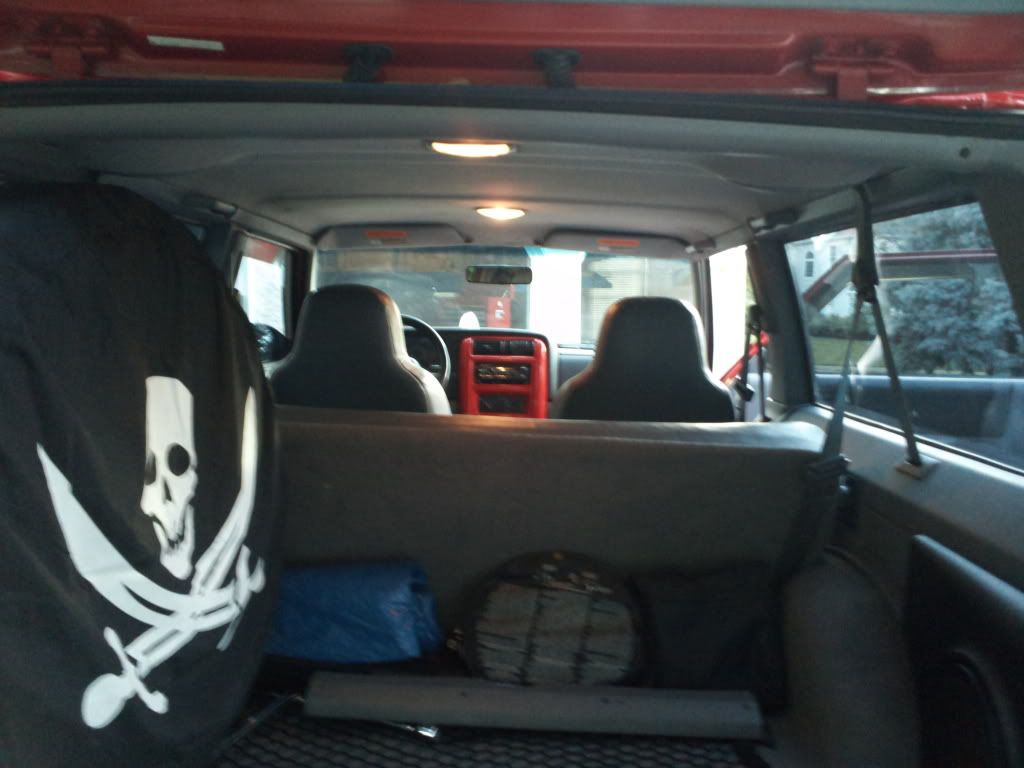
Figured I'd take a better pic of my spare tire cover. :gunsmilie:
It's not "full-sized" (BFG 31x10.5 KM2), but it's good enough since I don't really plan on using it often since I have a patch kit in my trail bag. Lol.
Sand...The PO must have taken my Cherokee to the beach at some point..
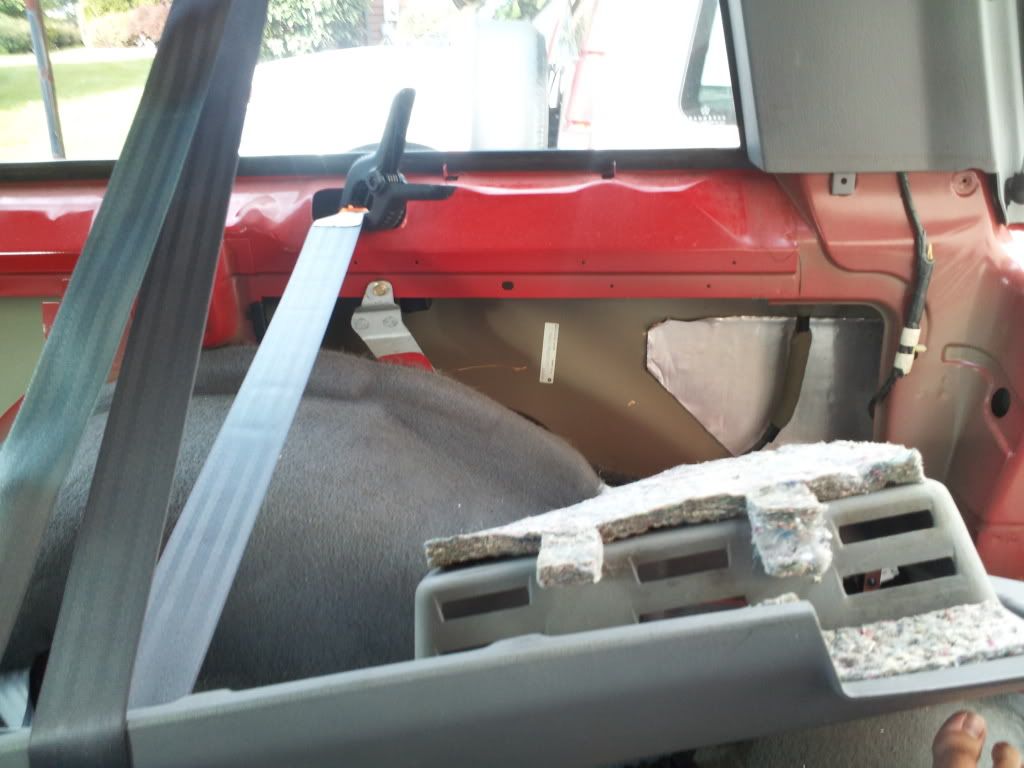
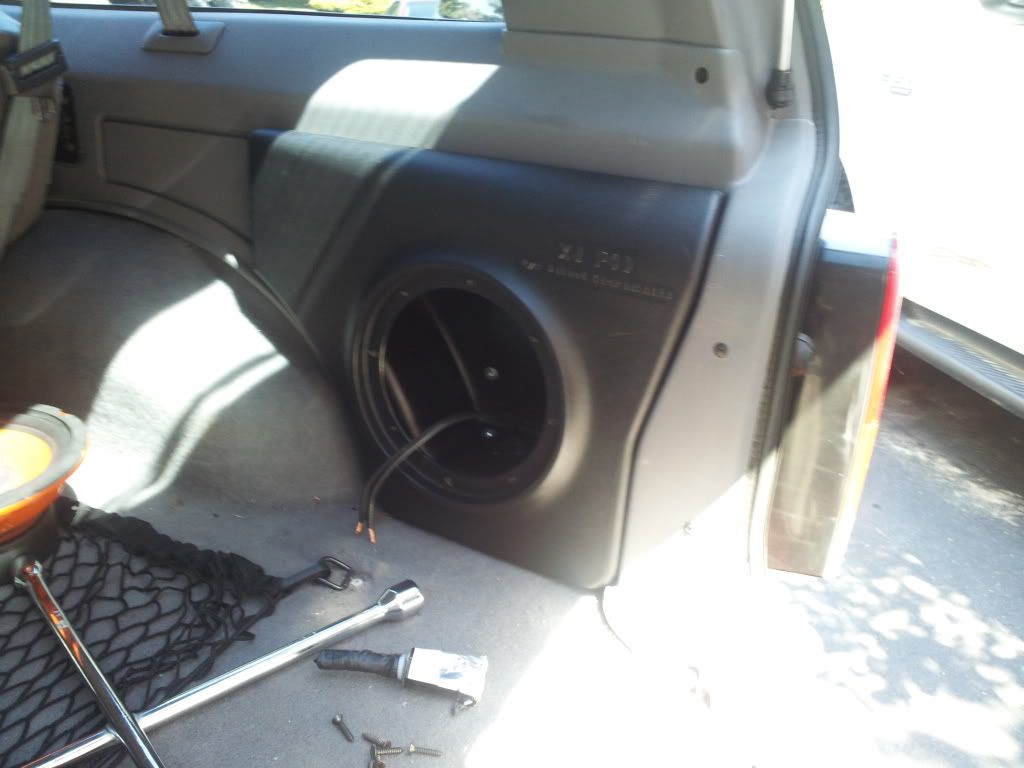
Started to install my XJ Pod subwoofer.
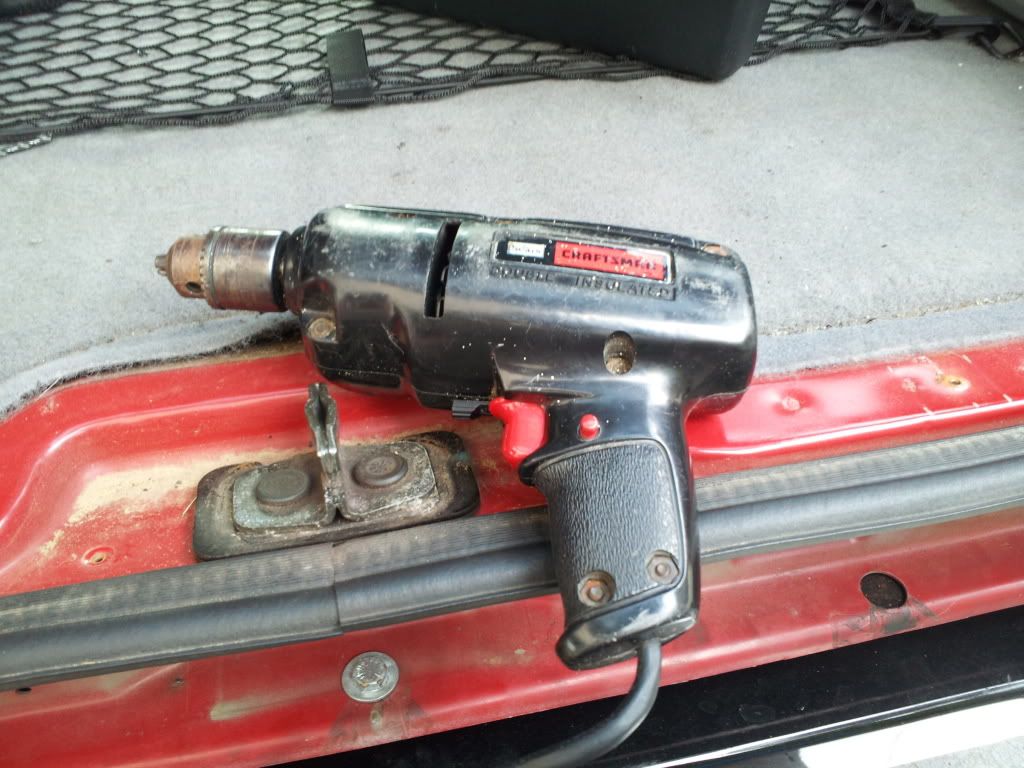
My dad's epic drill. Works great!
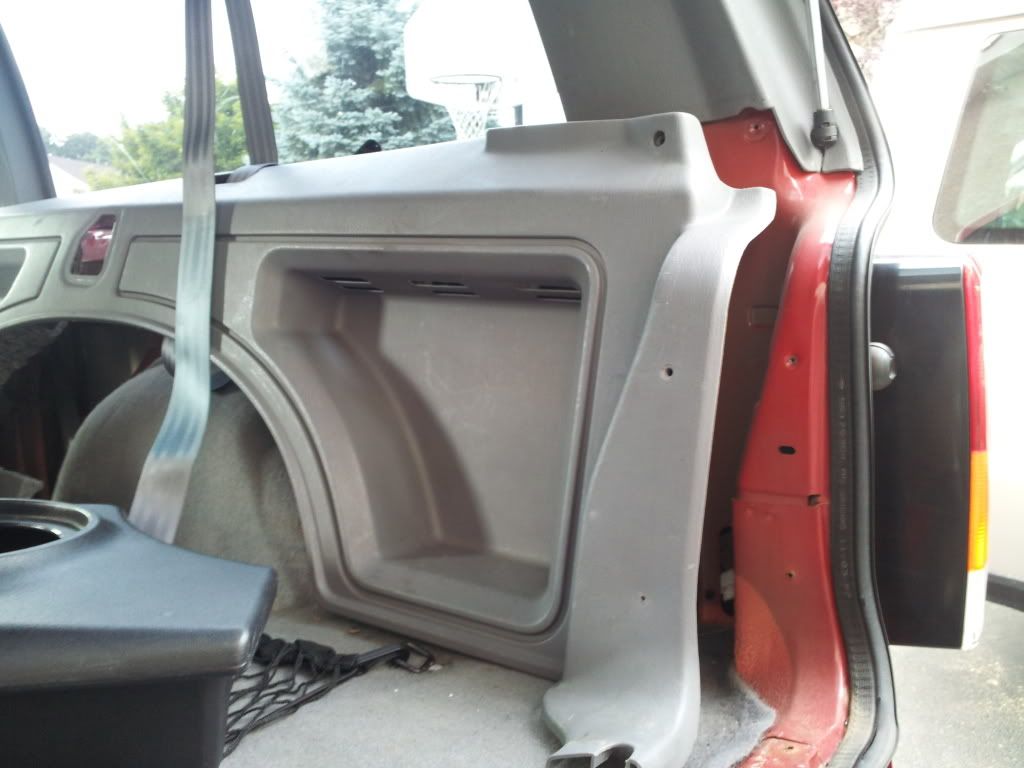
XJ Pod peeking in on this pic. I don't have pics of it attached to the grey trim piece yet... Kinda ran into a wiring headache with the amplifier that I'm using. No prob. Easy fix. Just gotta finish it...
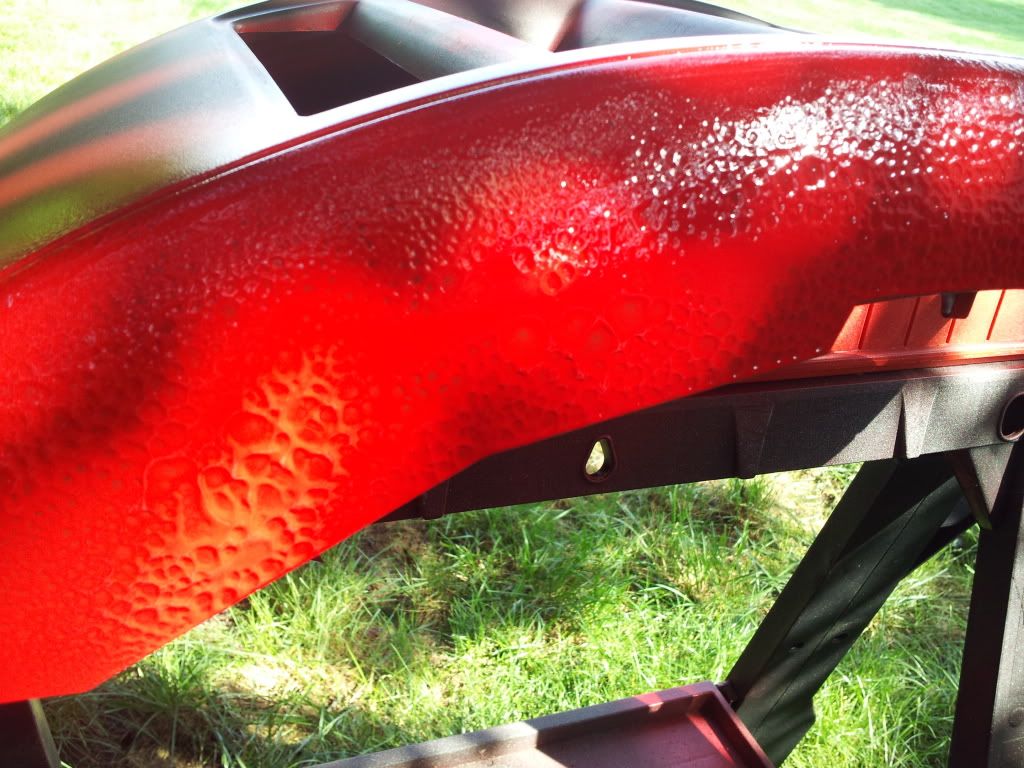
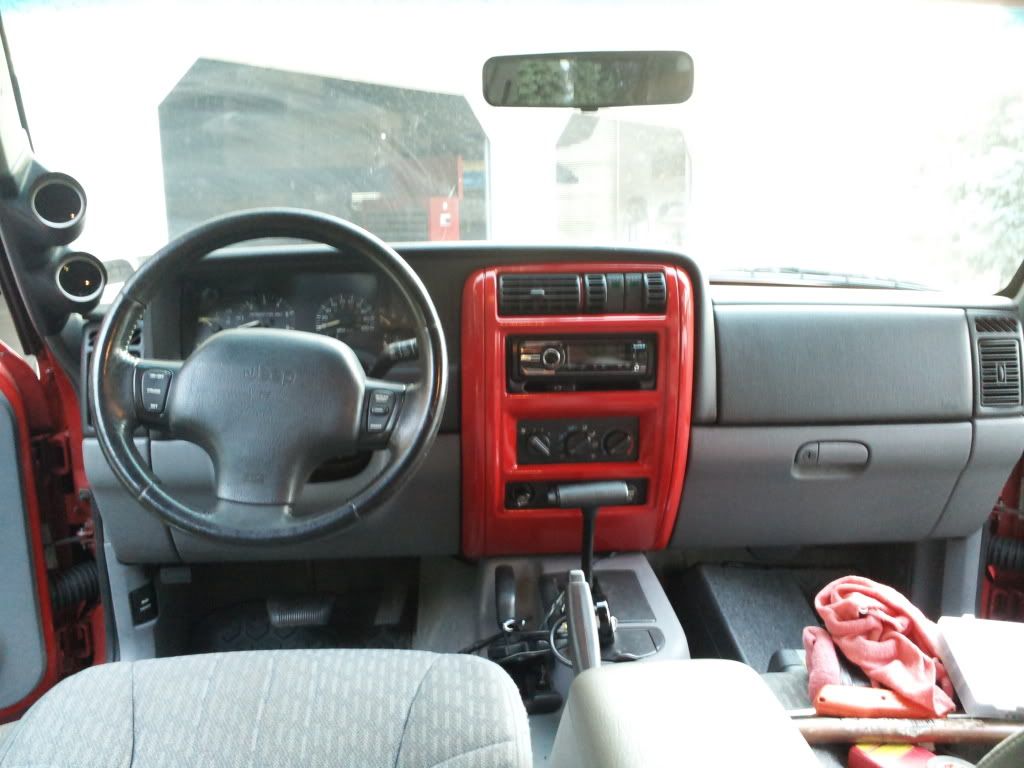
Decided to paint my center bezel red... Kinda messed up just a little bit. :brickwall::wallbash:
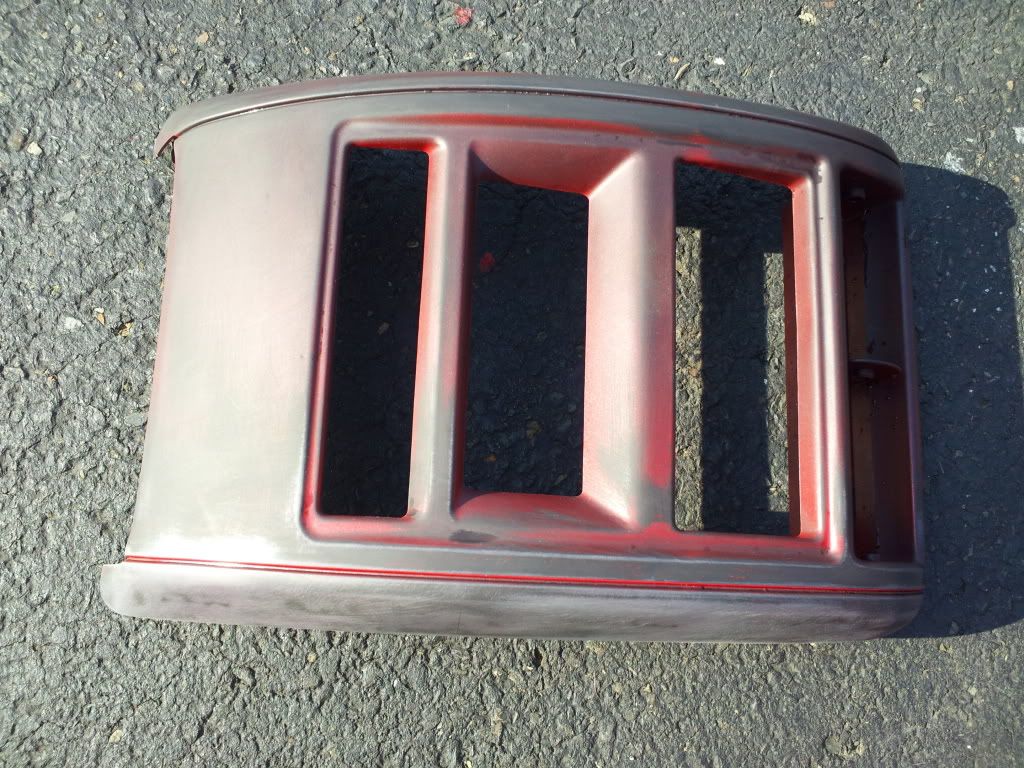
Final result after sanding that mess-up off. Took FOREVER. :bangin:
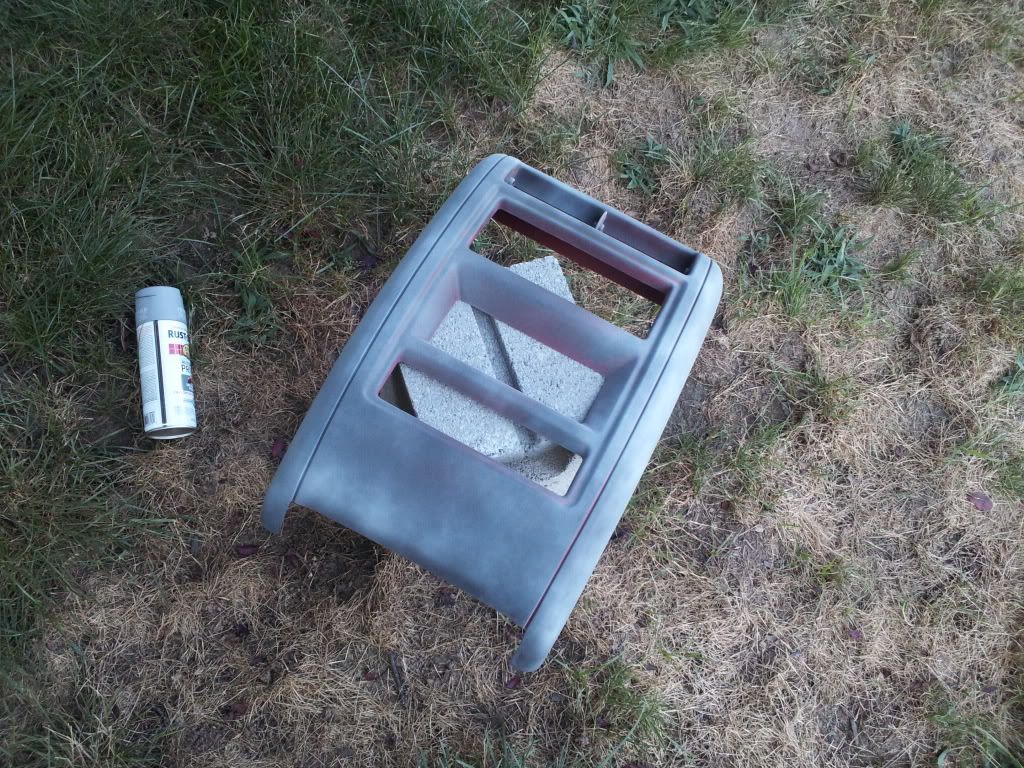
Decided to use primer this time. (this is only a very light first coat)
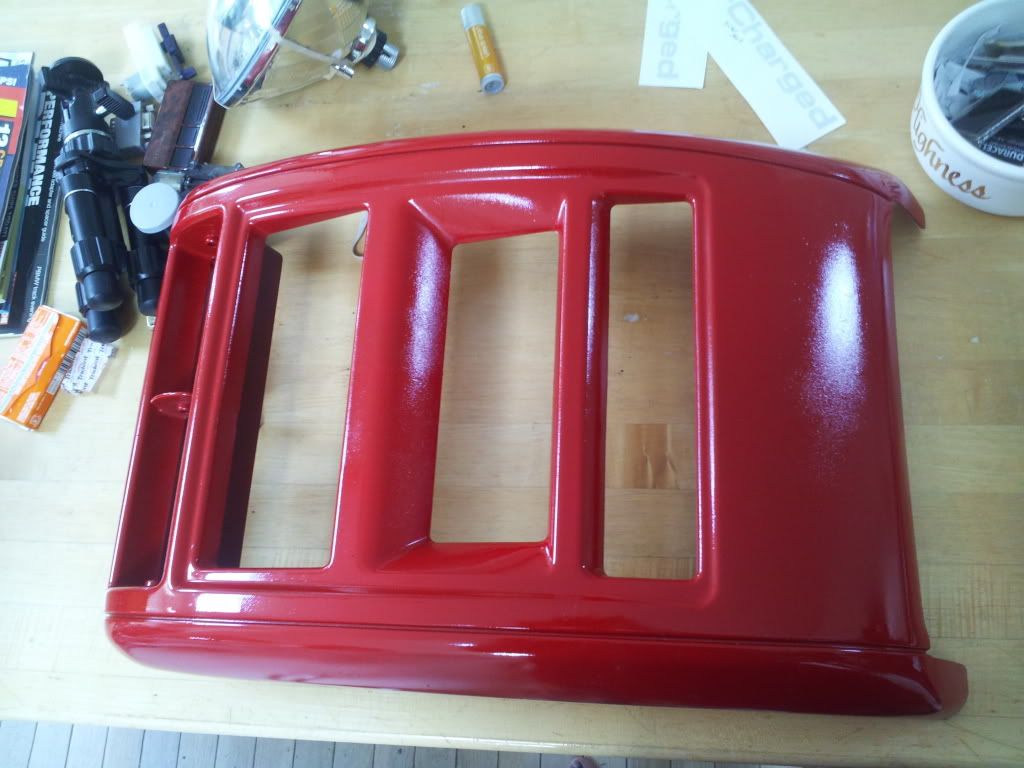
My dad was nice enough to paint it for me. :cheers:
(he also added a second coat after this one) Just gotta go to Lowes and get some gloss clear to protect the paint.
Had to touch-up the edges of my (junkyard) hood. Kinda went overboard with the paint protection but.... THERE IS NO SUCH THING AS OVERKILL!!!!! :guns:
Purdy.
Still surprised how well this paint matches the OEM paint.
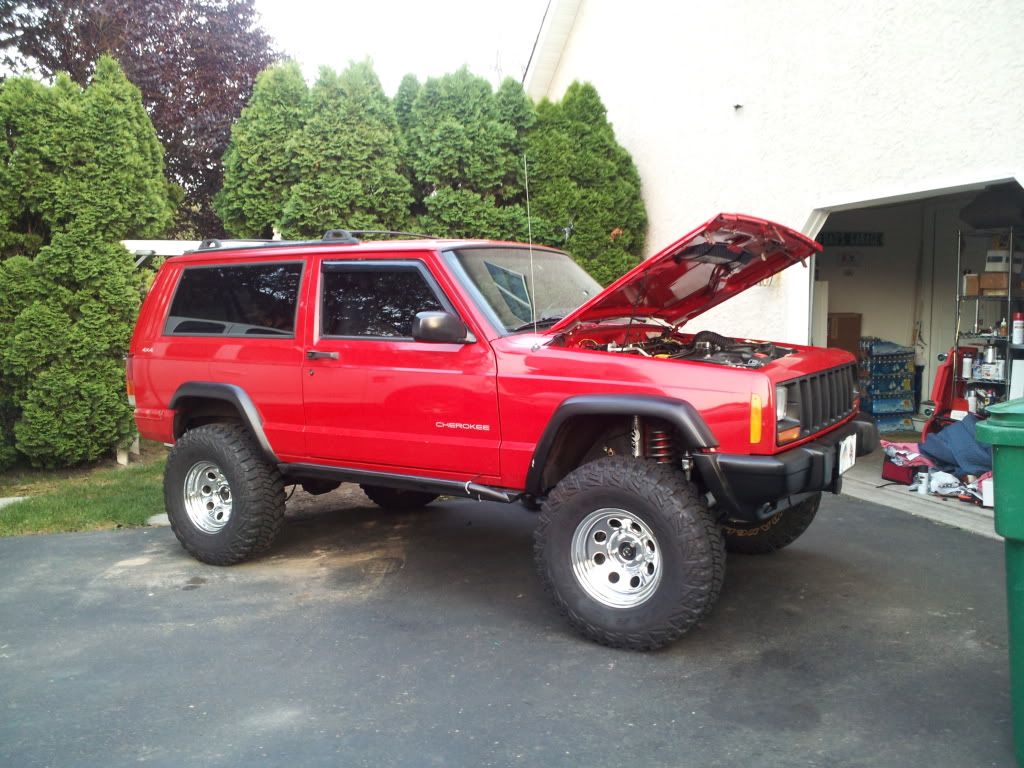
How she sits as of right now.
 |
Quote:
Originally Posted by bpas328xi
Well... Finally got my amp and subwoofer working. :w00t: Third time's the charm. :brickwall:
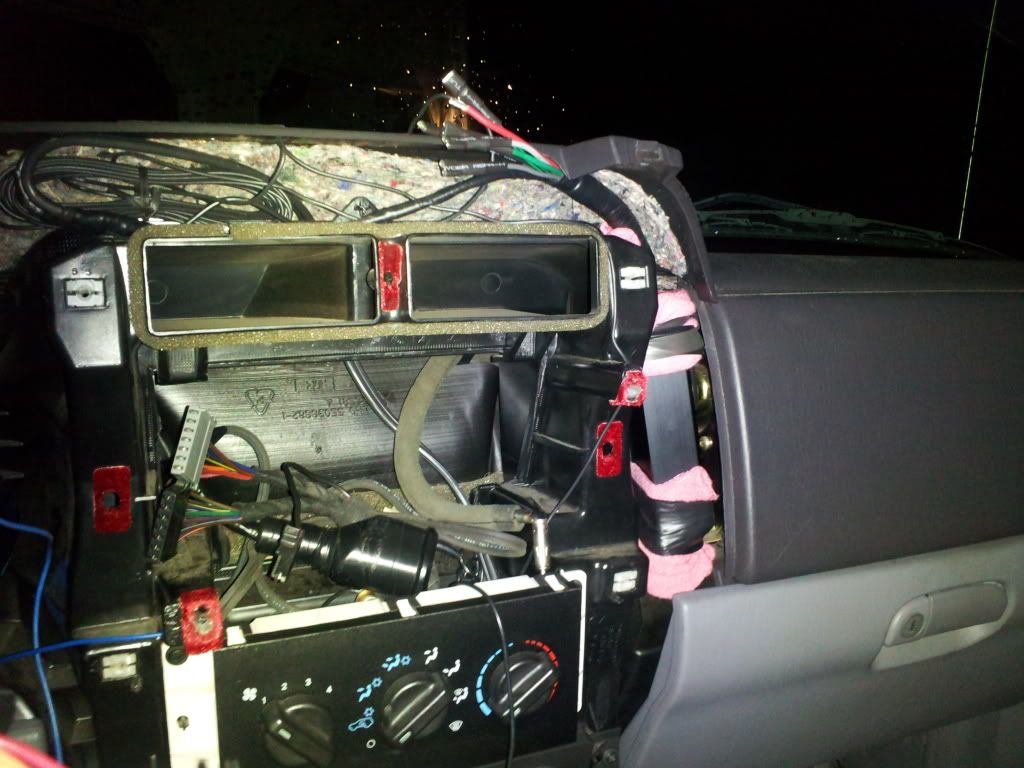
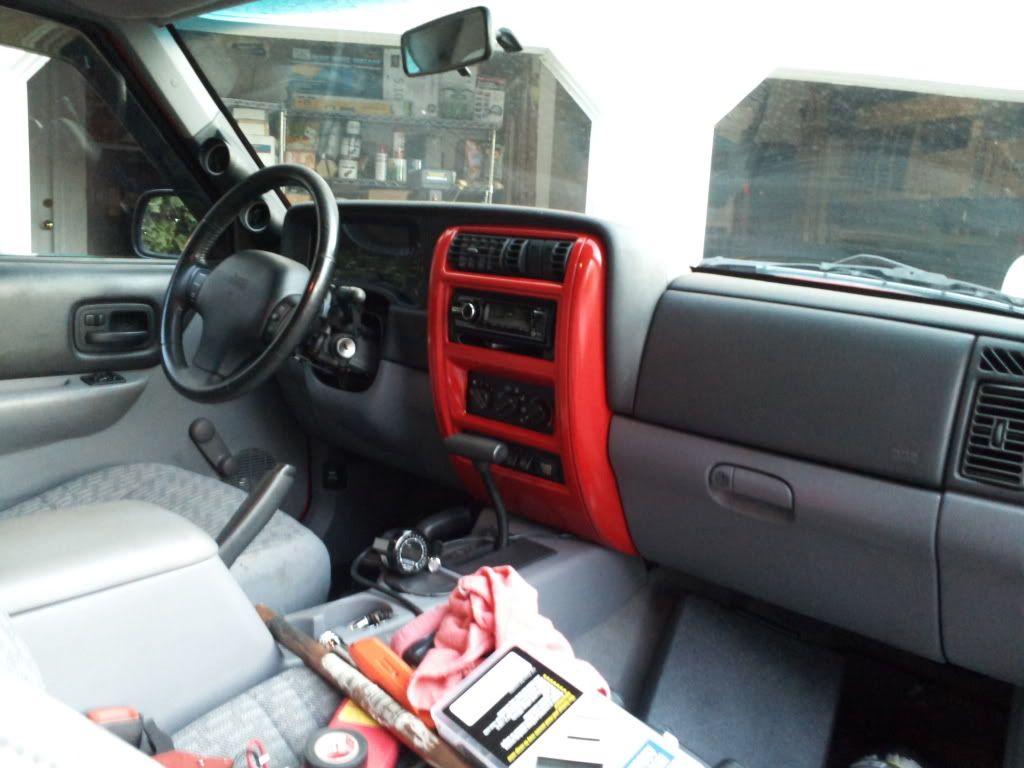
And just fyi, this is what my interior currently looks like... :icon_eek:
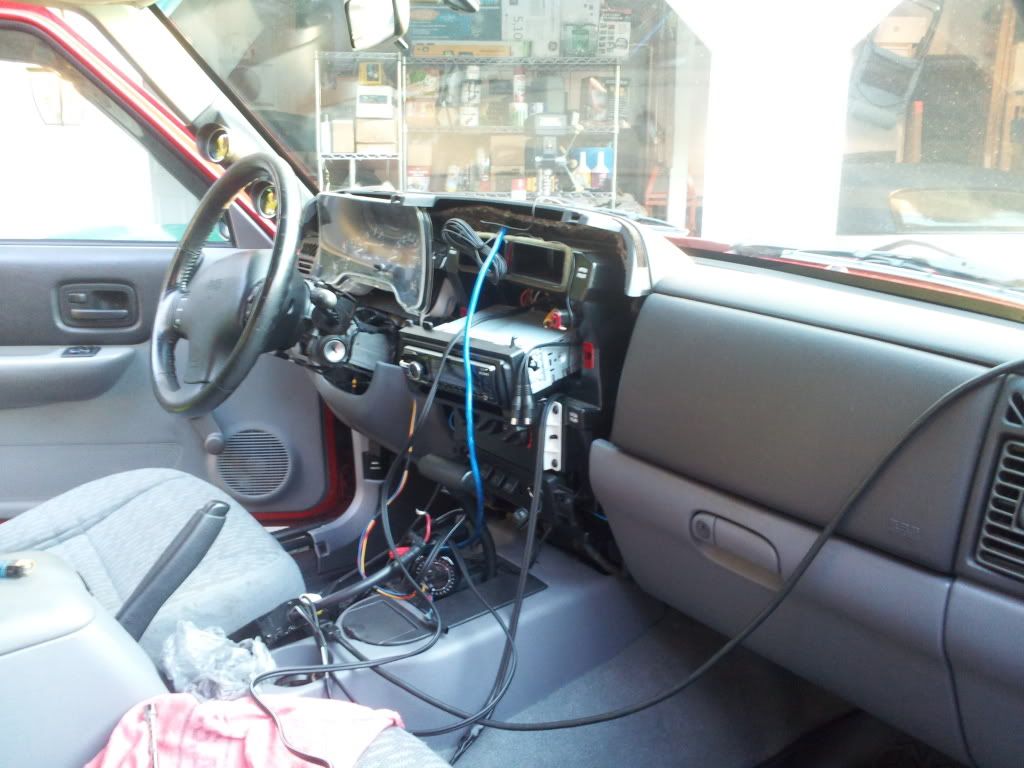
Using gator clips to make sure it works.
LIFE!!!!!!!!! IT WORKS!!!!!!!!! :guns:
(lighter is for heat shrink btw)
Now all I gotta do is properly wire it in, solder, and heat shrink all the connections. |
Quote:
Originally Posted by bpas328xi
Time for a somewhat boring update...

^^This is pretty much what I say and the face I have when I go out to work on my Jeep in the dark while it's raining. I need to get one of those epic hats though... :/
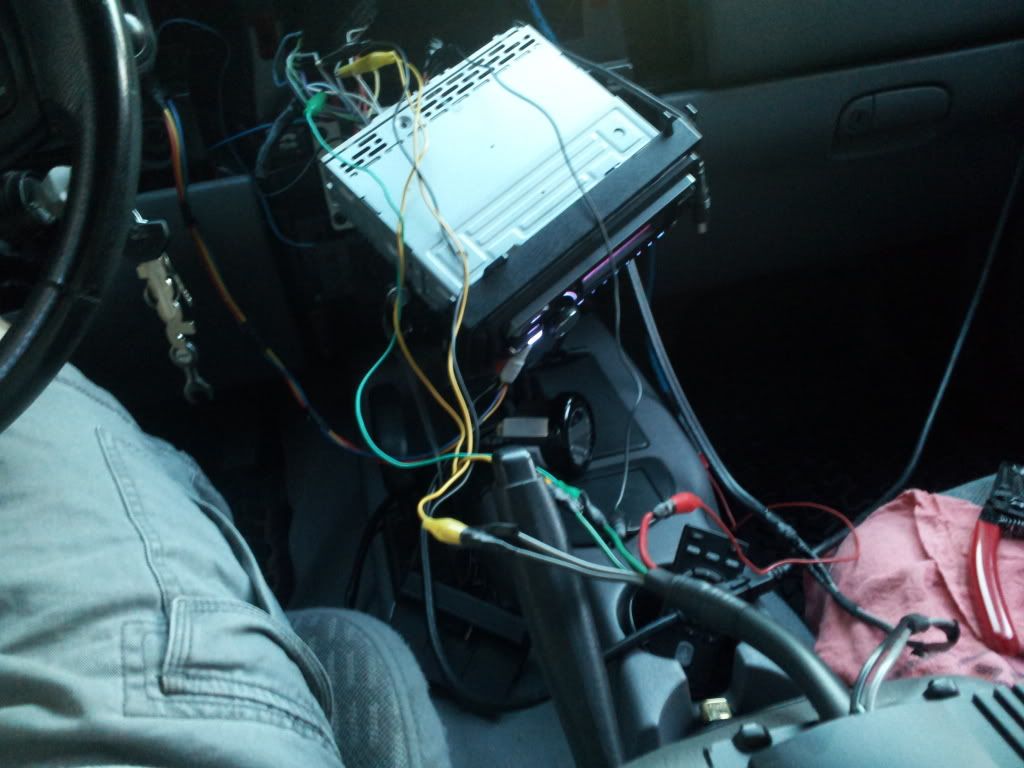
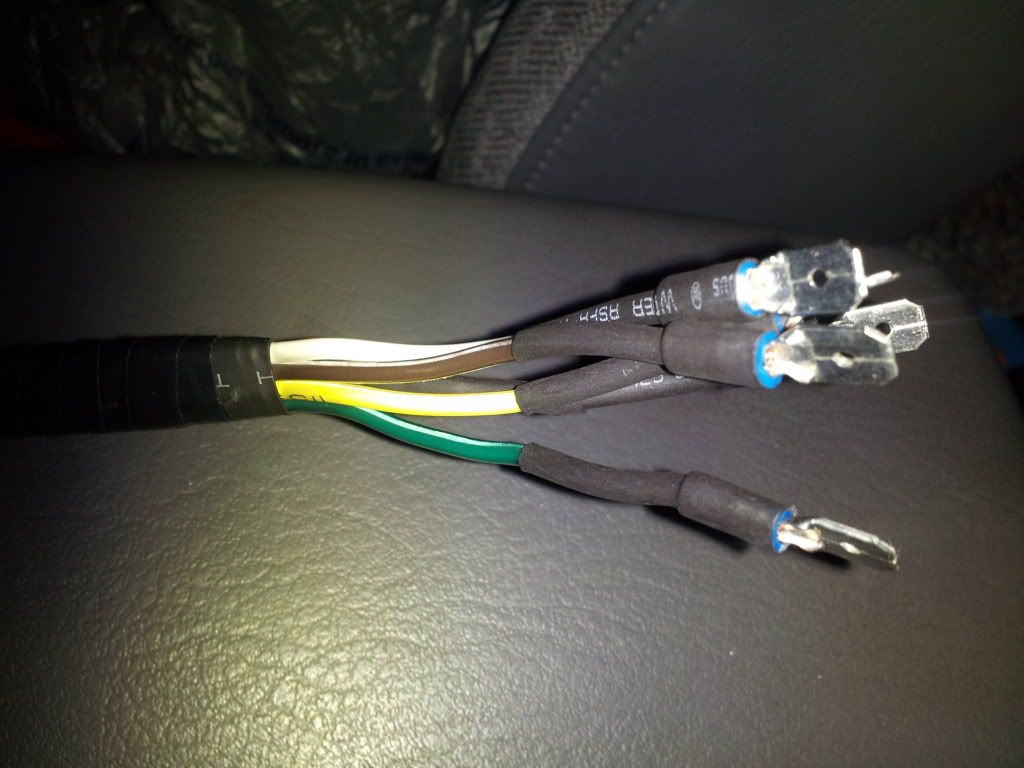
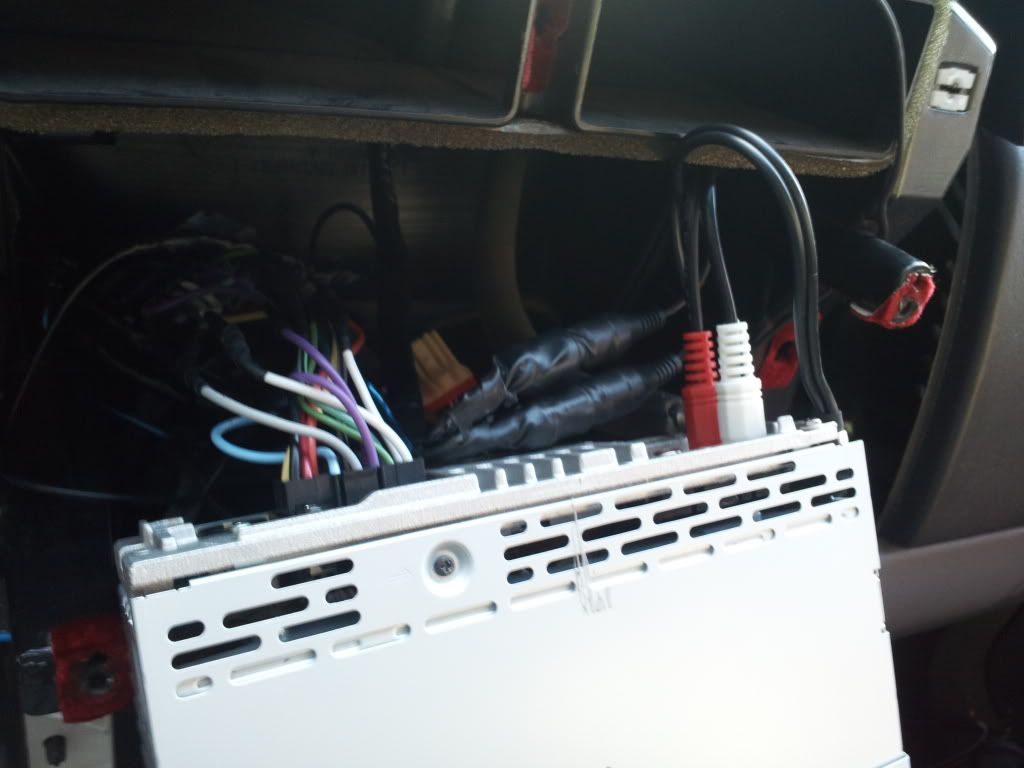
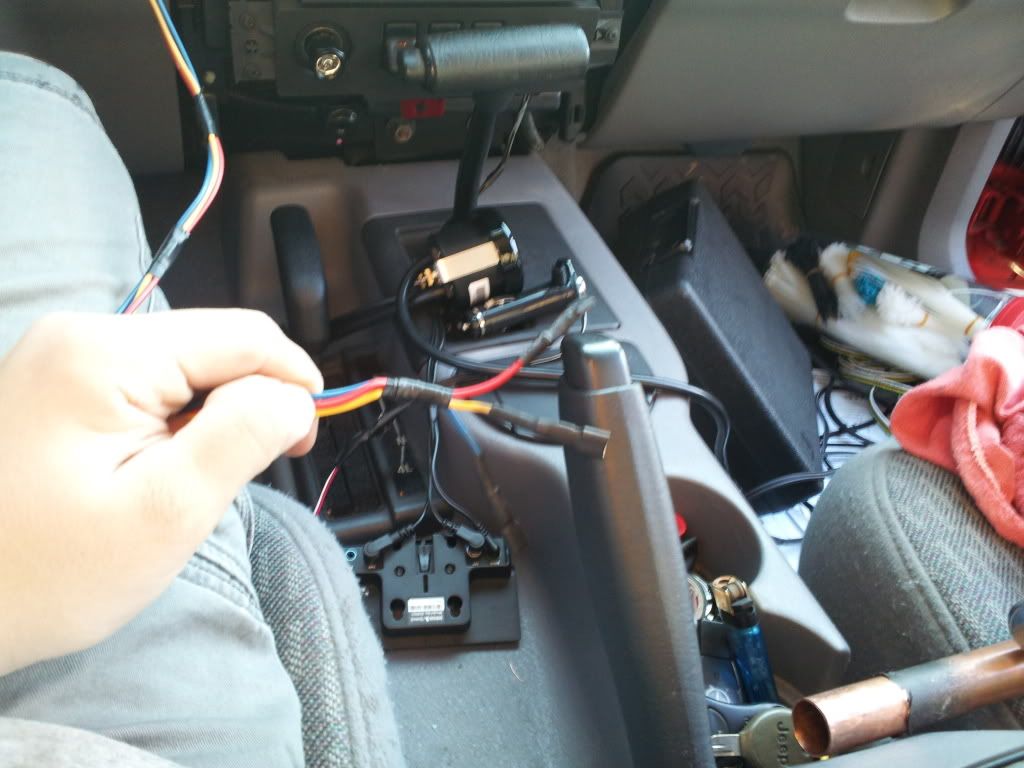
Didn't get much done today, but I did modify the radio adapter cable so the amp will just plug right into the radio. Here is my pseudo-pro attempt at making a wiring harness.
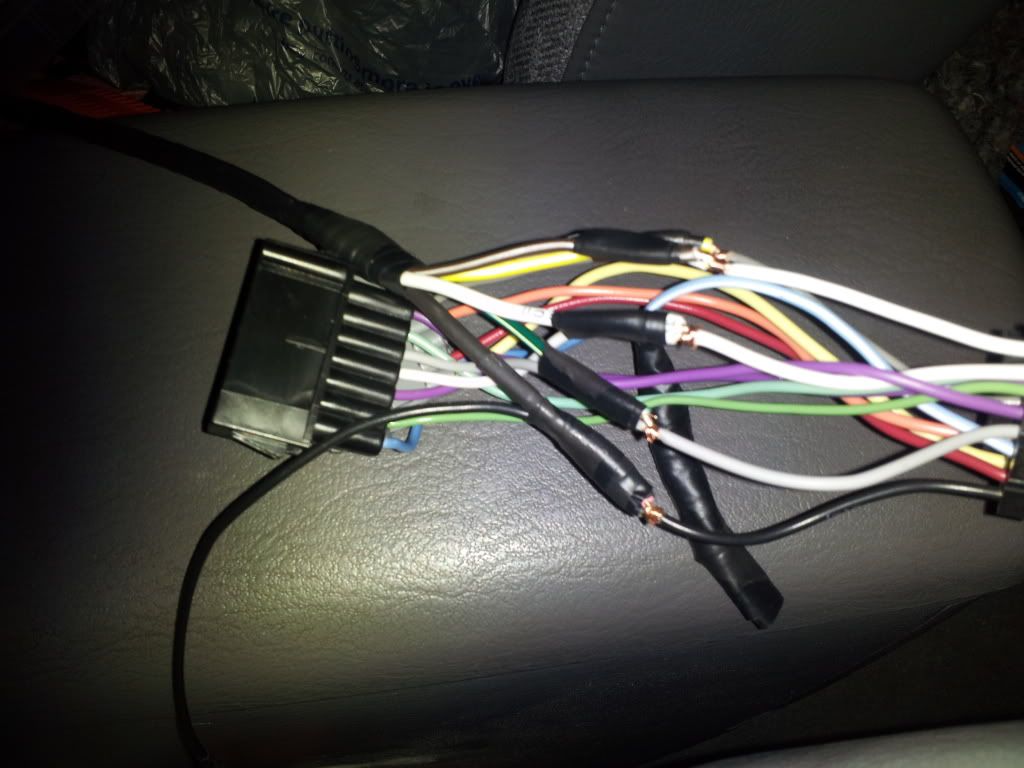
Ready to be soldered connections (already soldered them but didn't take pics)
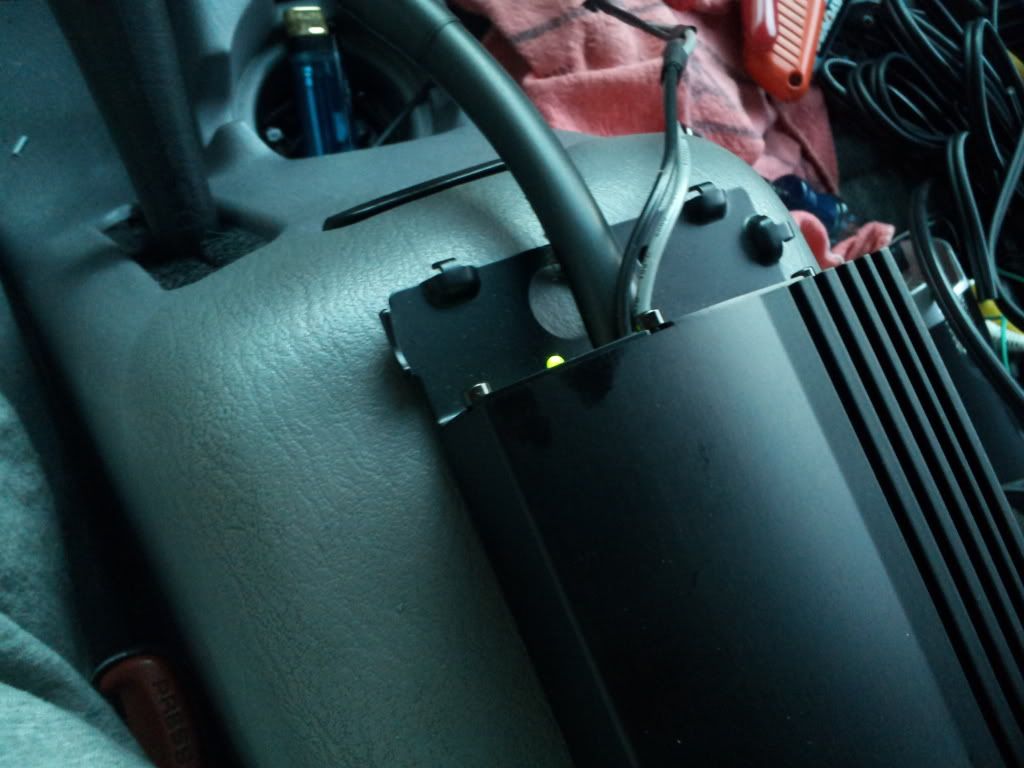
I'm trying to be sneaky and mount my amp there. Hopefully the plastic dash thingy will fit back on with the amp in that location. (you can also see the modified power supply for my XM radio head unit) |
Quote:
Originally Posted by bpas328xi
Update time. Got some more work done on installing the new amp.
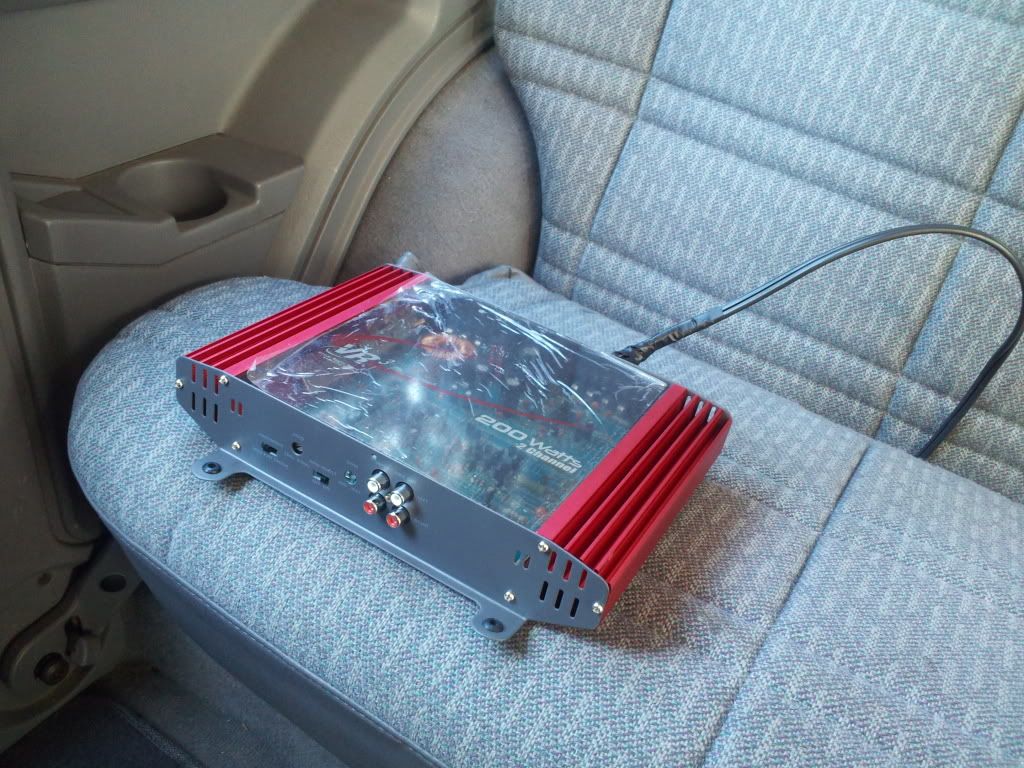
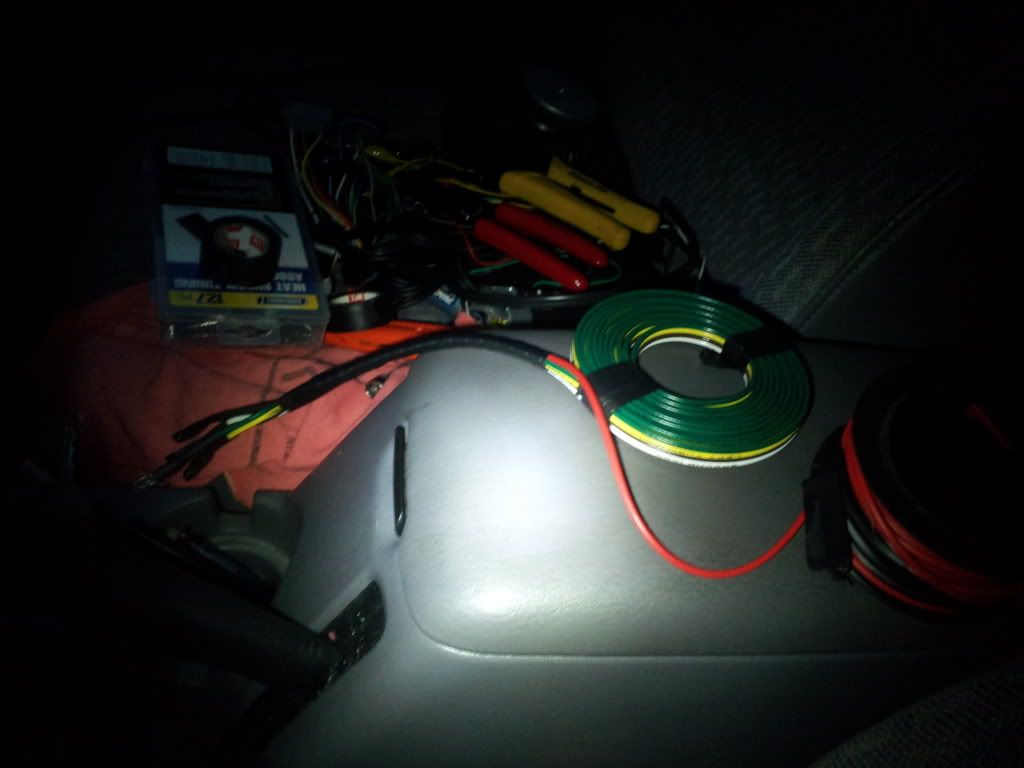
Where I left the amp the other day. (It's now mostly wired up and is under the seat, but I don't have a pic of that yet :whistling2
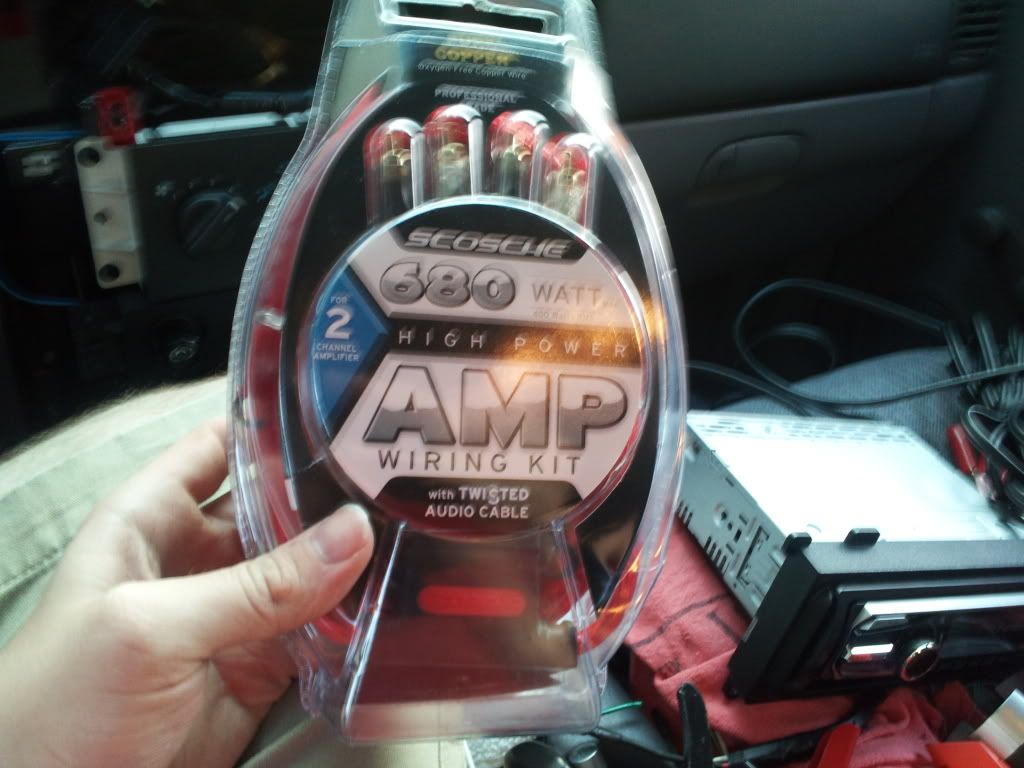
Got some new wire to replace all the stuff that I cut up. (PO had the Jeep pre-wired for an amp). A lot better than trying to reconnect the wires I shortened (thought I was going to install the amp in the dash, but that amp didn't work the way I wanted it to, so I had to get a different one :brickwall
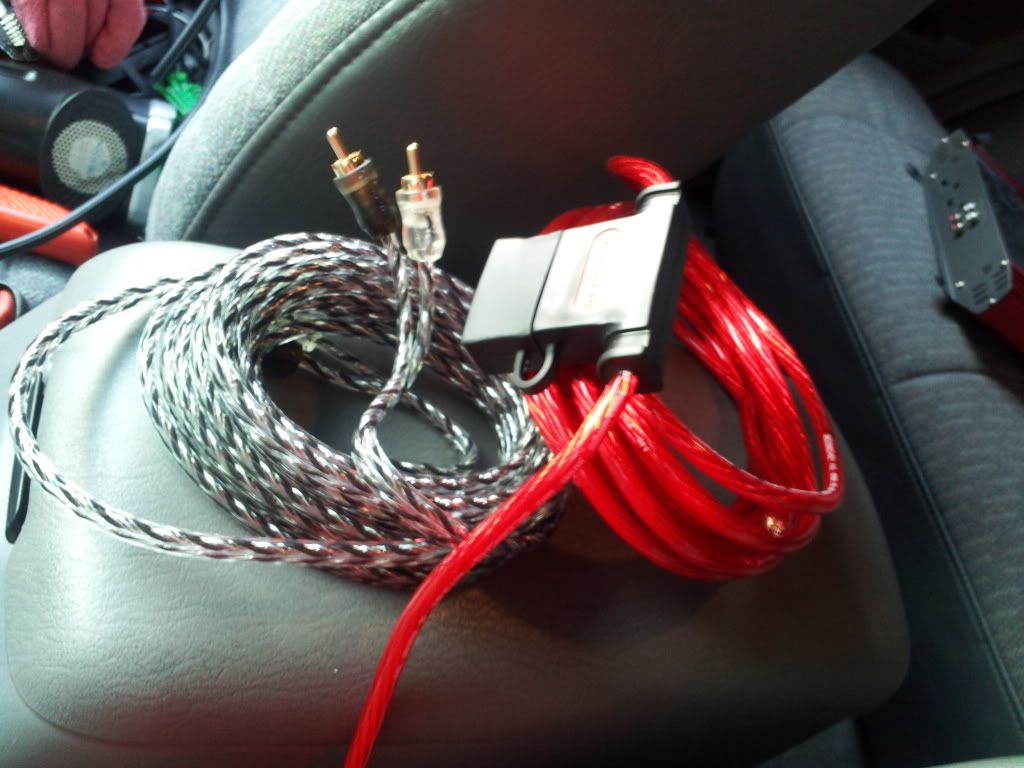
Purdy wires. :batman:
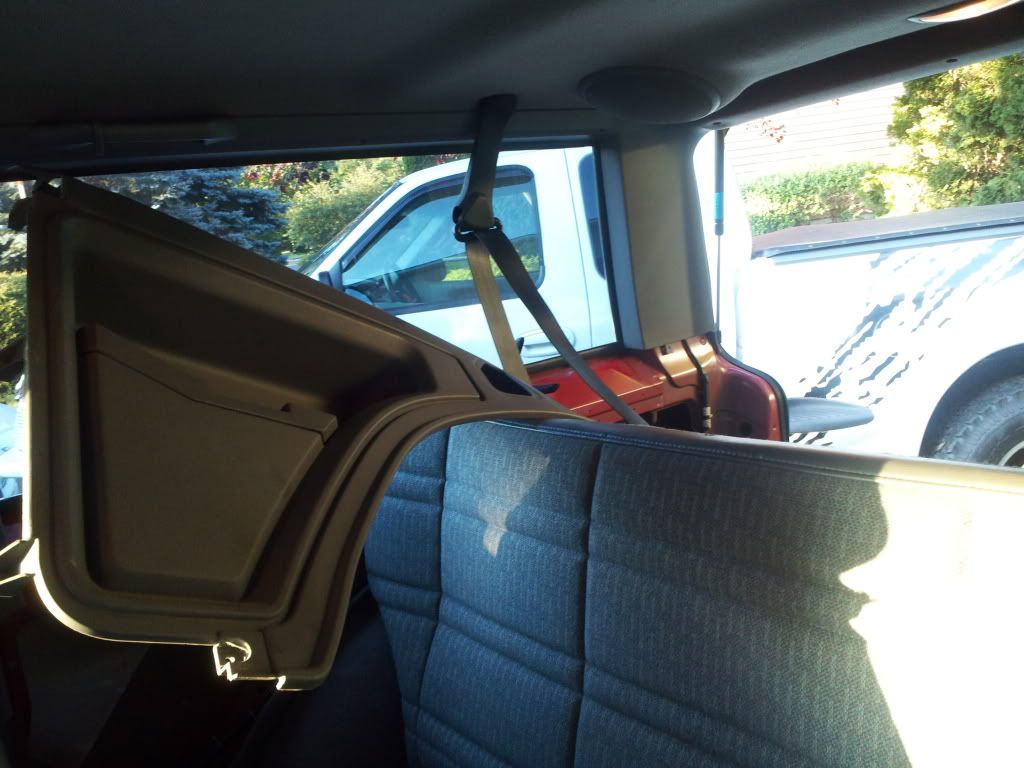
XJ Pod is finally fully installed.

Just gotta put this back in it.
And that's all I've got pic wise for now. I'll probably post moar tomorrow. :euro: |
Quote:
Originally Posted by bpas328xi
Okay... Update. I think. It's either an update or just an excuse for me to photo whore my build thread...:sorcerer:
While I finished wiring up my amp, my dad painted the snow plow thingy. :cheers:
Little piece of advice for those rubber isolator things. Lick the insulation on the wire. Makes it SOO much easier. :tt2:
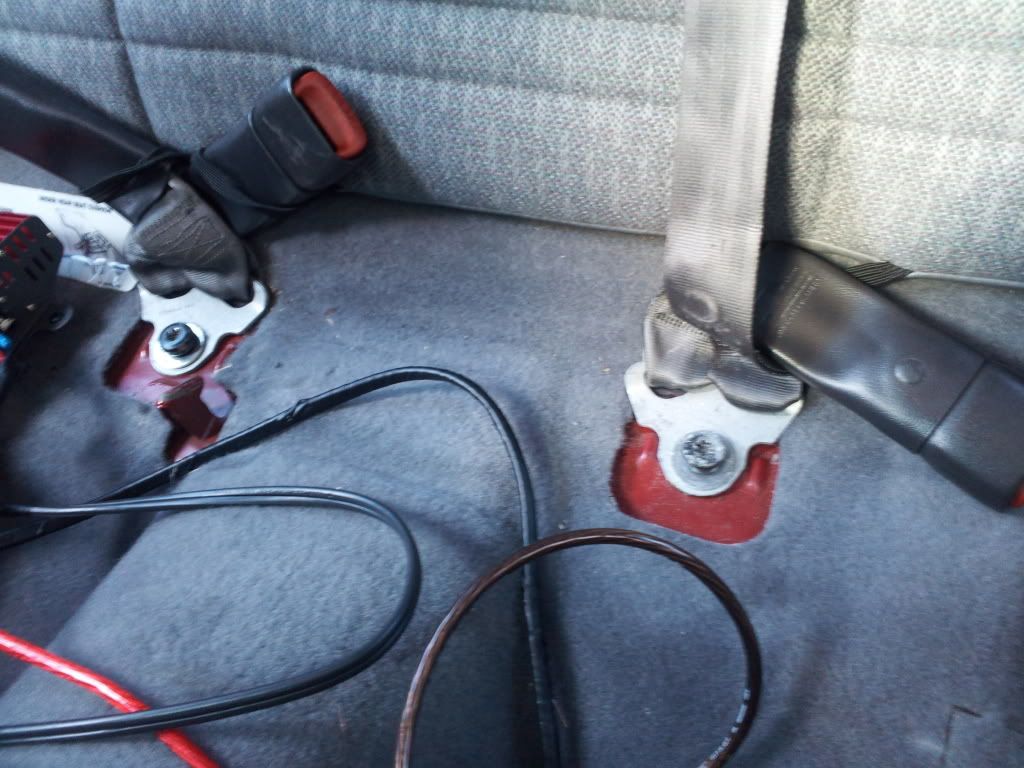
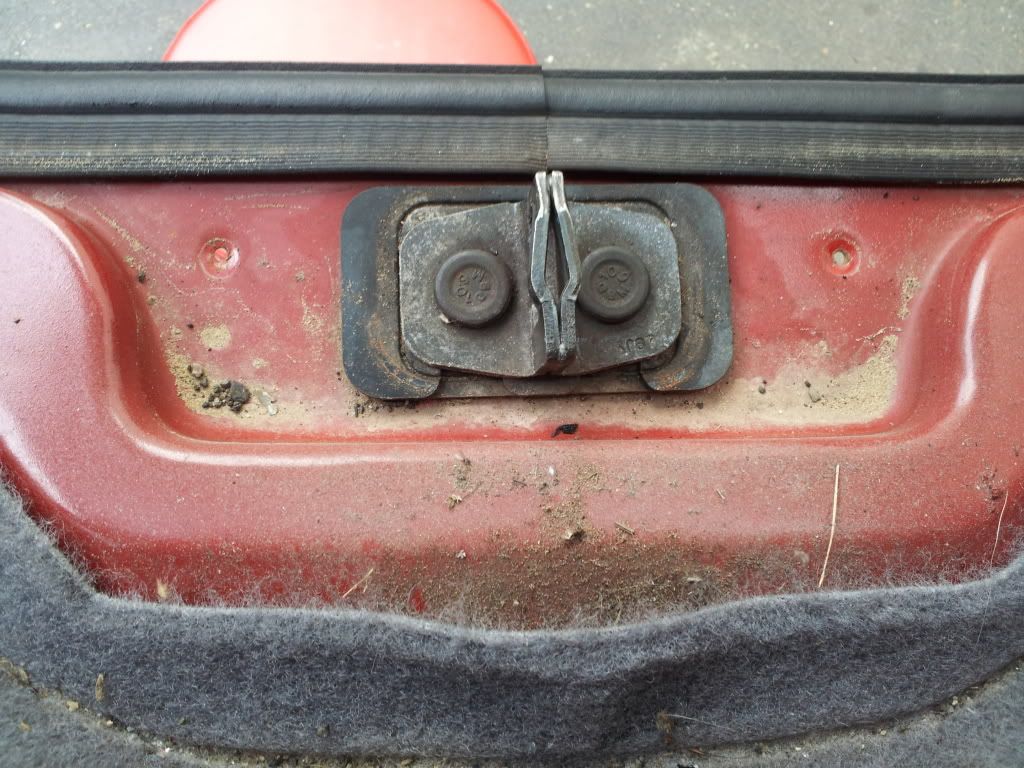
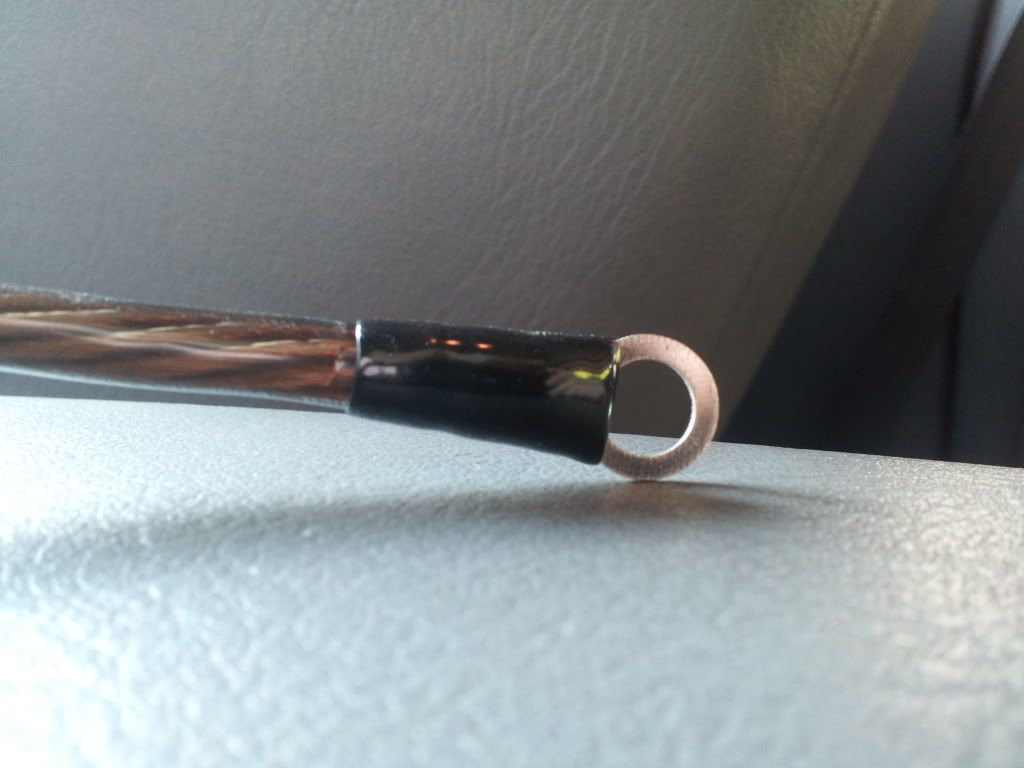
I was going to grab ground for the amp at one of the seat belt bolts, but that idea kinda went topsy turvy after I stripped the second torx bolt. :cursing:
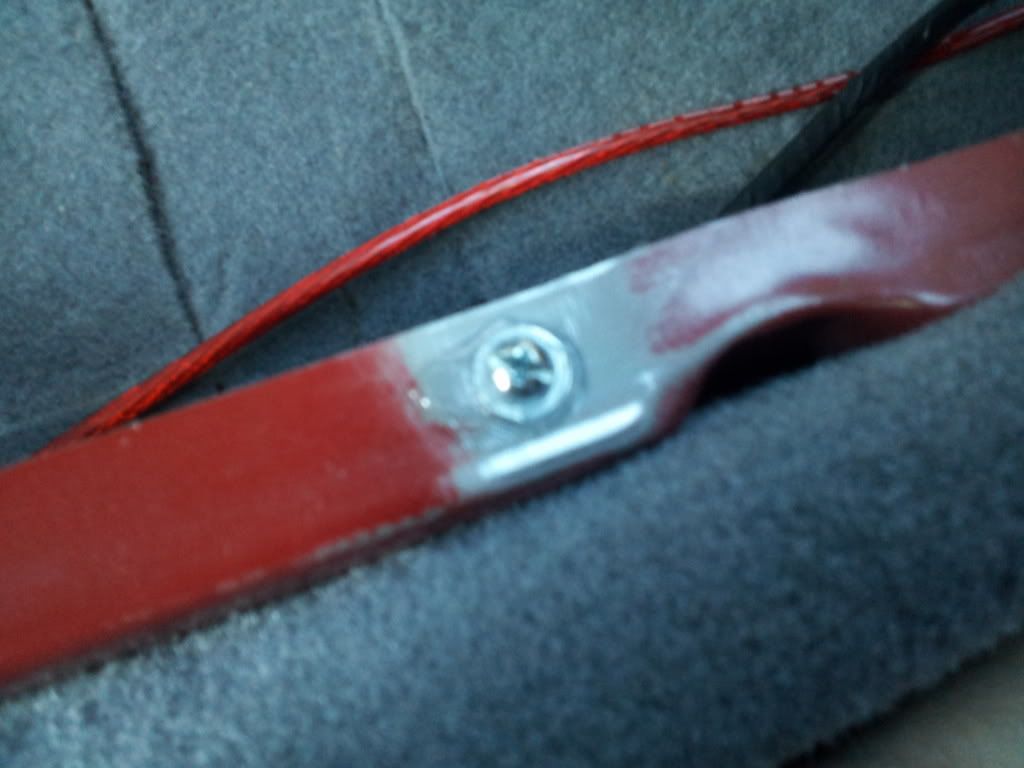
So I just did this. And smothered it with di-electric grease.
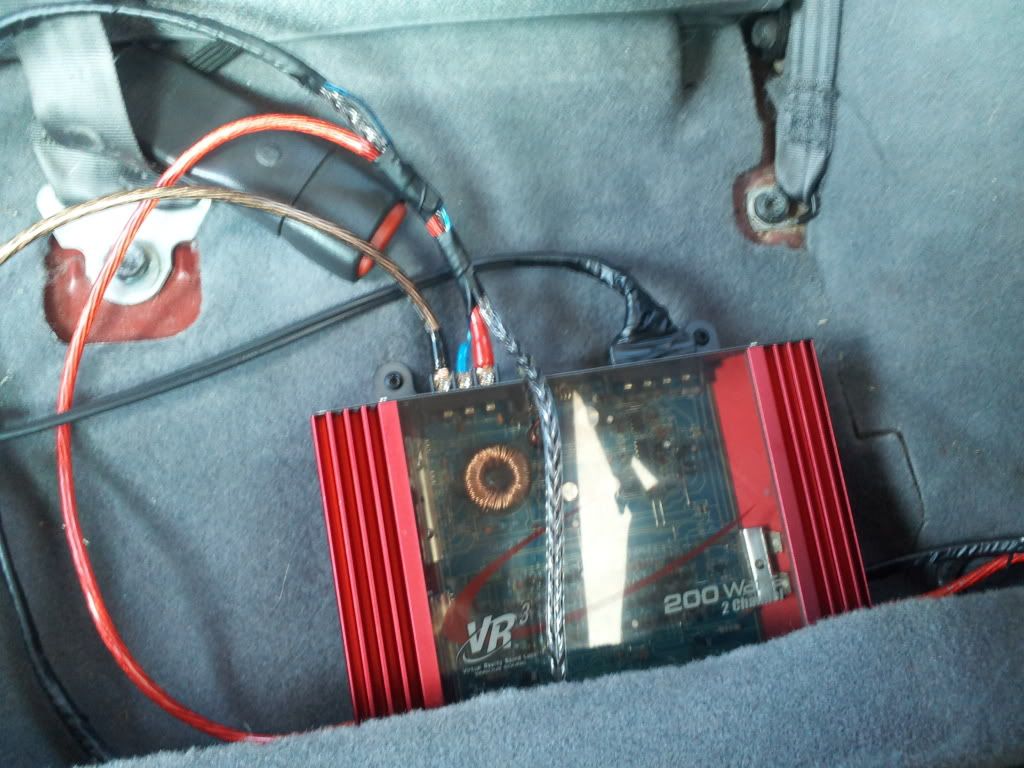
Amp in final resting place. (I cleaned up the wiring, but forgot to take a pic... :001_unsure
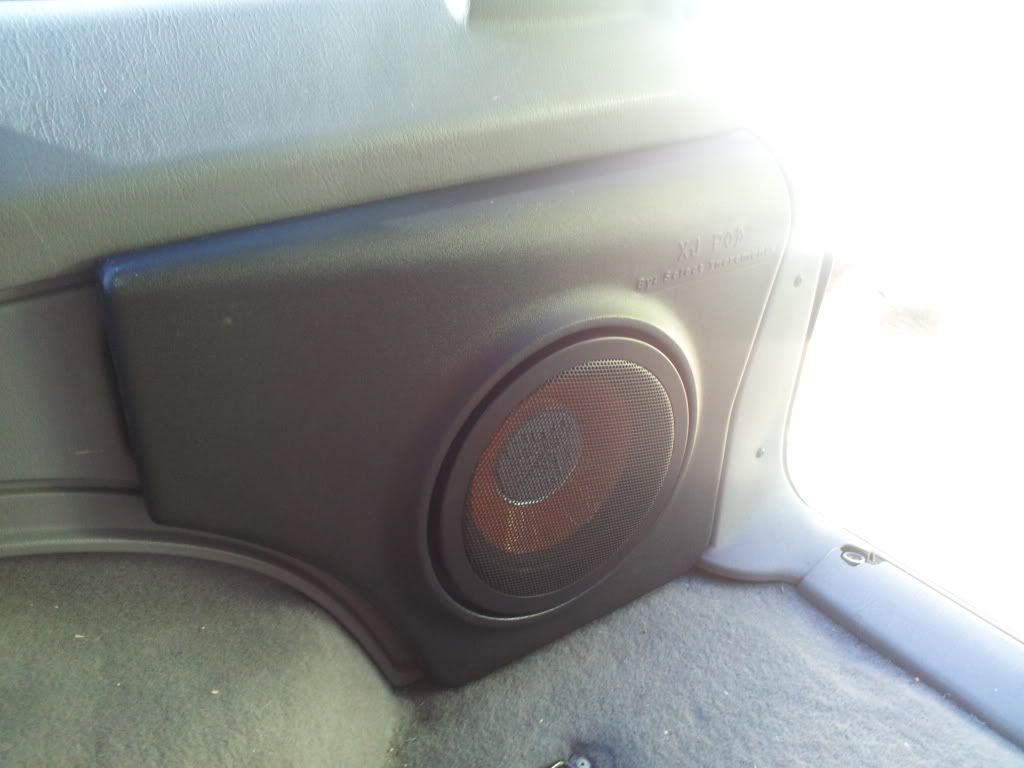
XJ Pod fully assembled.
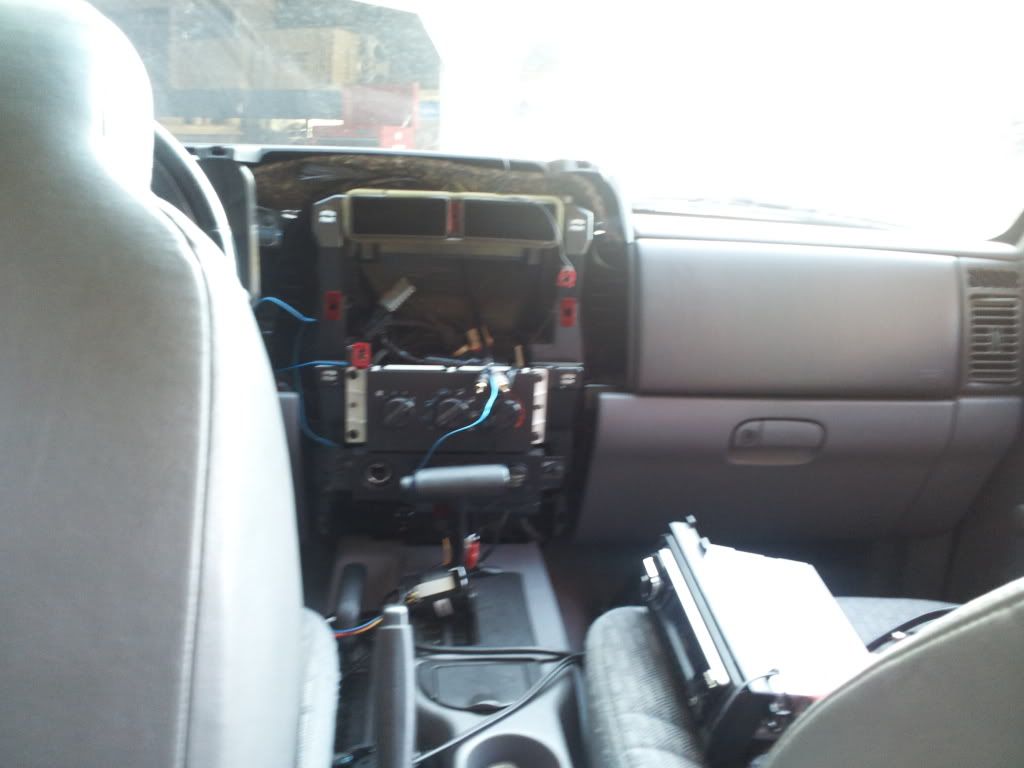
Ugh. Dash needs put together. :wacko:
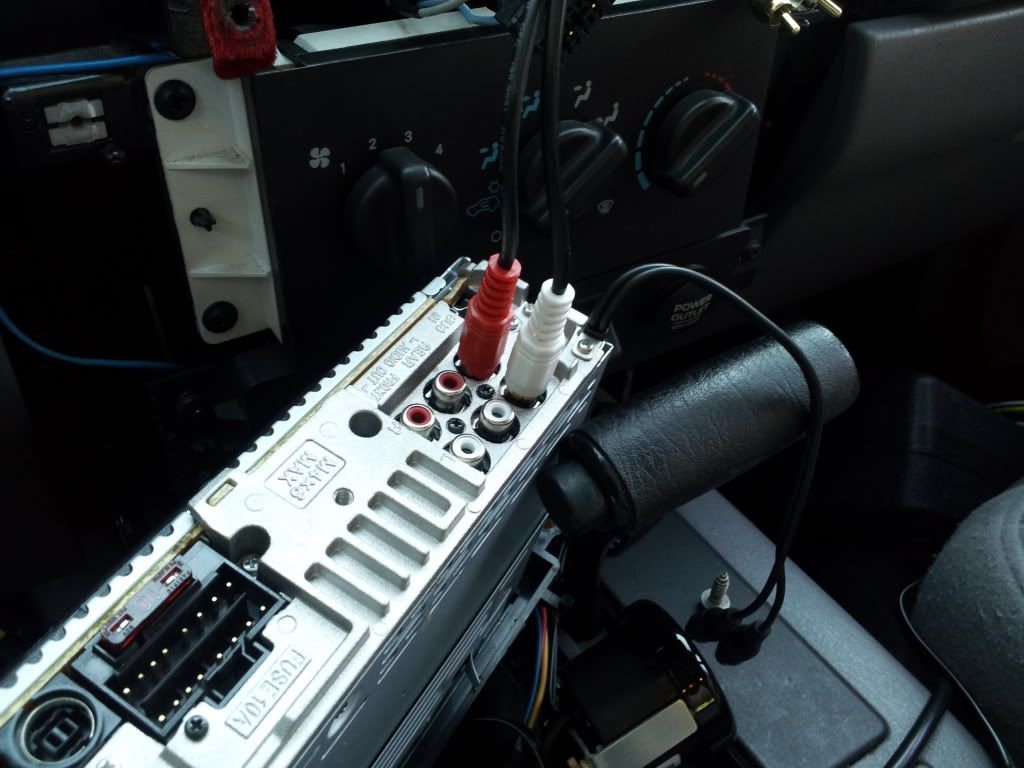
My super awesome aux in mod for Sony Xplod head units. :guns:
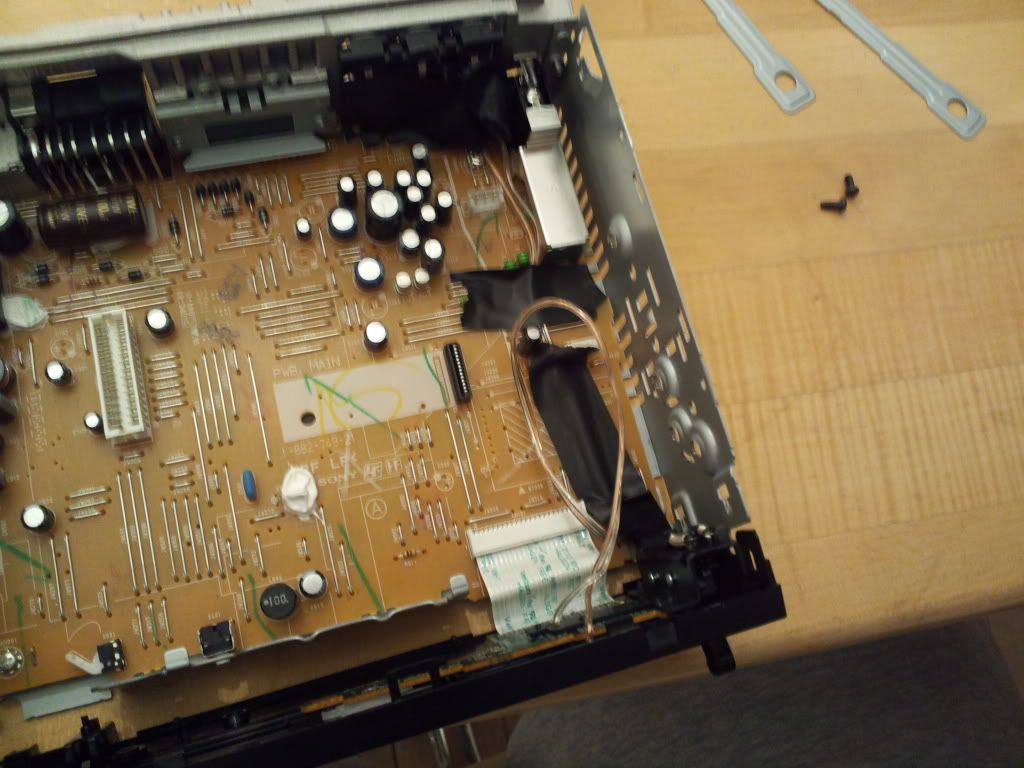
Kinda makes it easy when the connections are labeled with what they do. Makes modding that much easier. Lol. And I also voided the warranty on this head unit the second I decided to take it apart (literally a couple days after I got it). :gunsmilie:
Radio connections. radio and speaker stuff, amp, aux in, antenna (hiding).
Back in and ready to test...
Y U NO WORK?!?!? Oh... That's why. Derp.  ops:
Let's try that again. Still gotta clean up all the wiring I added...
Btw, heat shrink. Use it. ON EVERYTHING!!!!! :shuriken:
Idk why I took this pic... Looks cool though. :thumbup1:
And...............
.
.
.
.
.
.
.
.
.
.
.
.
.
BOOM!!!!!
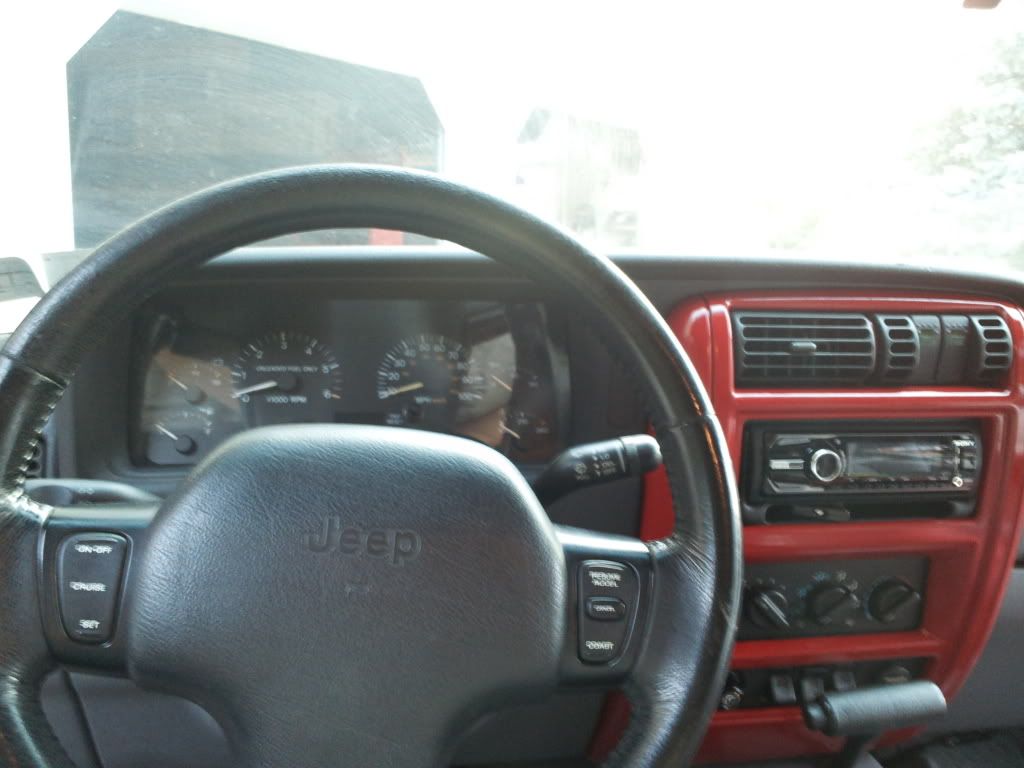
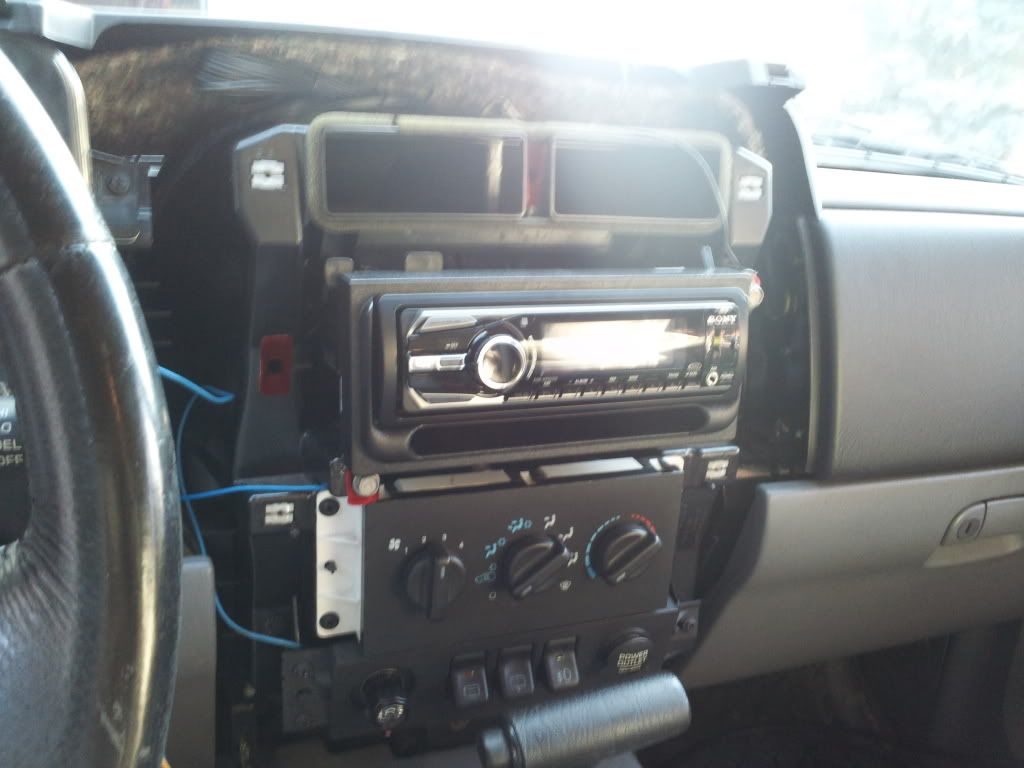
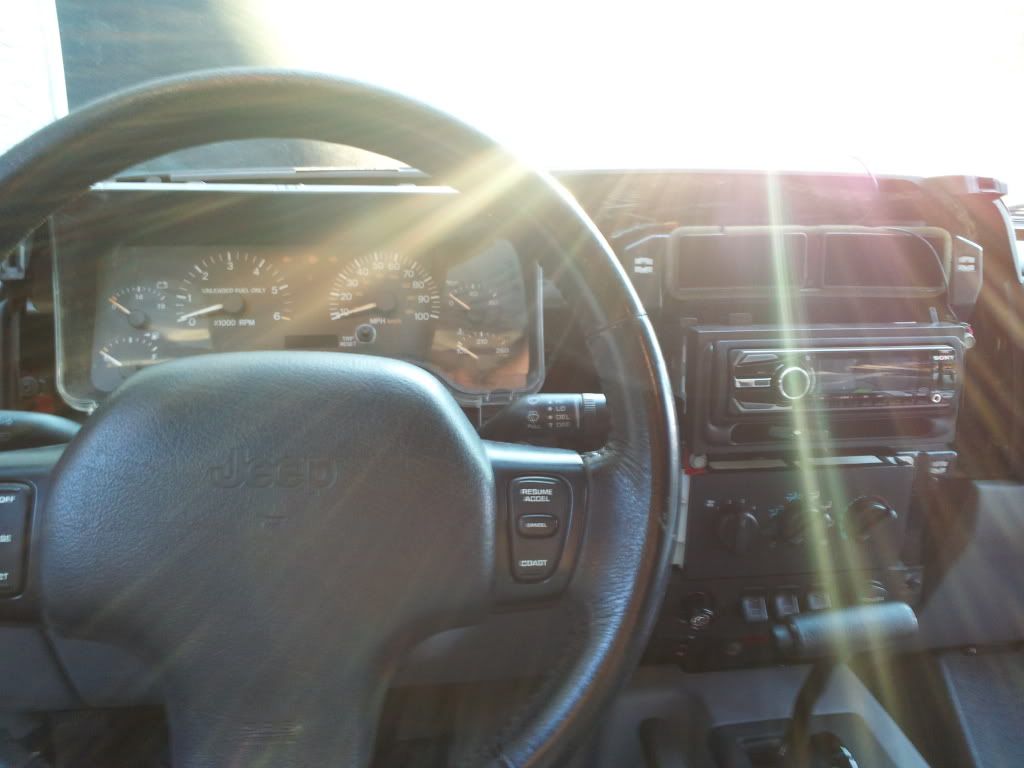
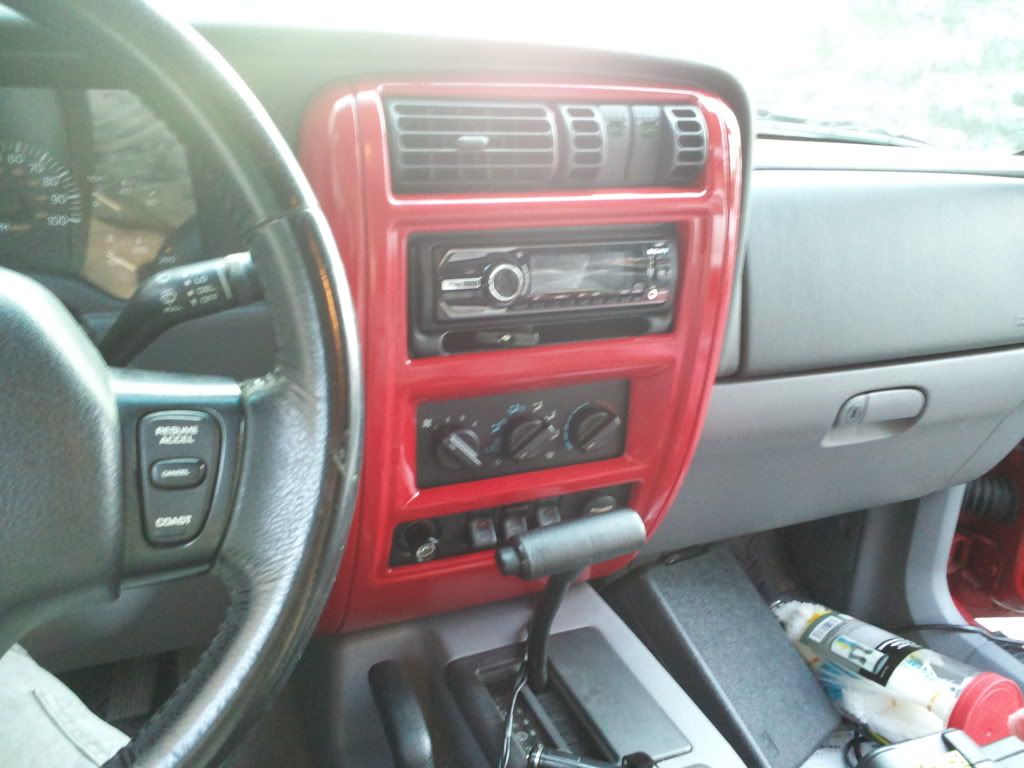
Finally put the dash back together and installed the center bezel that my dad painted. Me likey. :guns:

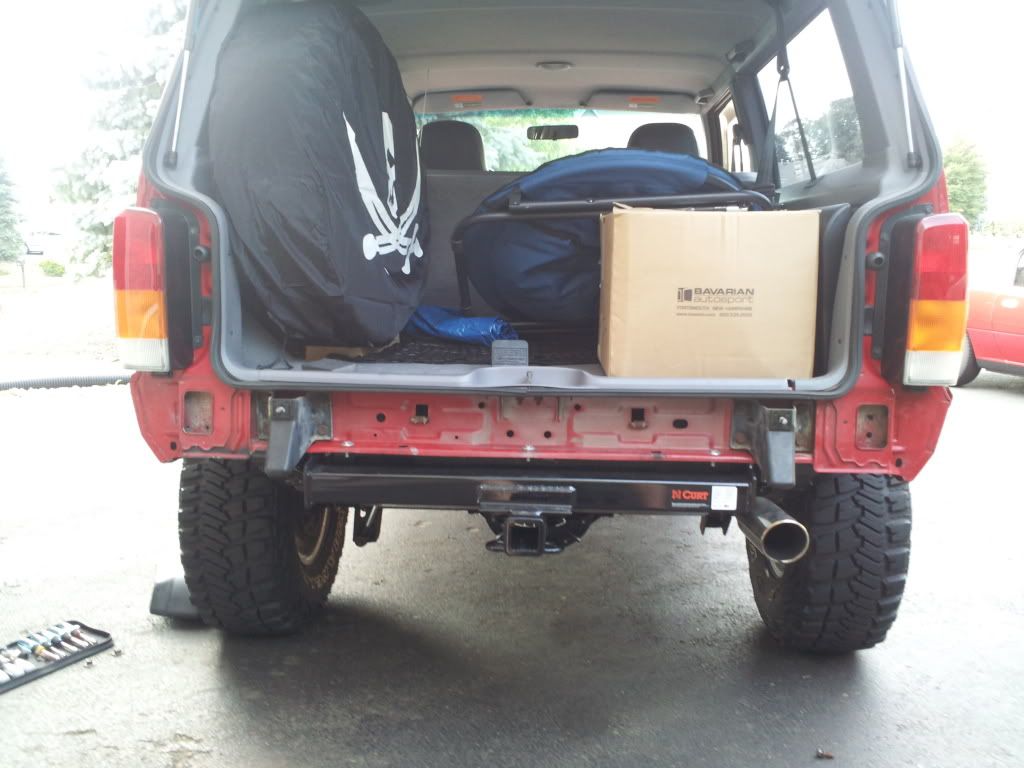
My dad gave my endcaps a make-over. Looking much better now. Just gotta get the rear bumper back on.
Fyi. This update brought to you by a Coca Cola and Coca Cola Icee induced sugar and caffeine overload. And the music I am currently listening to is brought to me by Octane. :gunsmilie: |
Quote:
Originally Posted by bpas328xi
|
Quote:
Originally Posted by bpas328xi
|
Quote:
Originally Posted by bpas328xi
|
Quote:
Originally Posted by bpas328xi
Lol. AFR is spot-on under boost, timing retard is extremely conservative (until I strap it to a dyno), intake temps are a little... Toasty (might be a problem), so meth is definitely a mod that will happen in the near future.
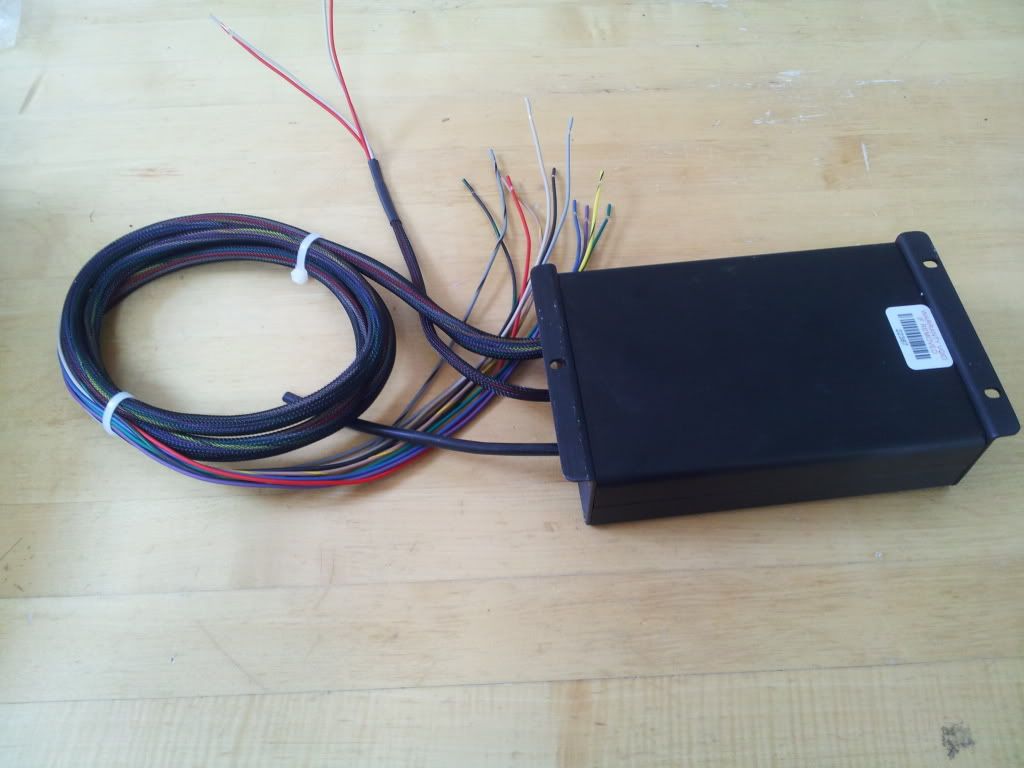
Piggyback finally got here (yesterday)
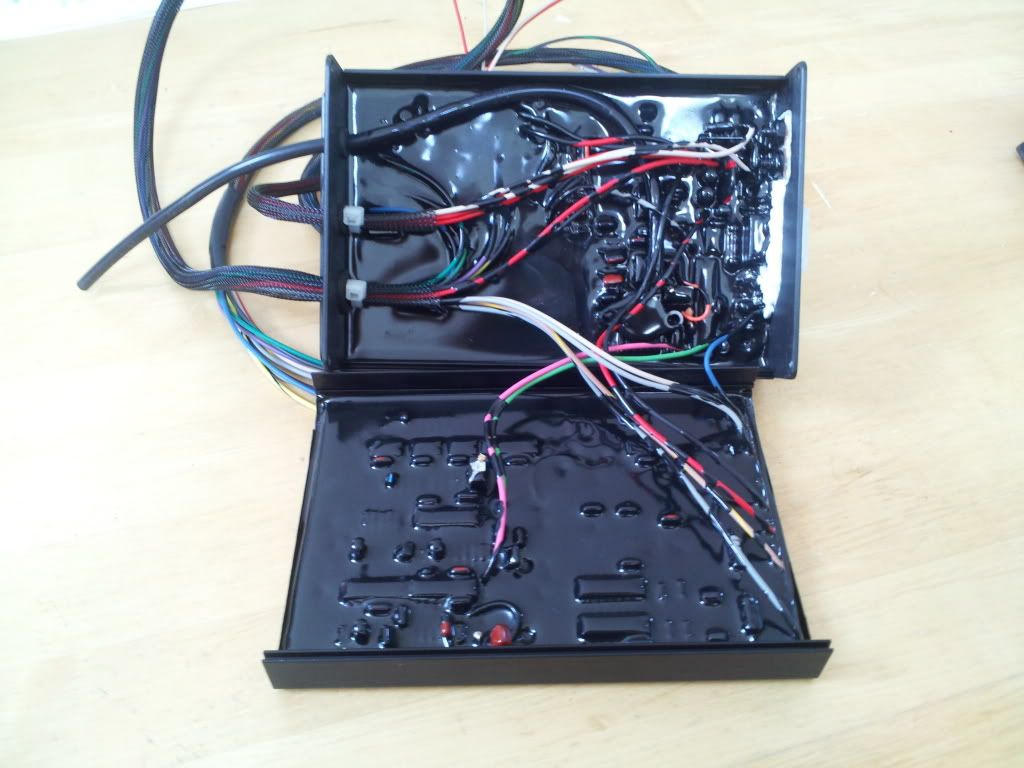
I couldn't resist the urge to have a look inside. :naughty:
Drilled two holes and mounted it here.
Can you tell what's Jeep and what's piggyback? :ninja:
Now I'm going to work on my HID projectors and hopefully get those finished. Then do some misc wiring. Don't worry. I'll take pics. |
Quote:
Originally Posted by bpas328xi
|
Quote:
Originally Posted by bpas328xi
|
Quote:
Originally Posted by bpas328xi
|
Quote:
Originally Posted by bpas328xi
Not really much of an update... Put my bullbar back on. Just gotta put the Hellas and headlight guards back on. And I installed an overhead console.
 |
Quote:
Originally Posted by bpas328xi
At least they're much better than the stock halogen junk that my Jeep had before. I like seeing where I'm driving. Lol.
UPDATE!!!!!!!!!!!!
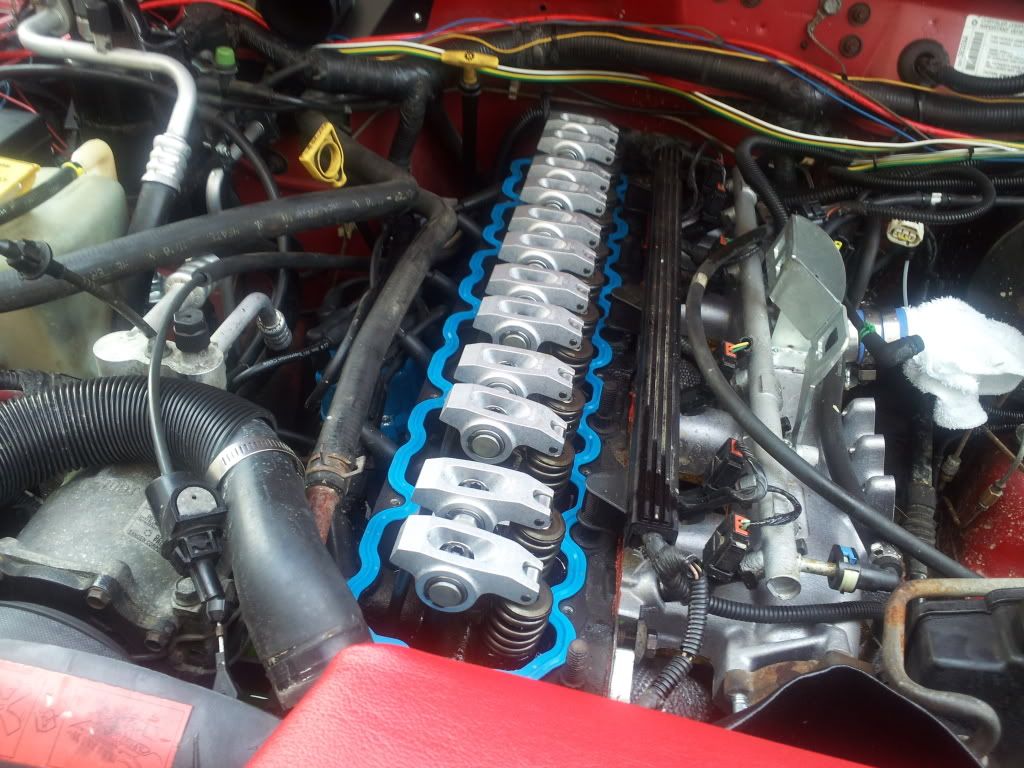
Took my valve cover off to check the rockers and make sure that non were loose or flopping around. Made sure they were torqued to spec. And then put the valve cover back on. :shifty:
Snapped a valve cover bolt in the process of putting the cover back on.. Good thing I had a bolt that was the right size and thread pitch to use until I get a new one from either the junkyard or the stealership. :hammer:
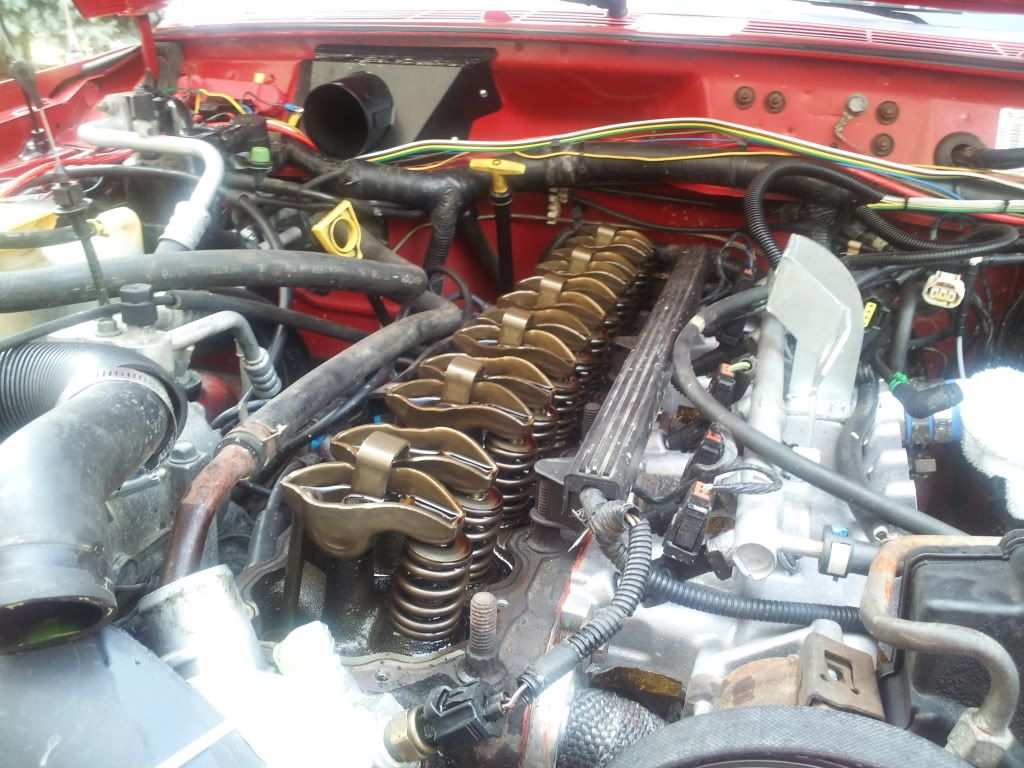 Bonus pic not posted anywhere else.
 Yella Terra 1.7 ratio roller rockers
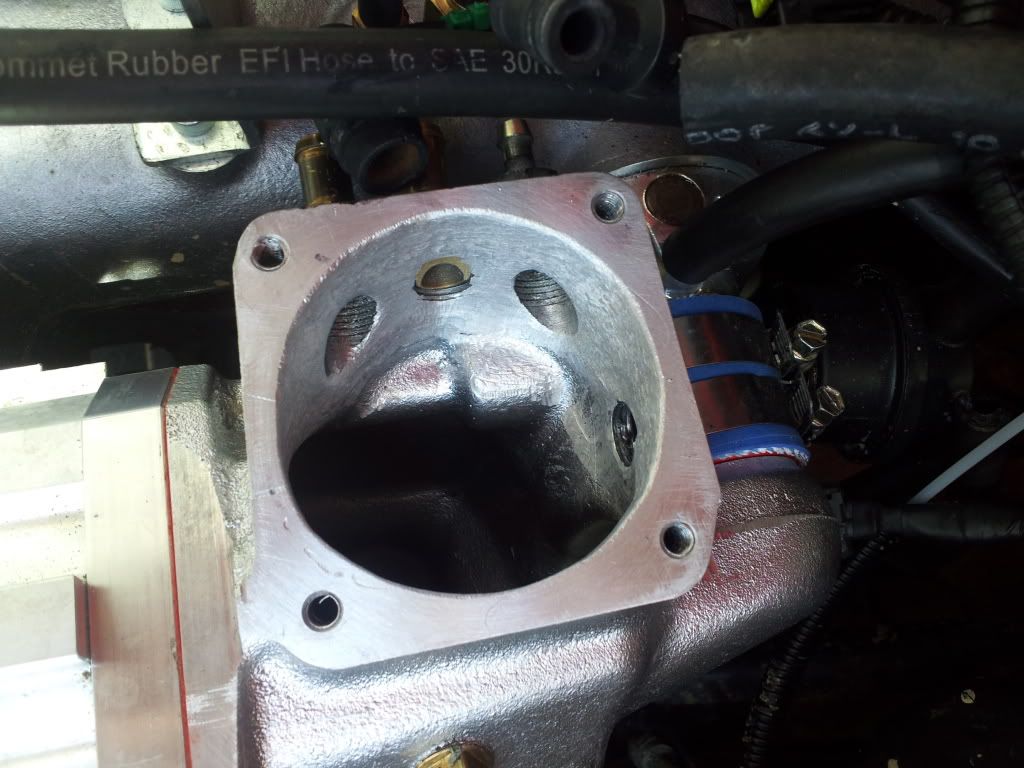
Oh yeah. I ported my supercharger a little bit. :guns:
Need a new silicone elbow to put the intake back on. :yawn:
But the good news is that IT RAN!!!!!!!!!!! Nothing blew up, so I guess that's a good sign. |
Quote:
Originally Posted by bpas328xi
SOOOOOOOOOO WORTH IT!!!!!!!!!!!!!!!! Shifts are so much better (firmer, harder, etc, etc). I definitely recommend it. :thumbup:
Teehee. Such a good mod. I was grinning all day!!!
Thanks!! I'm really liking these tires (for street use). I haven't been able to test them of road yet, but I think they'll perform great.
That doesn't mean I won't take it off road though. :devil2: Not sure when I'll be able to go back to Rausch Creek, but I'm excited about going there again. AND MY COLLEGE IS AN HOUR CLOSER!!!!!!!!!!!! (moving to college this weekend, hence mad dash to get Jeep ready. Lol.)
Sorry for the lack of updates. I honestly didn't know anyone had posted on this thread (didn't get any notification on my user cp). LOL.
Anyway... I did do some update worthy stuff to the Jeep. Lol.
Finally ironed out the last few kinks with my supercharger install (the little things that bug you when you modify an engine with FULL bolt-ons. lol). Jeep is running EXCELLENT!!! I have to do some more mpg testing (especially on the freeway), but my overhead is showing a pretty consistent 11.5ish mpg for mostly city driving with a small amount of highway driving. Much better than the 9.5mpg I was averaging before the supercharger (and overhead console). LOL.
 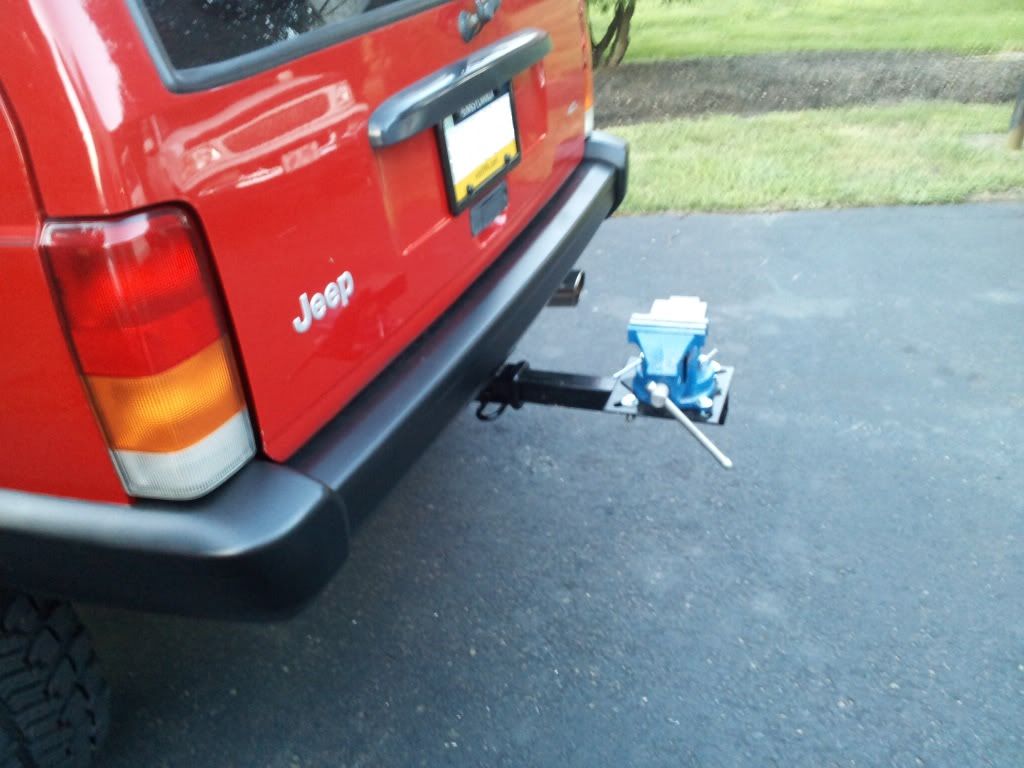
^^My hitch-mounted vice. Epic in every sense of the word (especially when paired with a sledge hammer :notworthy
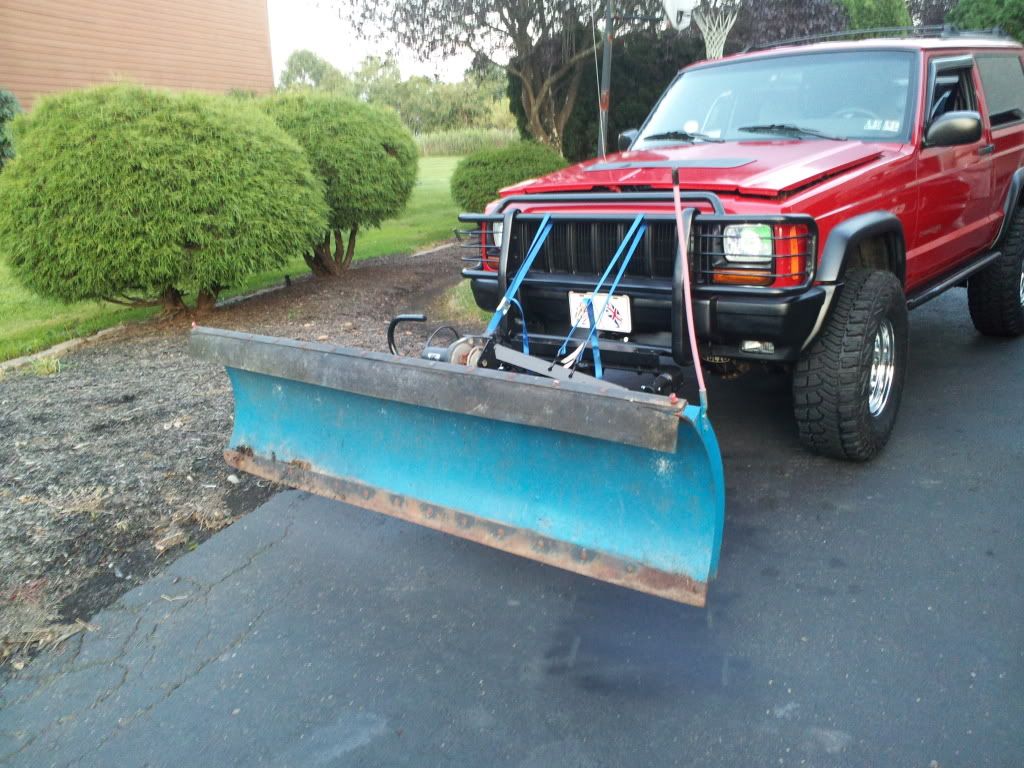
My dad and I made some progress on our hitch-mounted snow plow idea... Kinda isn't working out too well (started twisting the 3/8" steel cross bar that the plow came with [the one we reinforced and had welded to the ball hitch]), so we had to come up with a mount to attach the cross bar thingy to the front hitch in a somewhat detachable manner. (still working on that one. should have a WAD [wood aided design] prototype made up soonish :euro
And I partially blame this guy: http://www.cherokeeforum.com/f46/fer...-build-133572/ for what you are about to see...
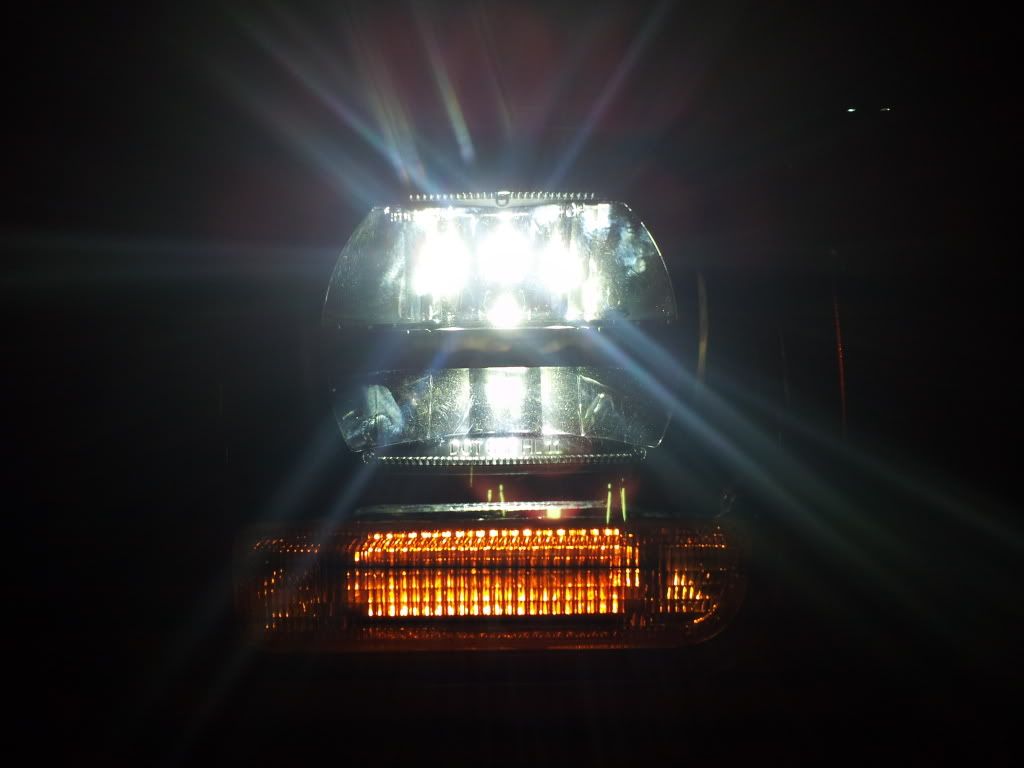
I HAS TRUCK-LITE LED HEADLIGHTS NOW!!!!!!!!!!!! (what ORFXJ is running) :w00t:
The fact that I was able to get them for a steal probably helped a little bit too. Lol. (my dad is great at finding good deals on things).
All I have to say is "WOW!!!". Honestly, I'm in love with them! I actually enjoy driving my Cherokee at night now!!! I kinda want to add more LED lights in the future... :whistling2:
Sitting there looking pretty while I tear apart my front end.
Bulbar on...
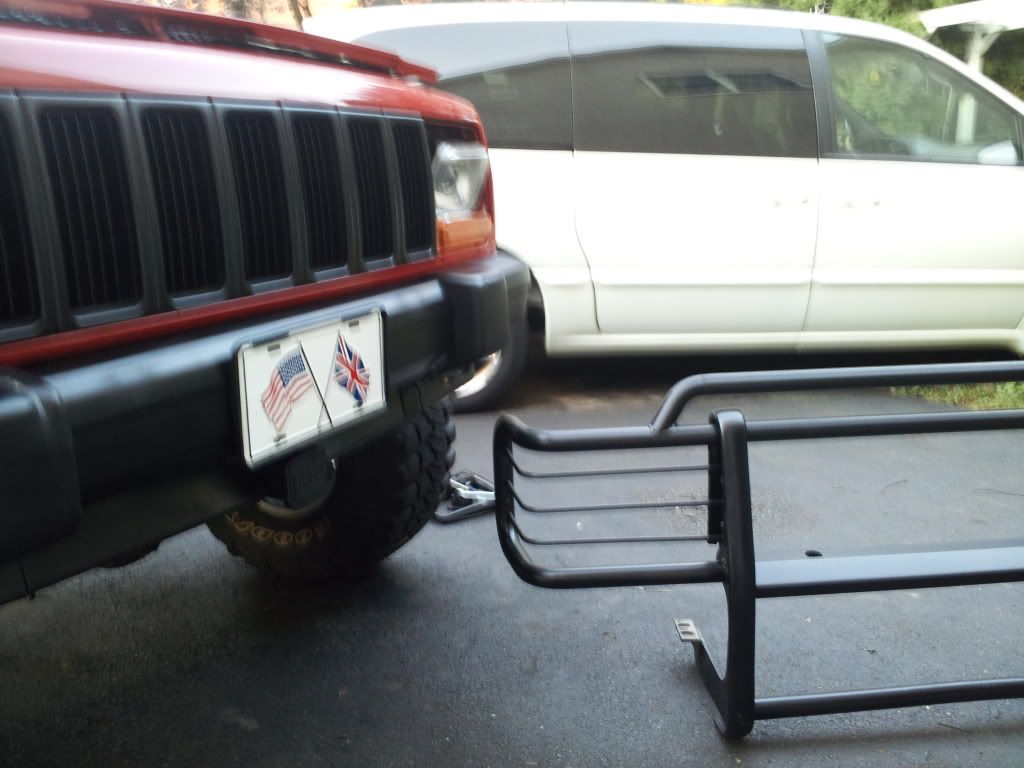
Bullbar off. I'm surprised I was actually able to do this by myself without having it fall on me. :thumbup: The interesting part is going to be putting it back on tomorrow... :hammer:
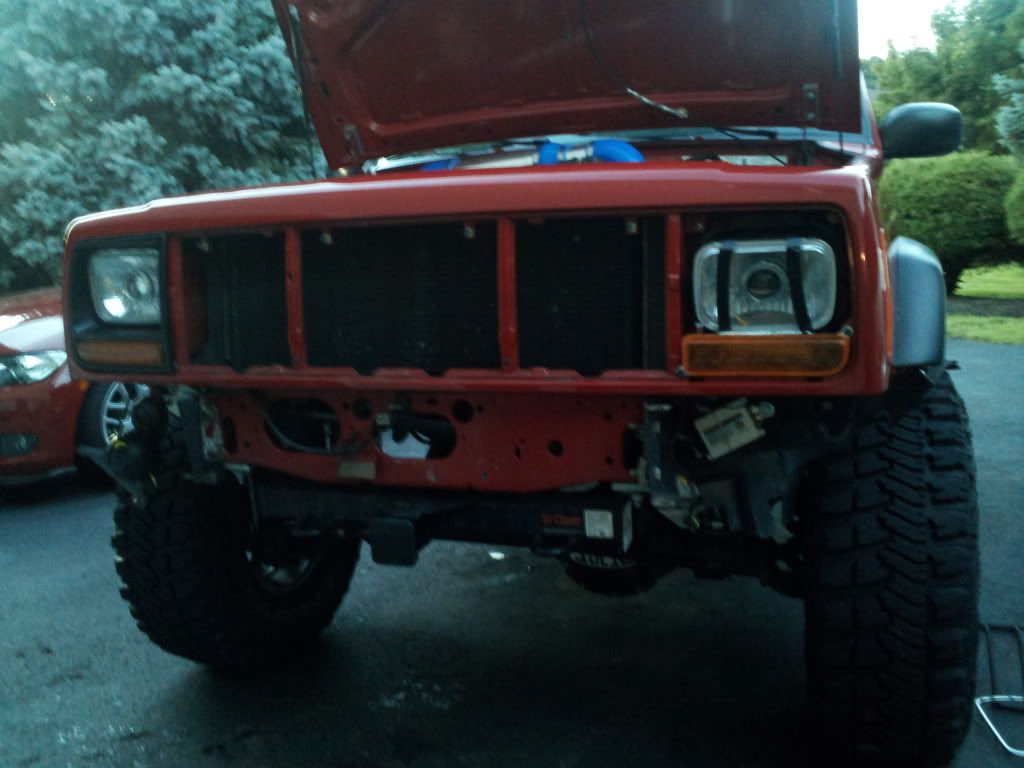
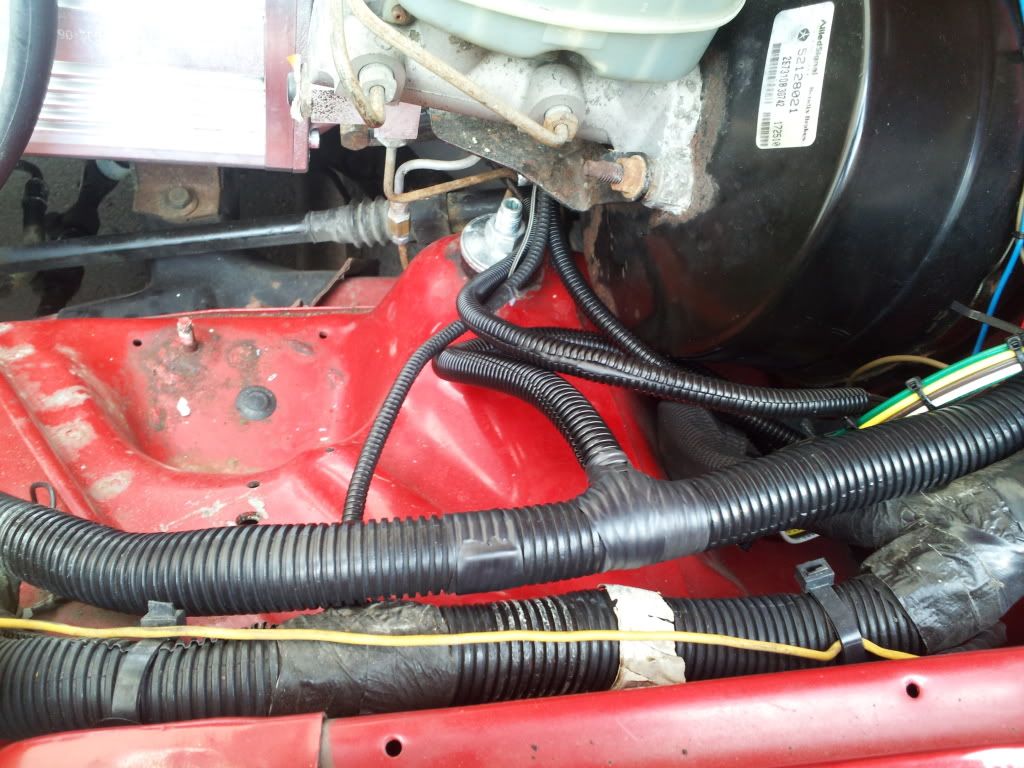
MOAR stuff taken off. I think I installed my projector wiring a little too well... :brickwall:
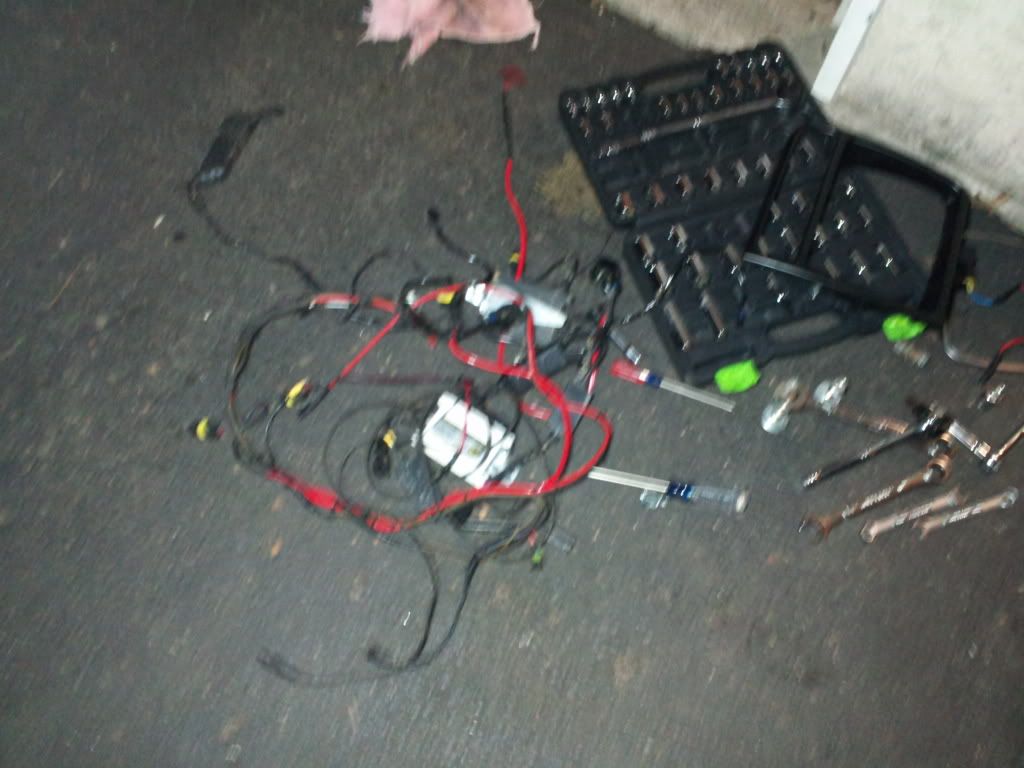
SO...MUCH...WIRE!!!!!! I accidentally pulled out my custom wiring for the fogs as well... Gotta redo that now. :censored::wallbash:
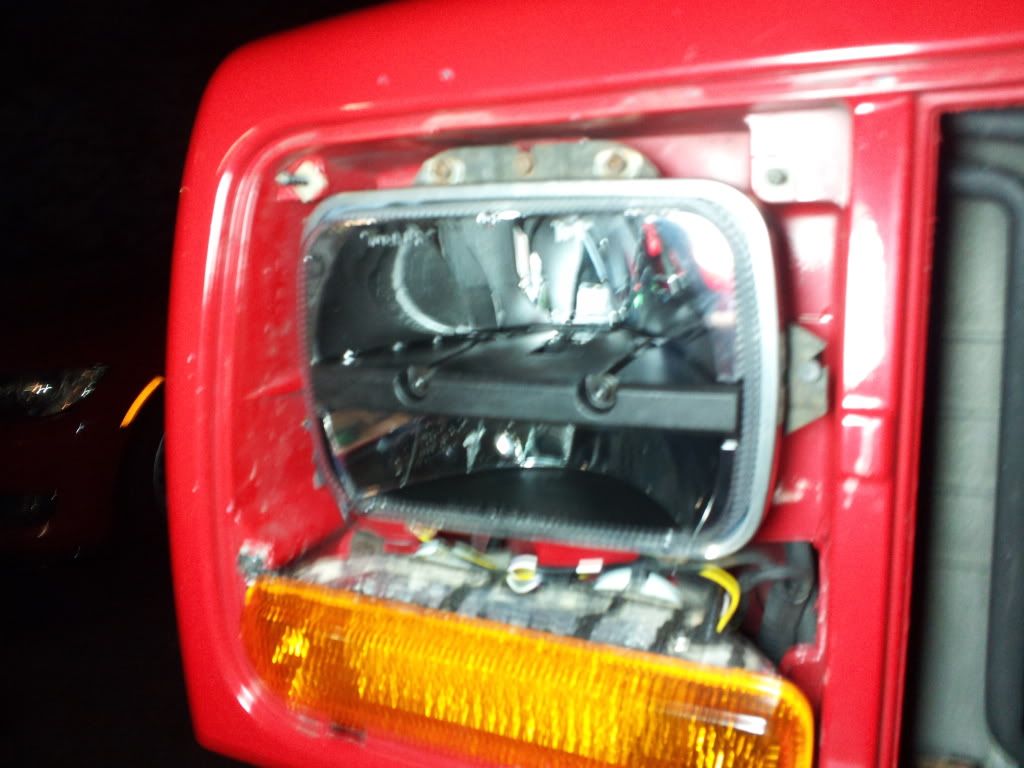
One in...
Couldn't resist the urge to check it right after I put it in. Lol. :whistling2:
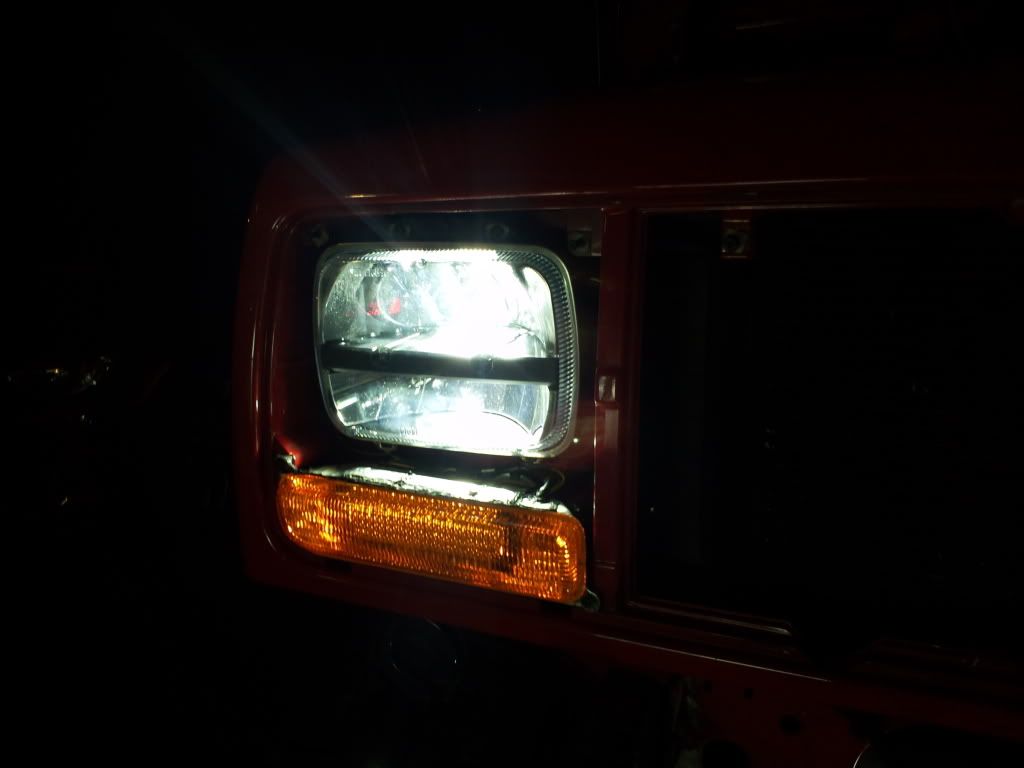
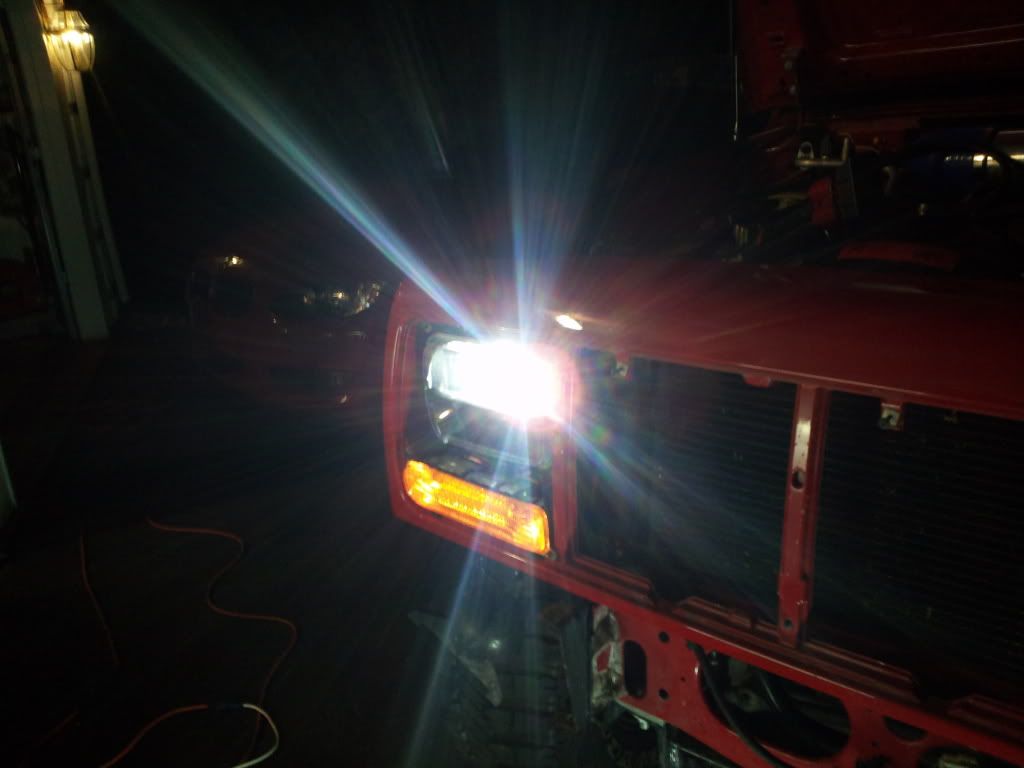
Passenger side in (low beam)
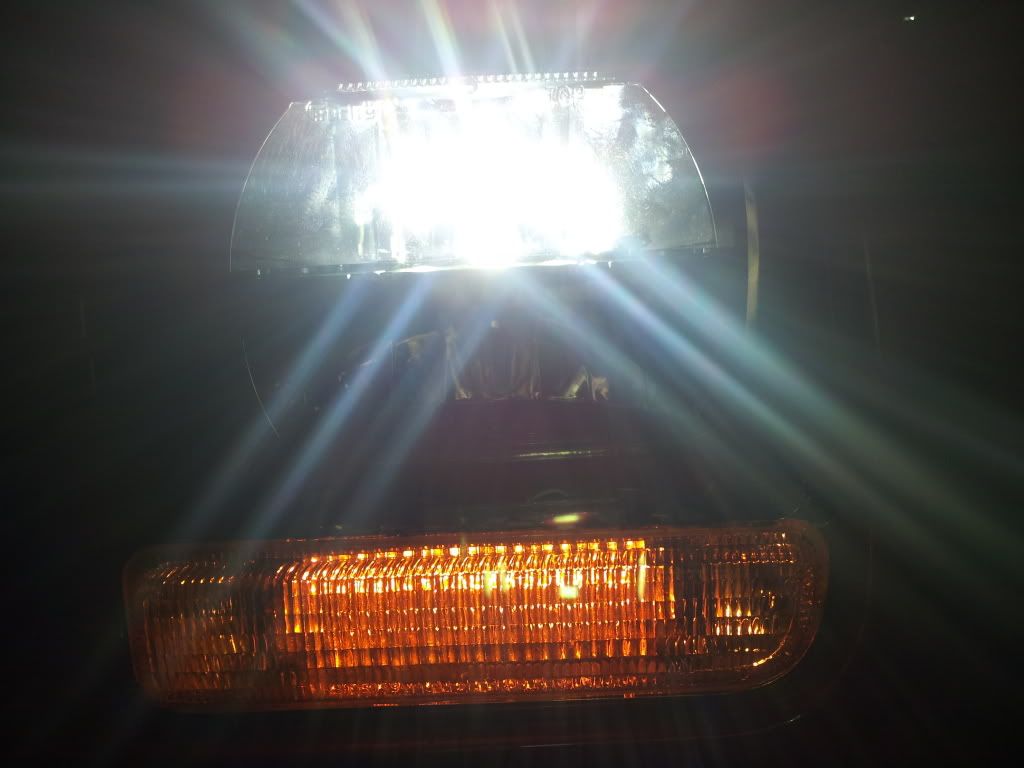
High beam
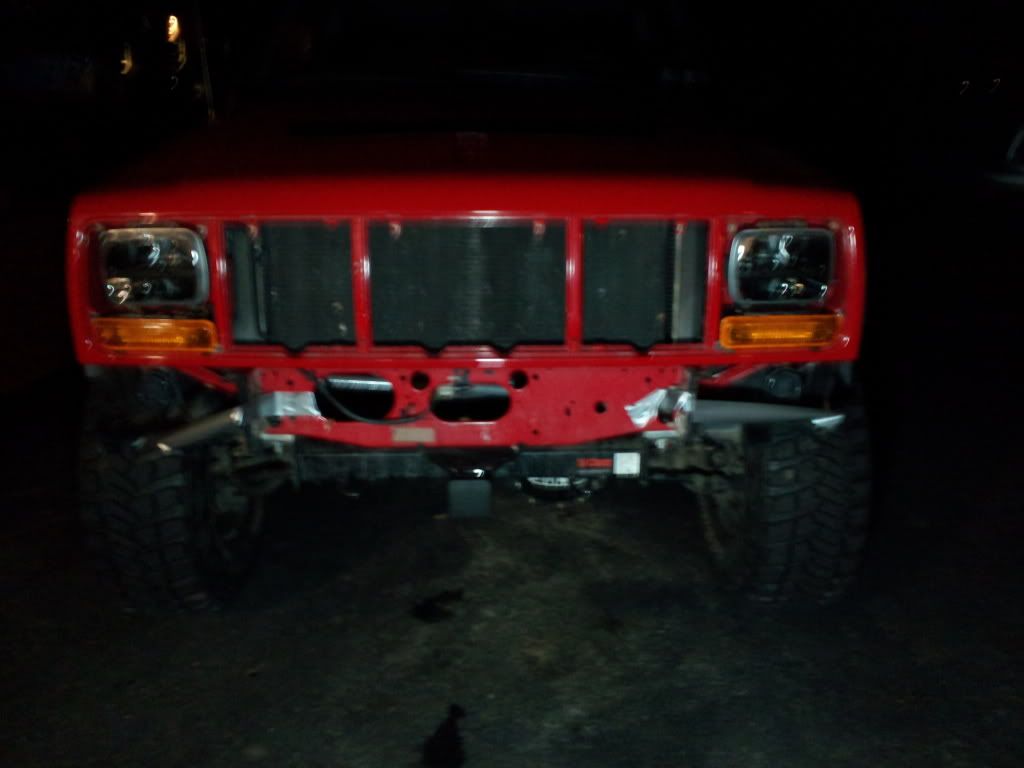
How she sits as of right now. Kinda looks like an alien in this pic. :dunno:
I'll post more pics of the front end fully reassembled (emphasizing on the headlights and how they look with the bullbar headlight guards installed) tomorrow after I put it back together. Lol. |
Quote:
Originally Posted by bpas328xi
|
Quote:
Originally Posted by bpas328xi
|
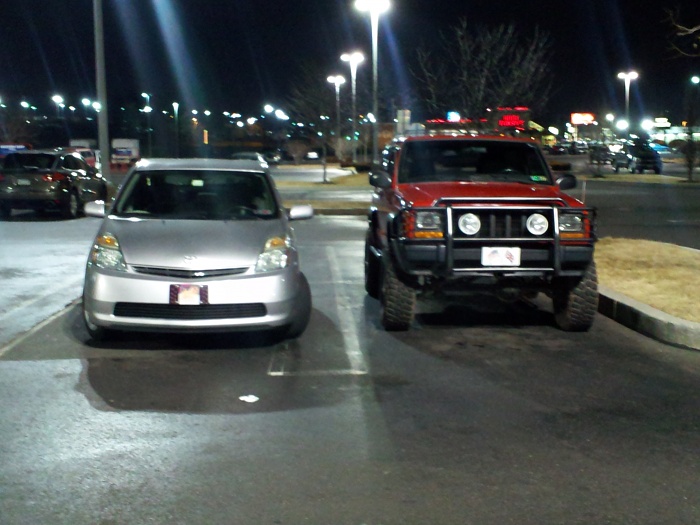
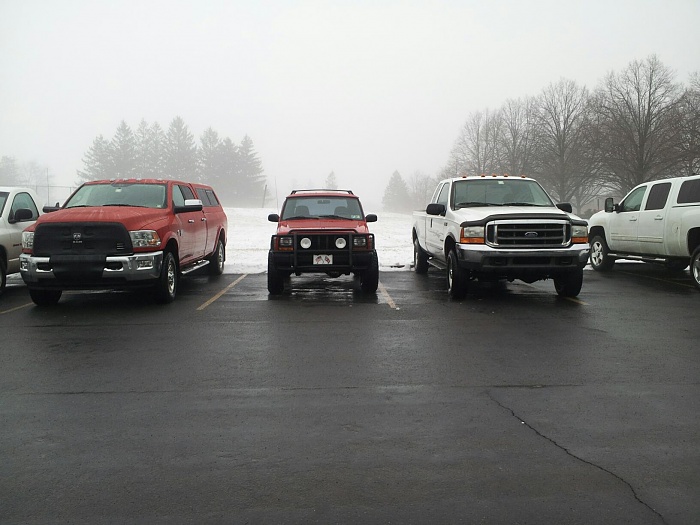
Quote:
Originally Posted by bpas328xi
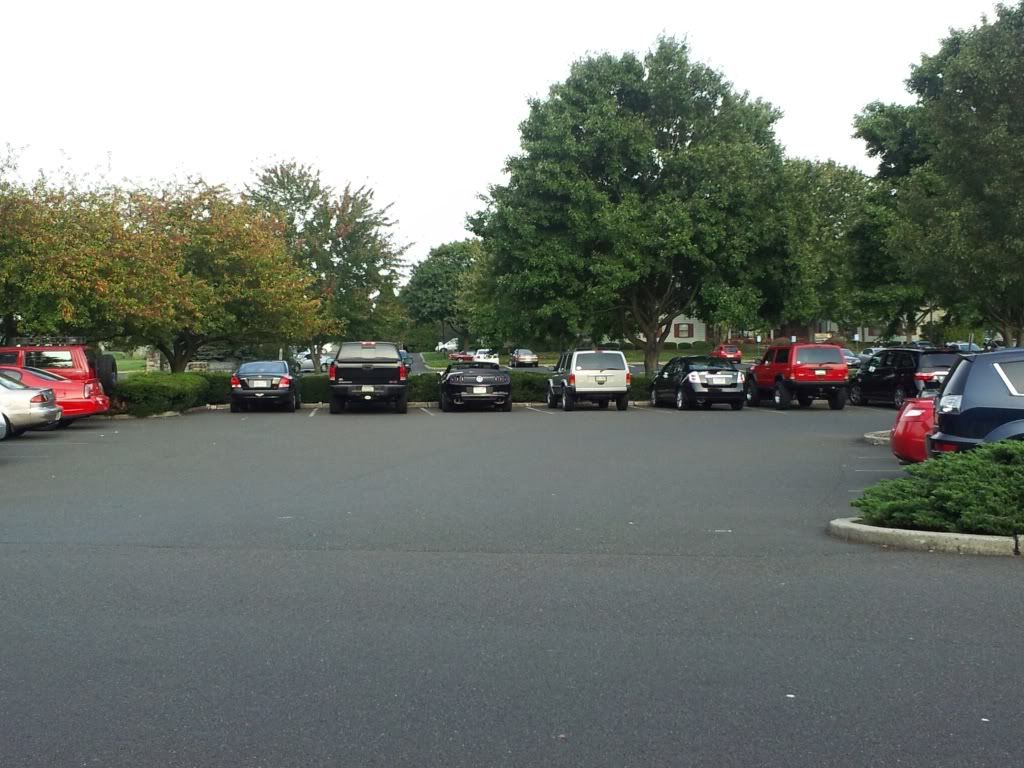
Not much to update...
Went to get groceries (chinese food) with my dad after we picked his Jeep up from having its brakes done (my red xj on the right and his red xj on the left) and I saw a "stock" xj so I had to try and park as close as I possibly could to it. Lol. It had a nice sounding exhaust system on it (not sure what brand).
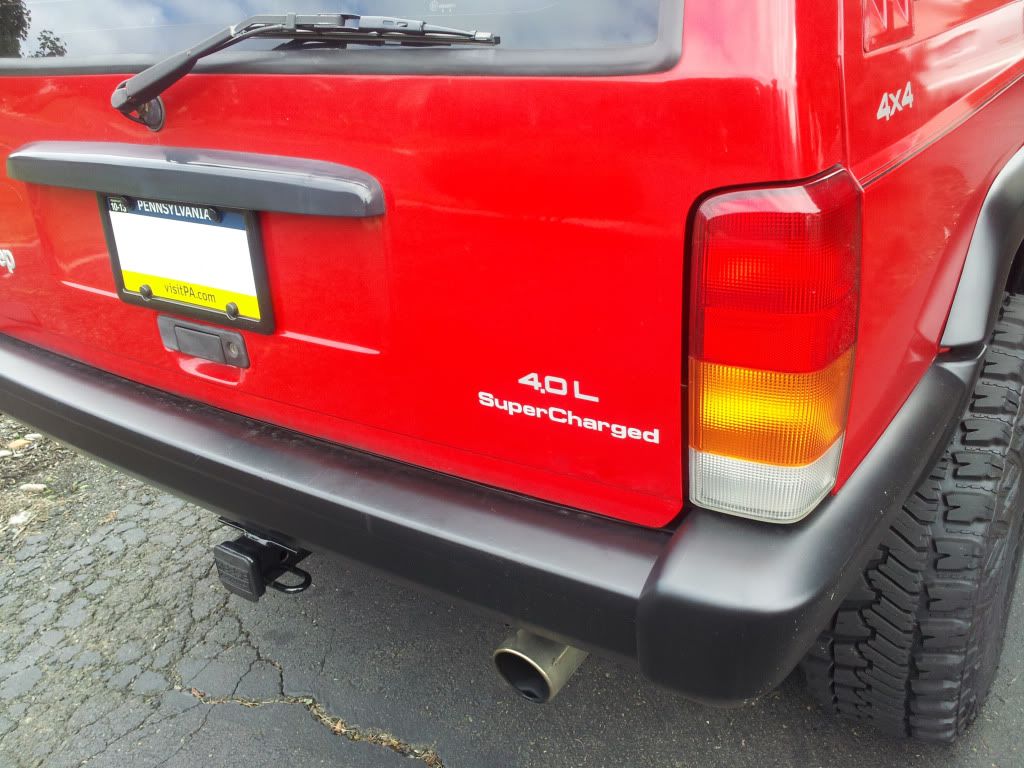
And I finally got around to putting my "supercharged" decal/sticker on. Matches the color and font of the "4.0" quite well.
Might be getting TNT long arms in the somewhat near future... :head: |
Quote:
Originally Posted by bpas328xi
Okay... This is now my third set of swaybar disconnects. Lol. I had Rough Country and Zone disconnects before and now I'm on JKS ones. At least they're quieter than the heims on the Zone disconnects. :thumbup1:
Then only problem I ran into was that they would not fit over my upgraded swaybar... No biggie, I just mounted them below the swaybar (like how the Zone ones mounted).
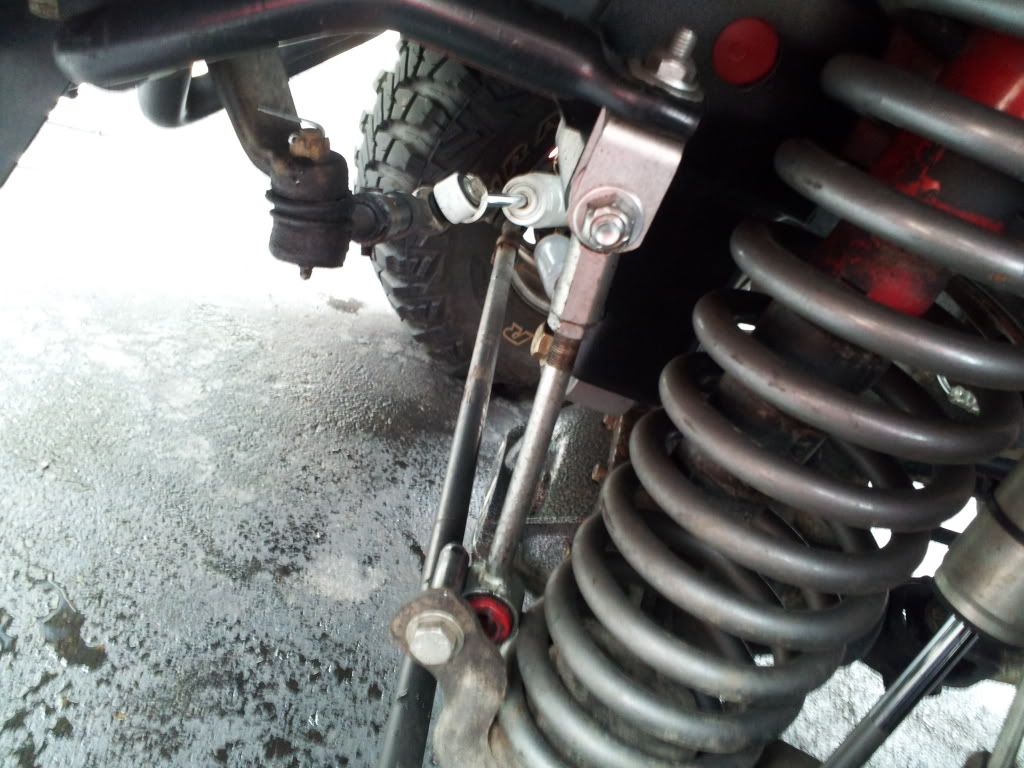
Zone disconnects...
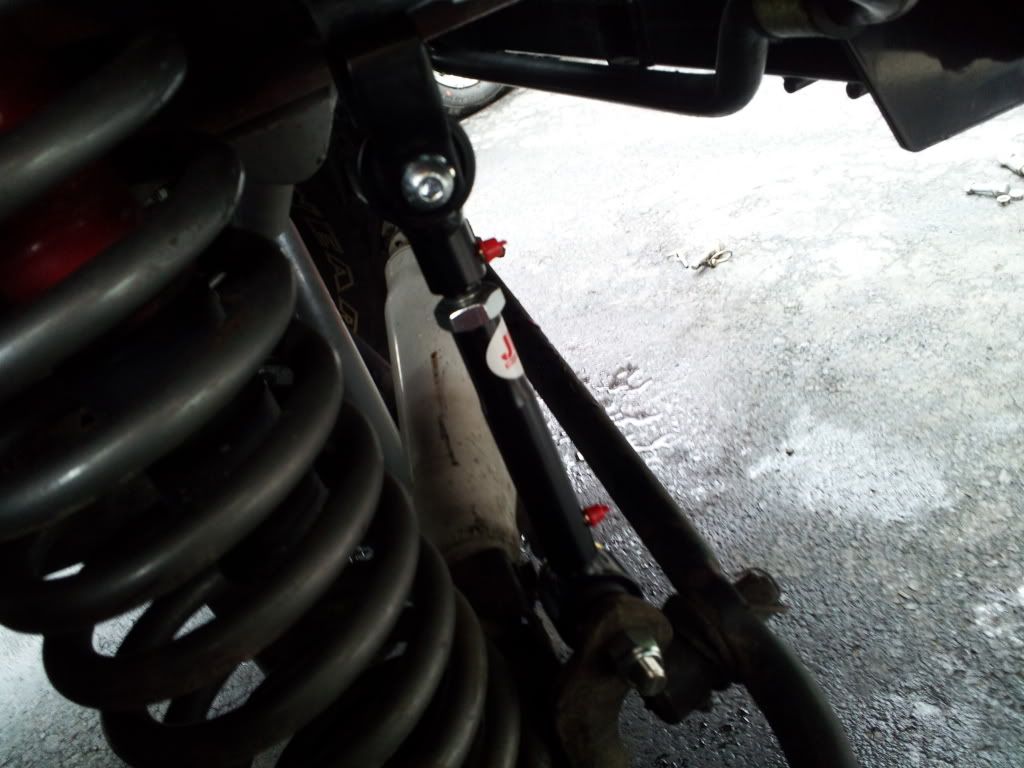
JKS disconnects
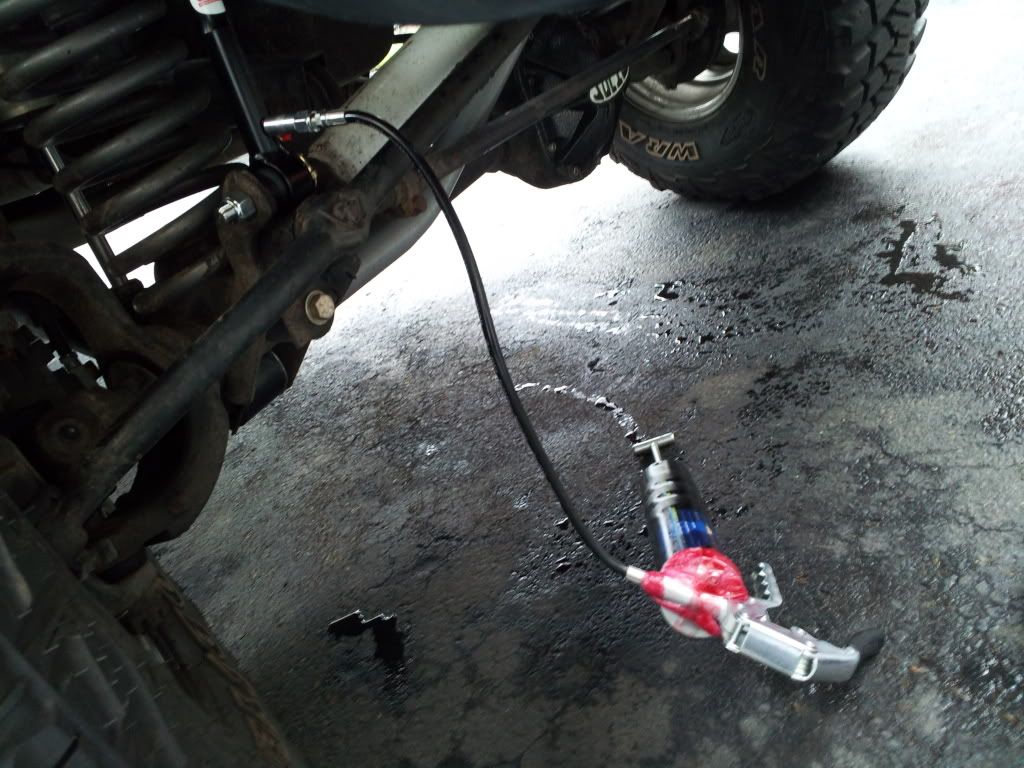
Lube. |
Quote:
Originally Posted by bpas328xi
|
Quote:
Originally Posted by bpas328xi
|
Quote:
Originally Posted by bpas328xi
|
Quote:
Originally Posted by bpas328xi
|
Quote:
Originally Posted by bpas328xi
|
Quote:
Originally Posted by bpas328xi
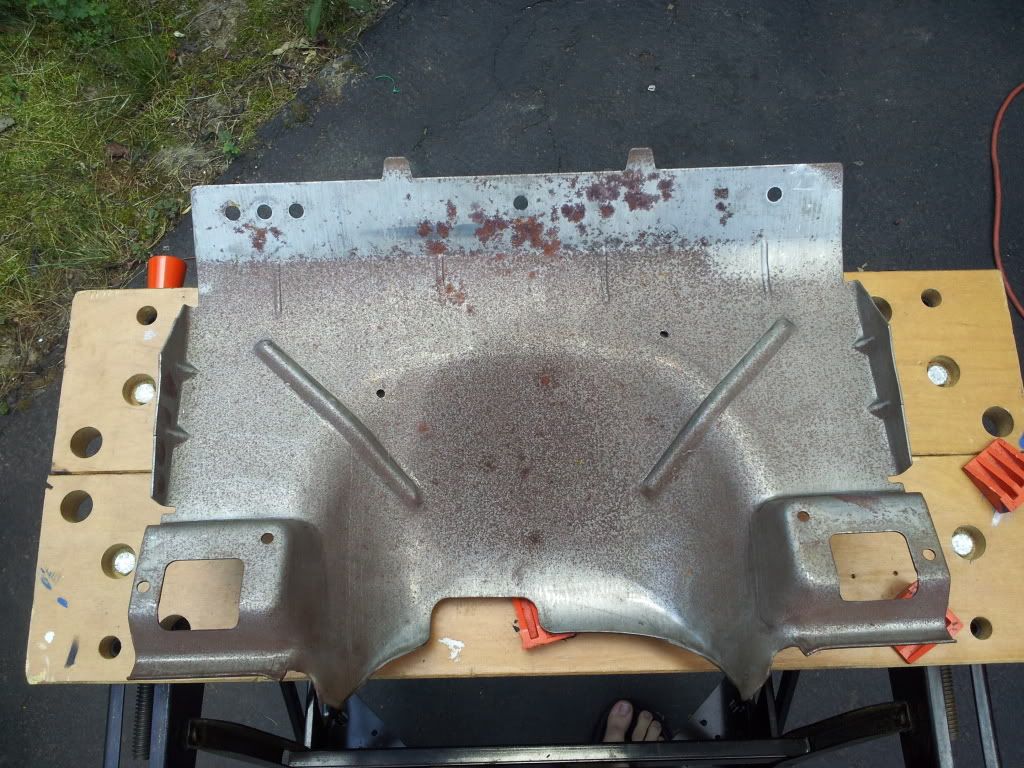
The steel for my seat adapters came in today. 3/8" steel plate. BEEF!!!!
This is what 65lbs of steel looks like... 32.5lbs per adapter.:headbang: Working with it might be...interesting. :kick:
 |
Quote:
Originally Posted by bpas328xi
|
Quote:
Originally Posted by bpas328xi
|
Quote:
Originally Posted by bpas328xi
Thanks!
I love it!! It goes into and out of closed and open loop SO easily and the transition into and out of boost is incredibly smooth (because of how I routed boost to the map and clamped the map) and it pulls like a freight train under boost.
Unfortunately, I never bought the system with the intent of using it exactly how it came out of the box. I didn't buy it for the monetary value, really just for the enjoyment value a.k.a giggles per mile. As I usually do, I put my own twist on it with FULL bolt-ons (ignition tune up (cap, rotor, wires, sparkplugs), new o2 sensors, new fuel pump, new 703 injectors, Gibson ceramic coated headers, new OEM crossover pipe and cat, Magnaflow cat-back exhaust, gold heat barrier on intake manifold, YellaTerra 1.7 ratio roller rockers, 505 Performance billet 70mm throttle body, meth injection kit and progressive meth controller, custom cowl induction intake, AW4 shift kit, and a lot of time and effort). So about 2-3k on top of the cost of the supercharger hardware and custom piggyback. Probably about 6k all said and done... Was it worth the money? Probably not. But it was definitely worth it for the enjoyment value. I enjoy the hell out of it EVERY day (since the Jeep is my daily). I've put somewhere between 3-4k miles on this system and there hasn't been one day that I've ever regretted doing it. And those miles have been HARD miles. I flog on it EVERY single day! :devil2: On these cold days (40-45 degrees) I'm hitting 7psi (8psi at the top of 2nd gear) with the stock pulley that the Sprintex ships with and it's more fun than a barrel of monkeys! I can only imagine what it will be like after I put the smaller pulley I have on it... :naughty:
The install was incredibly easy. There was only one bolt between the headers and block that was a pain to get to. Other than that one bolt, it was surprisingly easy. Lol. My dad and I knocked the install out in 2 days with most of the time spent running around for parts and trying to escape the summer heat. We probably had less than 8-10 hours of actual wrench time into the install.
My 4.0 is about as modded as it can possibly be without doing a full ground-up build on it (which I am planing on doing in the future (4-5 years from now)). I plan on keeping this Cherokee for a long LONG time. |
Quote:
Originally Posted by bpas328xi
UPDATES!!!!!!!!!!!!!
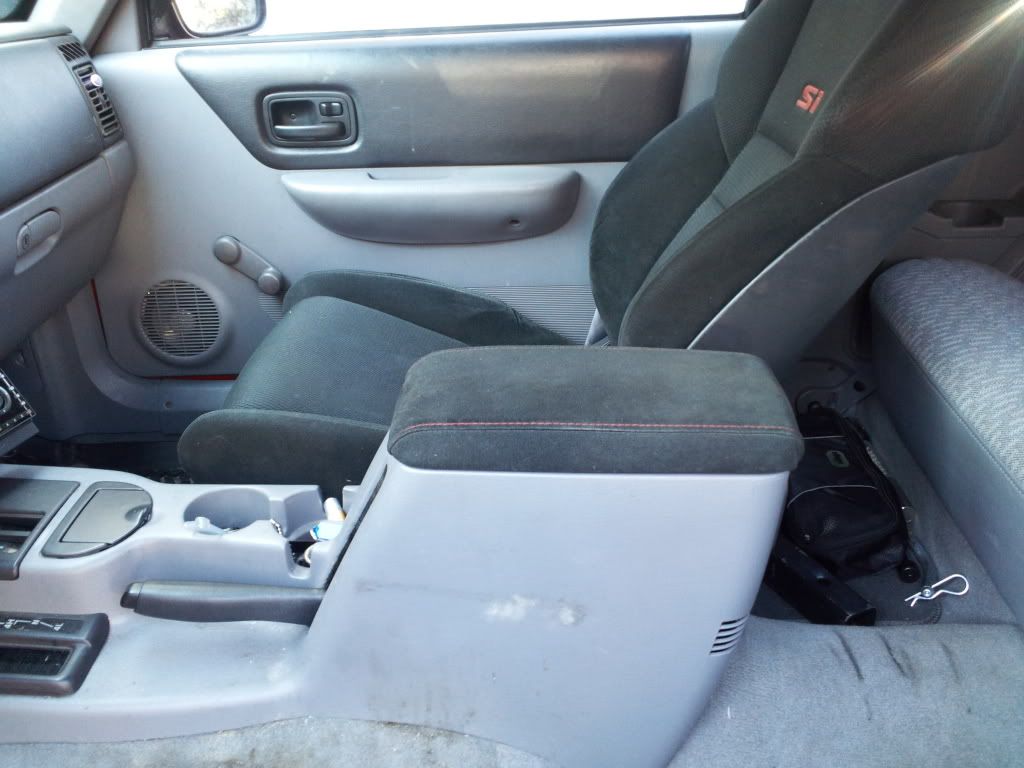
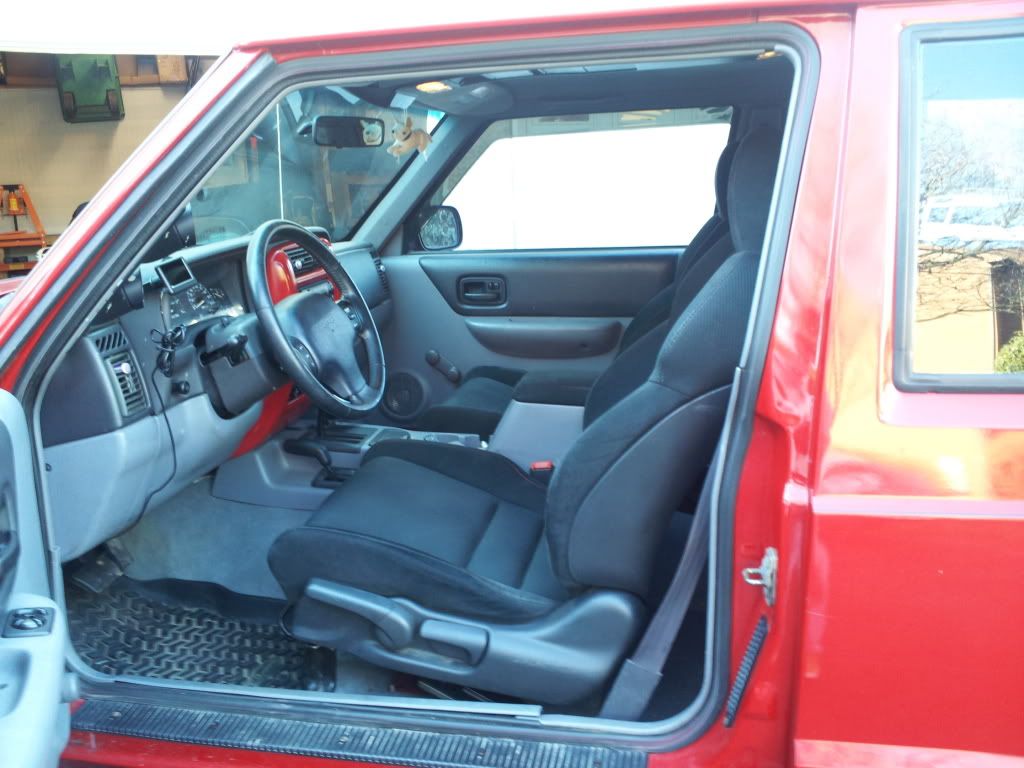
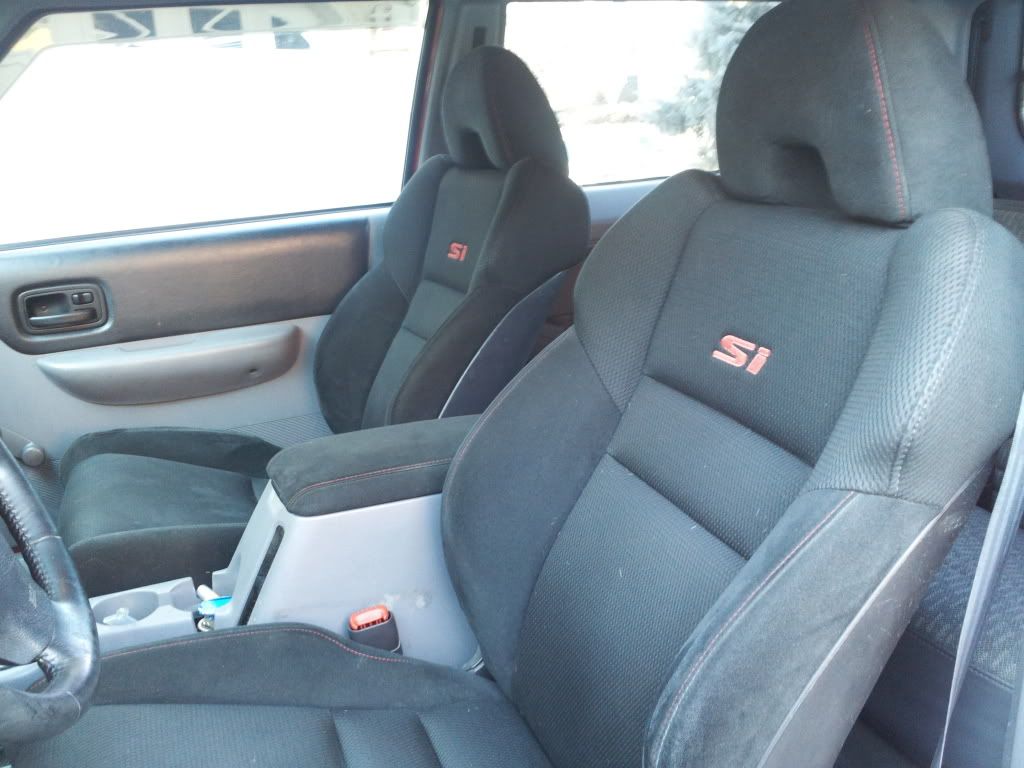
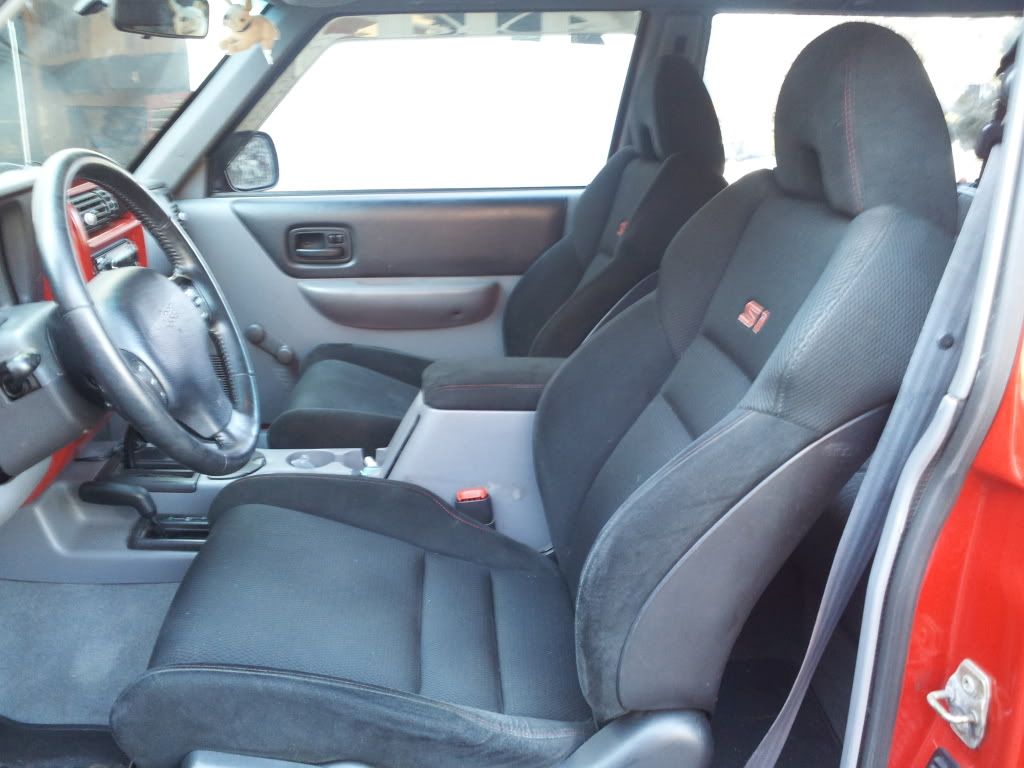
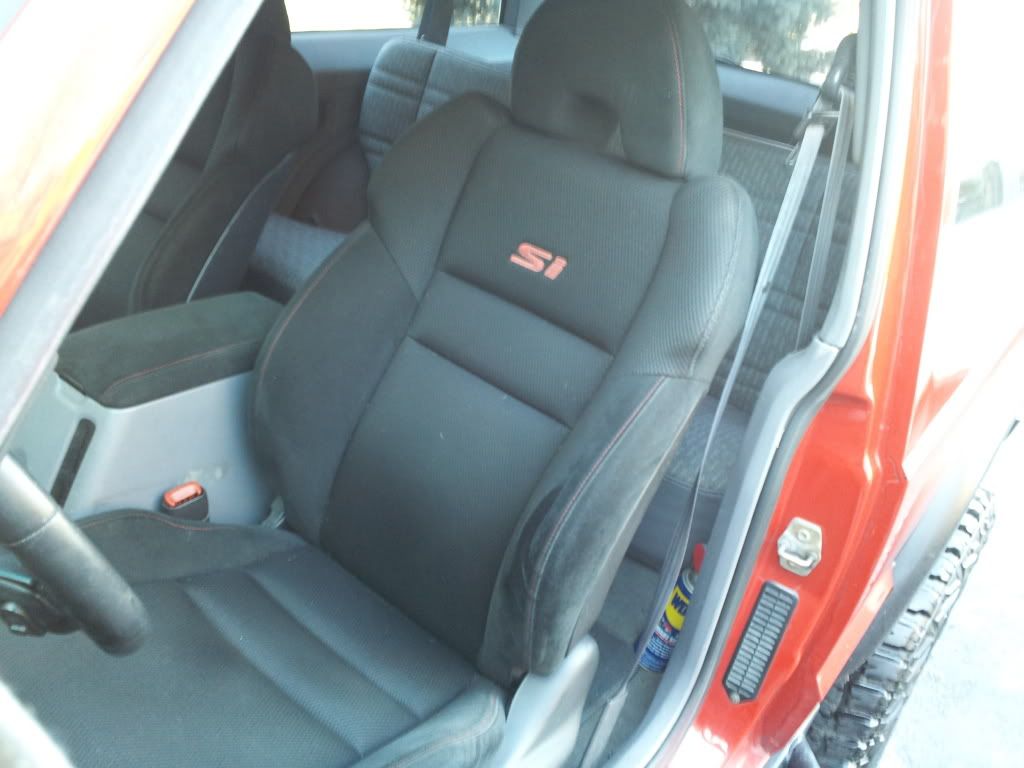
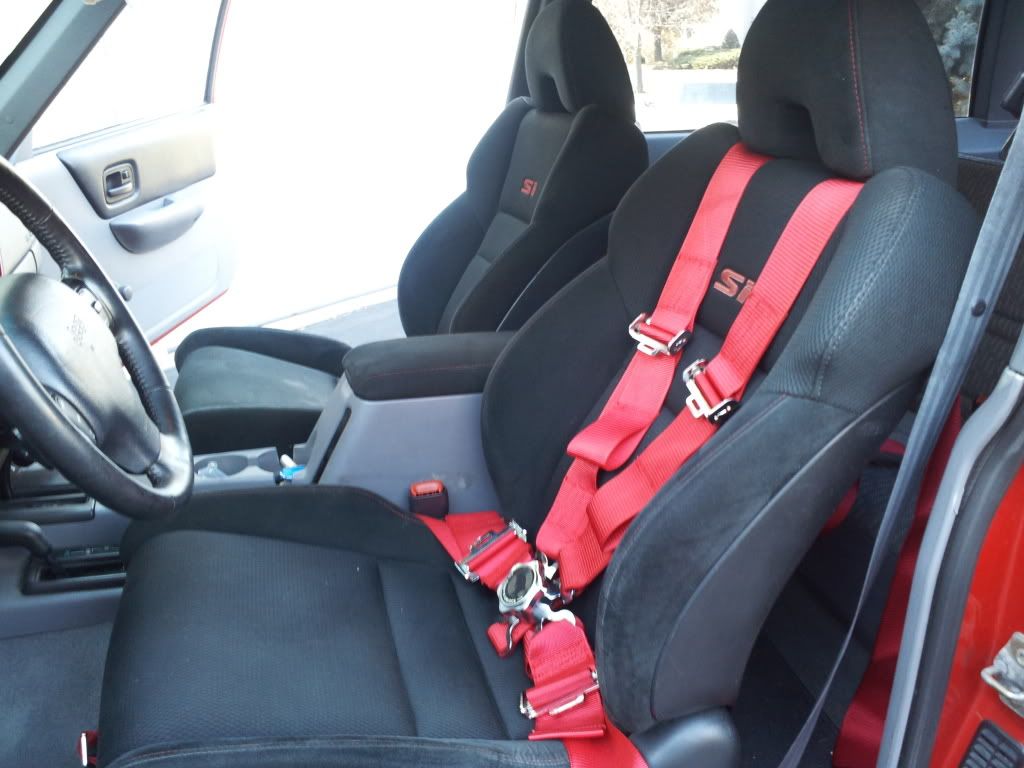
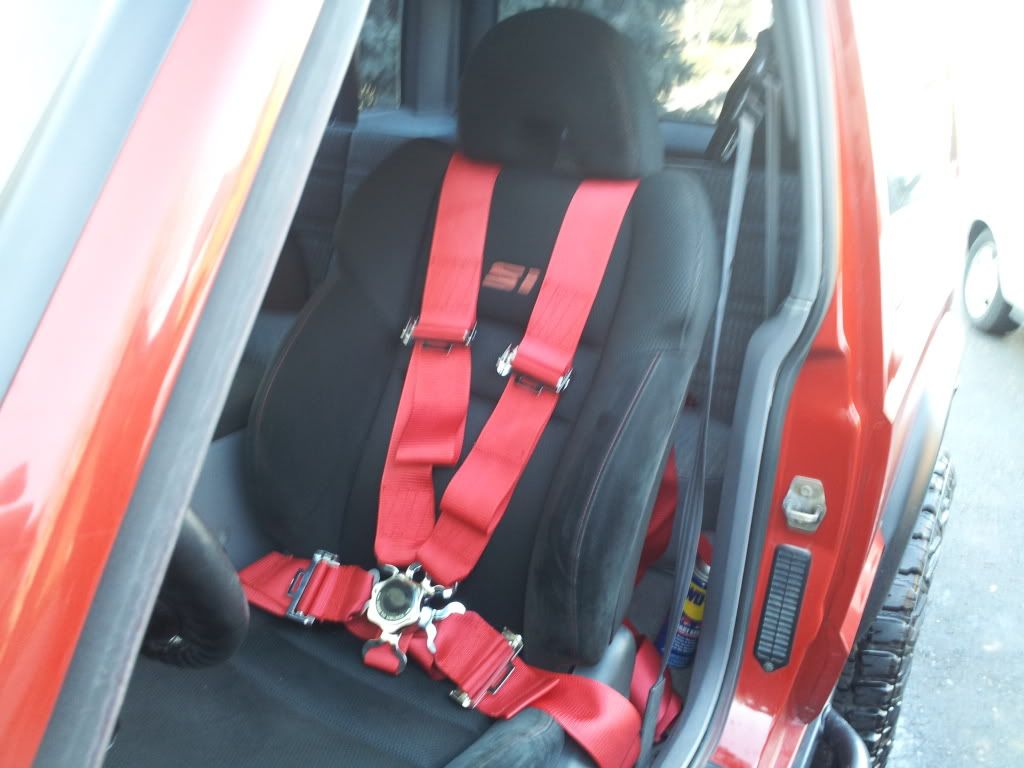
My dad and I got the Civic Si seats mounted. Just gotta take them out later to drill holes for the race harnesses..
As much as I hate Hondas, they make great seats! Lol. These are extremely comfortable and supportive and I think they are acutually a little bit softer than the OEM XJ seats. :rockon:
Had to remove more of the OEM Honda slider to get the driver's seat to sit lower. Turns out that the last piece of the slider was held on with 8 rivets. PER SLIDER!!! So, 16 rivets total... Those were fun to drill out. :kick: Now I just have to do the same thing to the passenger seat eventually... :nuke:
And my dad recovered the center console lid. Came out great!!

Finally washed all the mud off my Jeep. Looks like a mallcrawler now.. :sad: (yes. my dad sprayed the tires with WD40...)
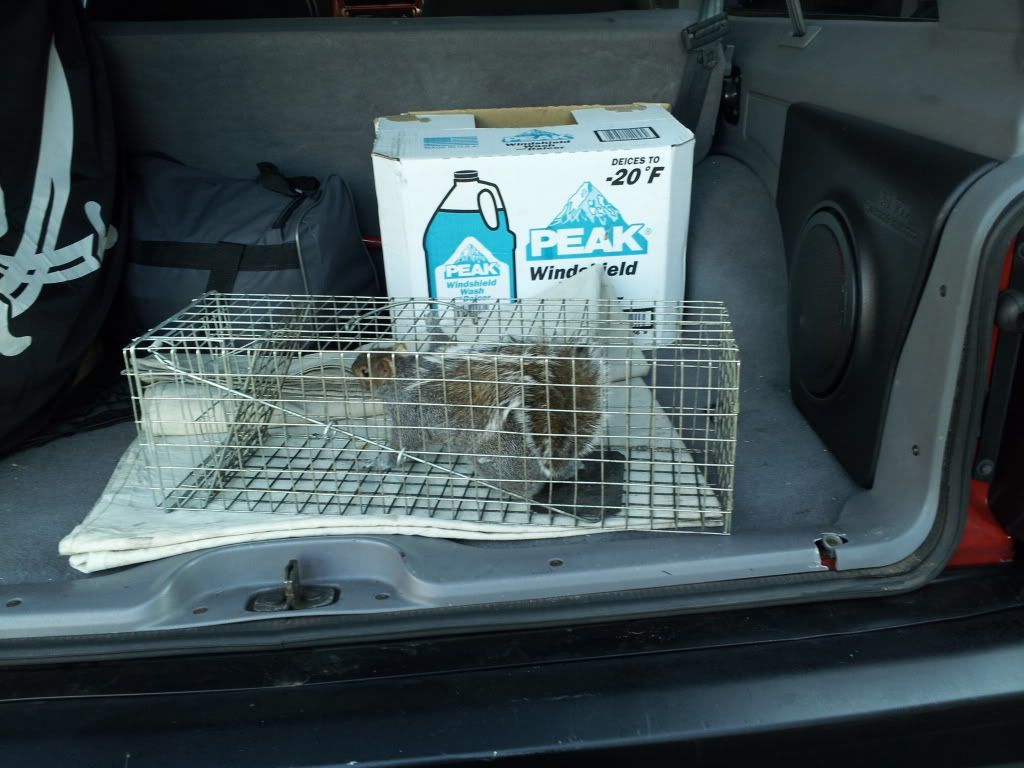
Squirrel went for a ride in the Jeep. Feisty little fella. :boxing:
And in other news, my birthday is on Tuesday.
My rents and I decided to do birthday stuff this weekend since I'll be at college on Tues..
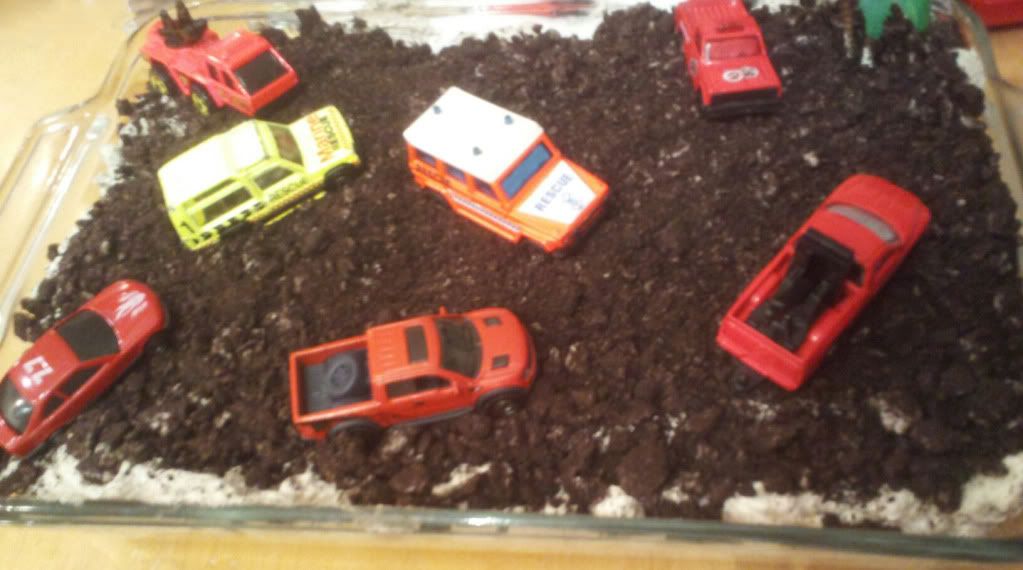
My mom made a 'dirt' cake. :thumbup1:
AND I GOT A GOPRO HD HERO 2!!!!!!!!!!! WOOT WOOT!!!!!!!! :devil2:
 |
Quote:
Originally Posted by bpas328xi
I'm still seeing spots... ops:  :tooth:
 |
Quote:
Originally Posted by bpas328xi
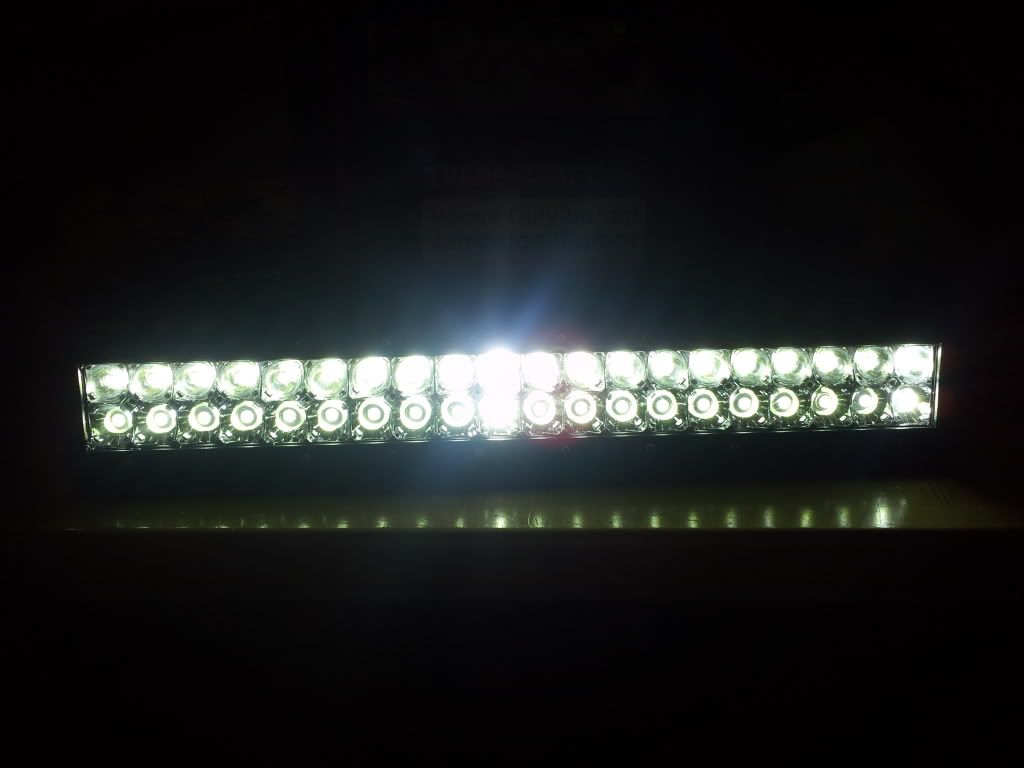
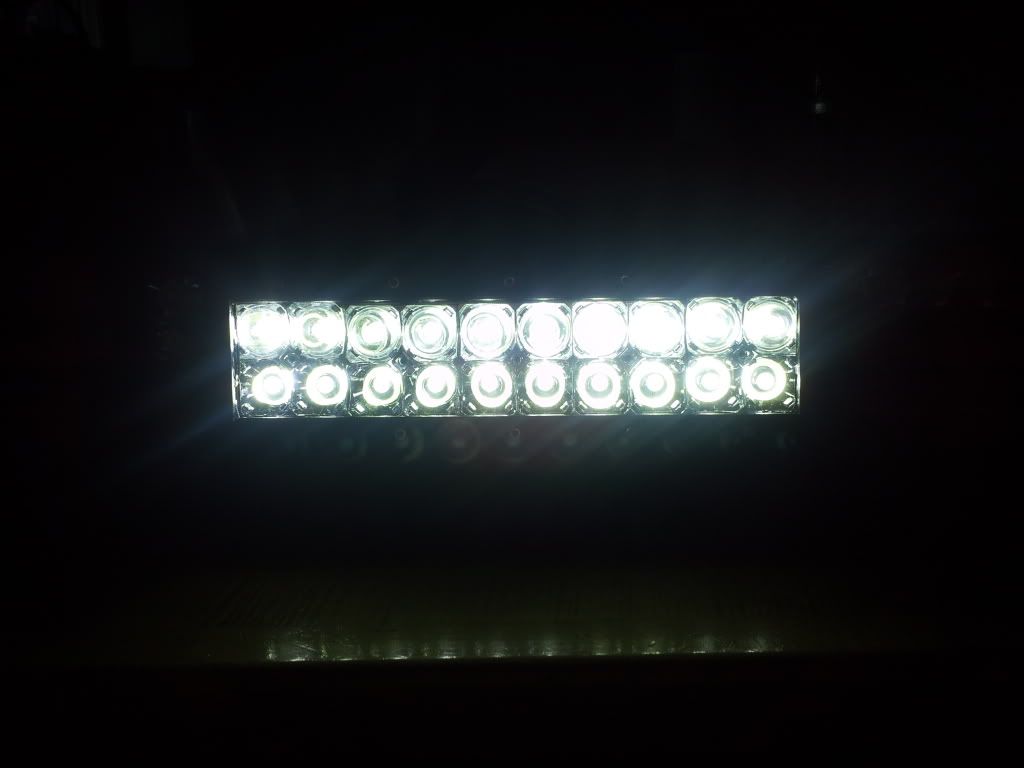
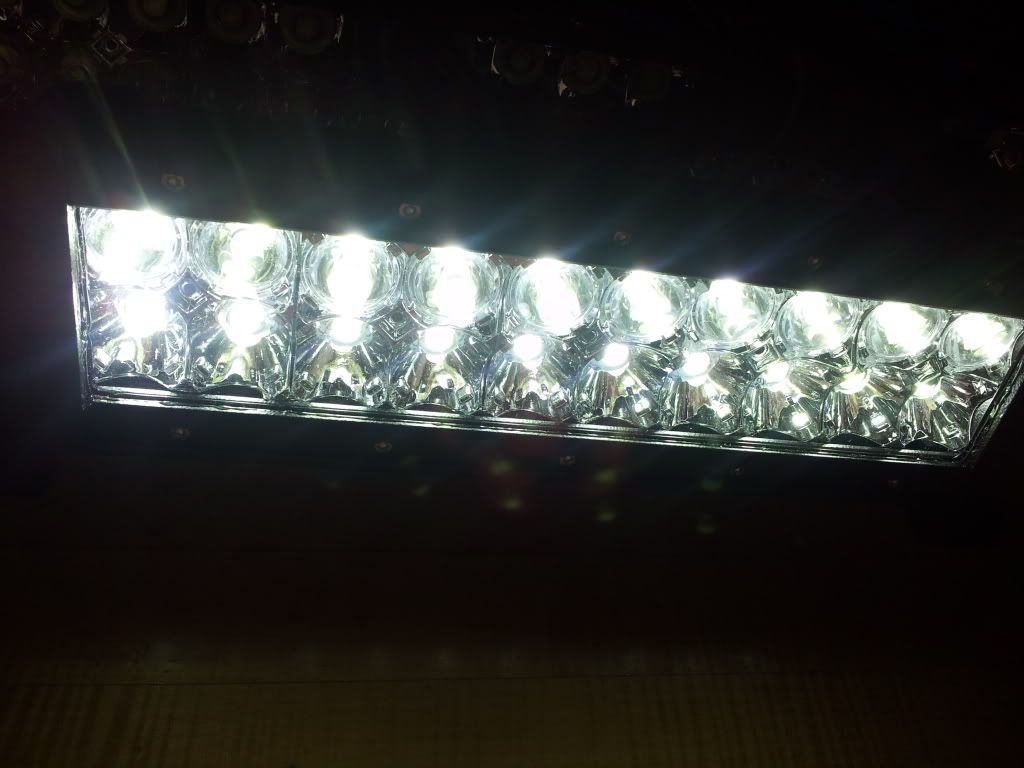
Pics of them lit up. The Jump box was having a hard time providing enough juice to power these things.. The 20" bar visibly dimmed when I clipped in the 11" bar, so they were obviously being driven by much less voltage than spec.. Can't wait to get them on the Jeep and feed them a proper power supply :guns:
Oh.. These pictures were taken with the kitchen lights on. :devil2:
 |
Quote:
Originally Posted by bpas328xi
|
Quote:
Originally Posted by bpas328xi
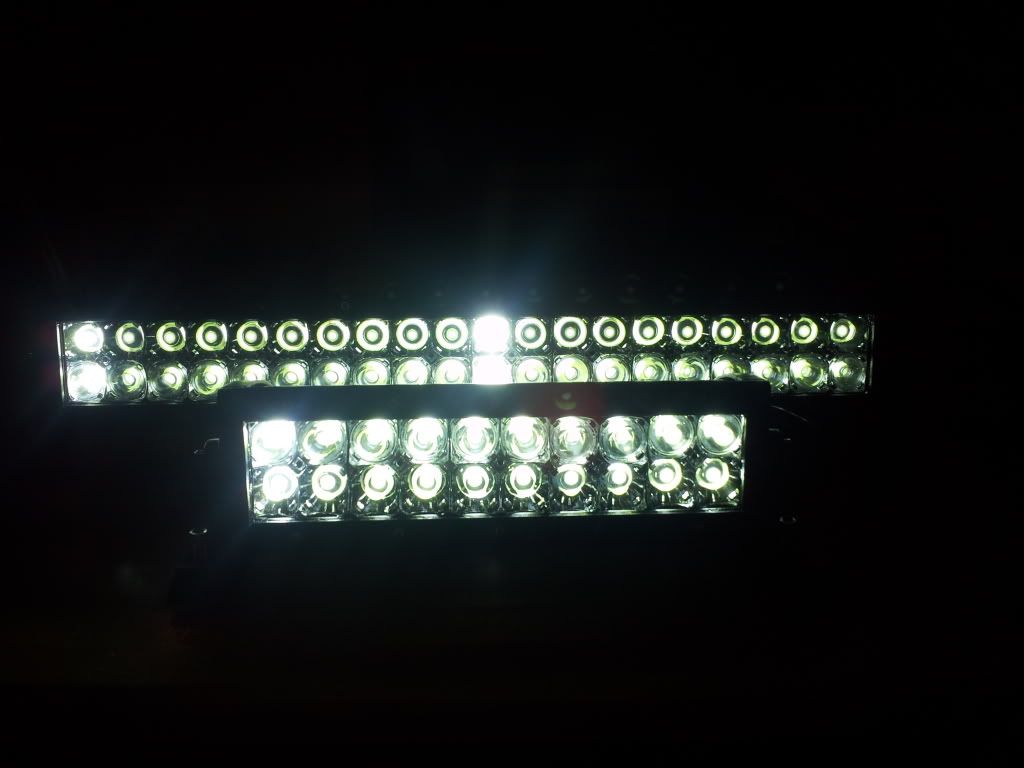
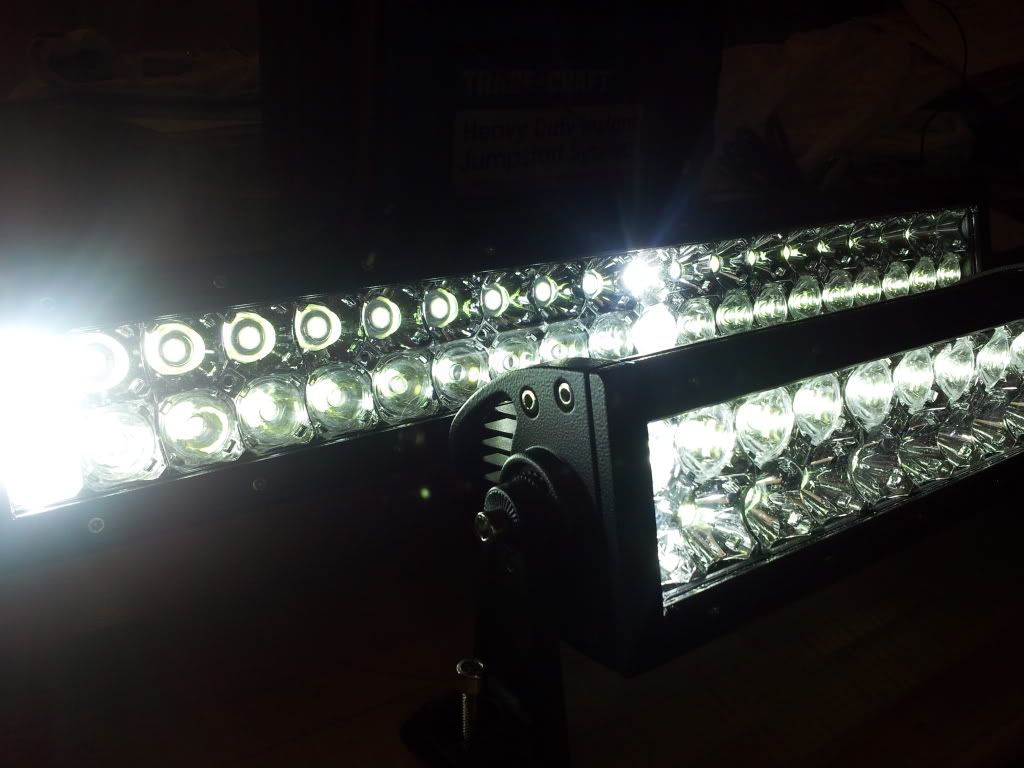
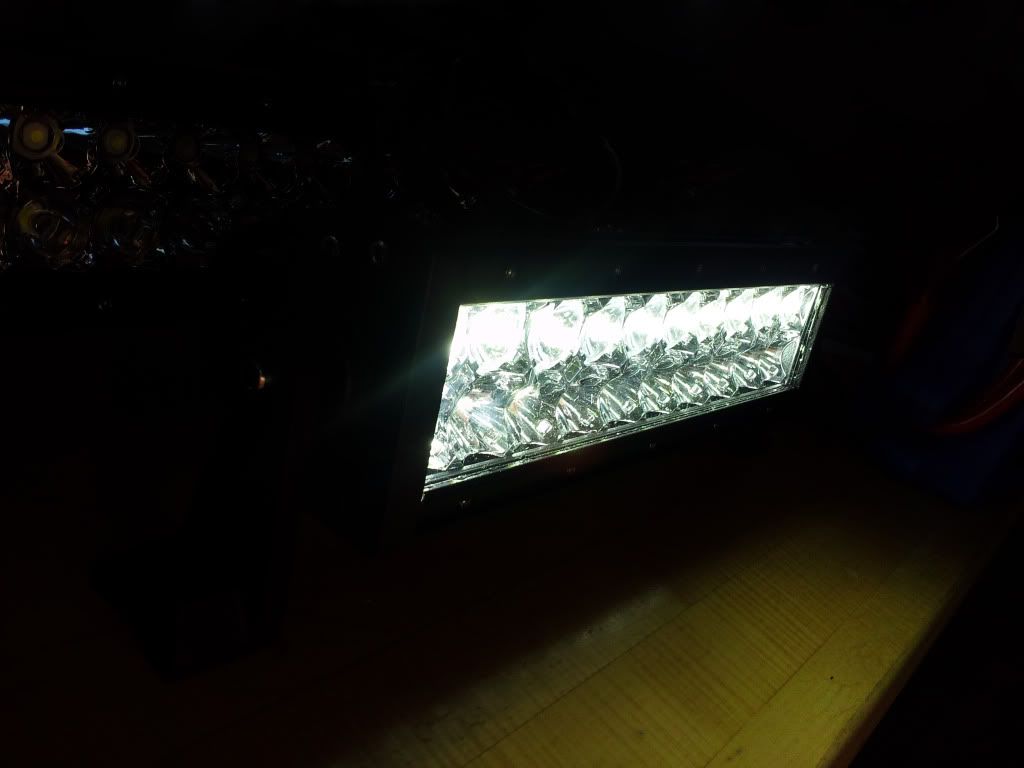
Got the jump box to play a little nicer with the 11" bar.. I'M BLINDED BY THE LIGHT!!!!!!!!! BLINDED!!!!!!!!!!! :kick:
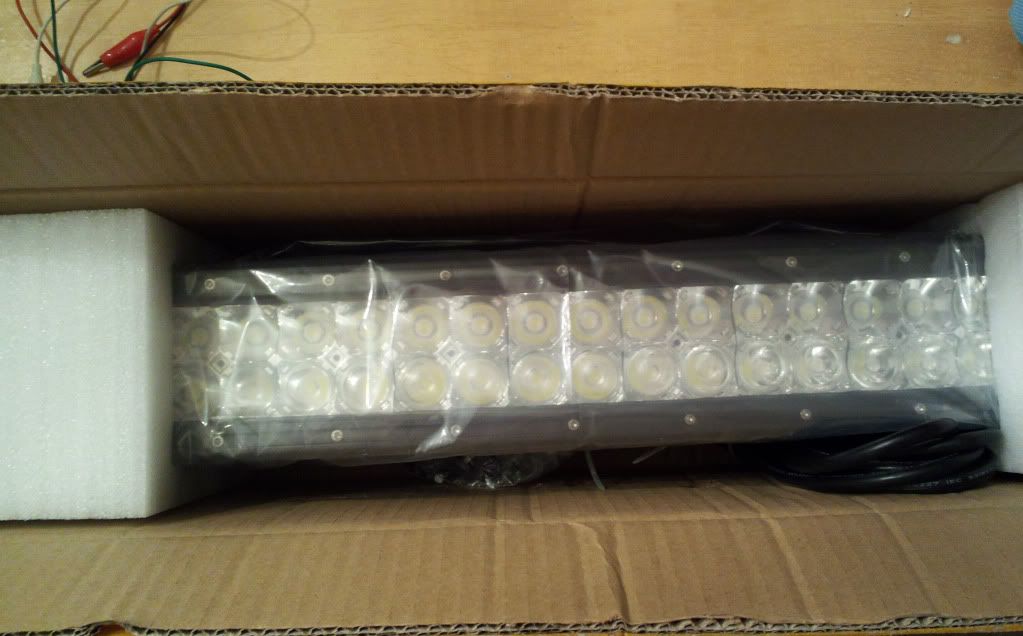
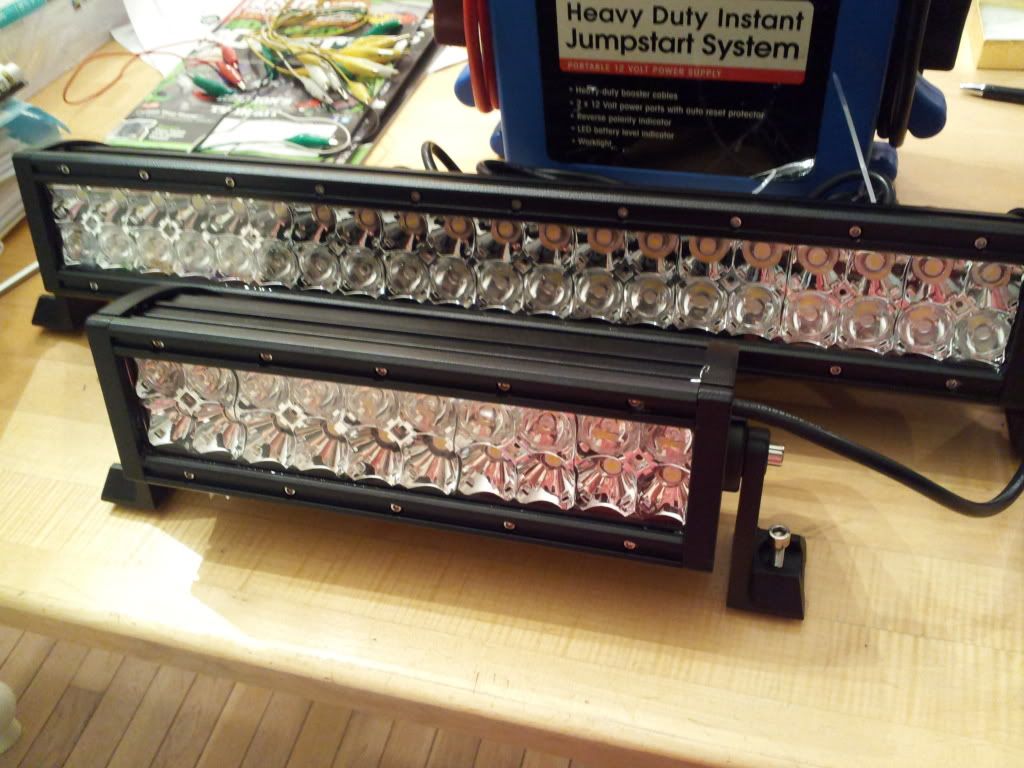
They're brighter than I thought they'd be... ops: The 11" has 20x 3watt LEDs and the 20" has 40x 3watt LEDS. 
*edit* Just priced out a 10" and 20" led light bar on Rigid Industries... $1100 O__O I got the steal of the century!!!
 |
Quote:
Originally Posted by bpas328xi
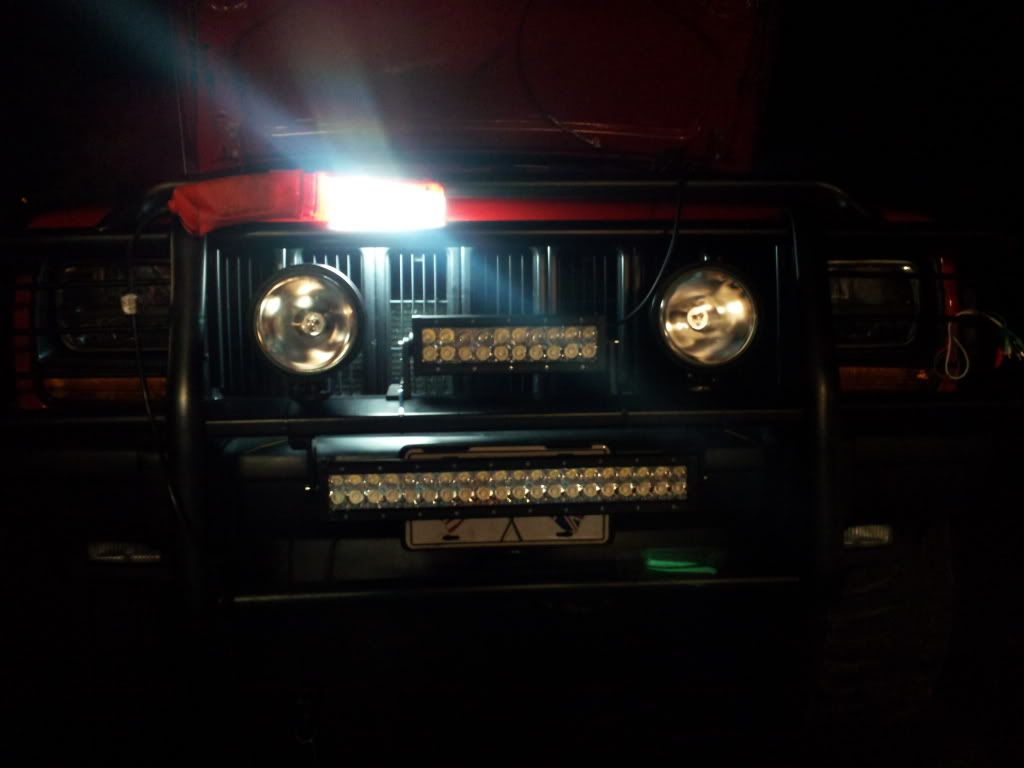
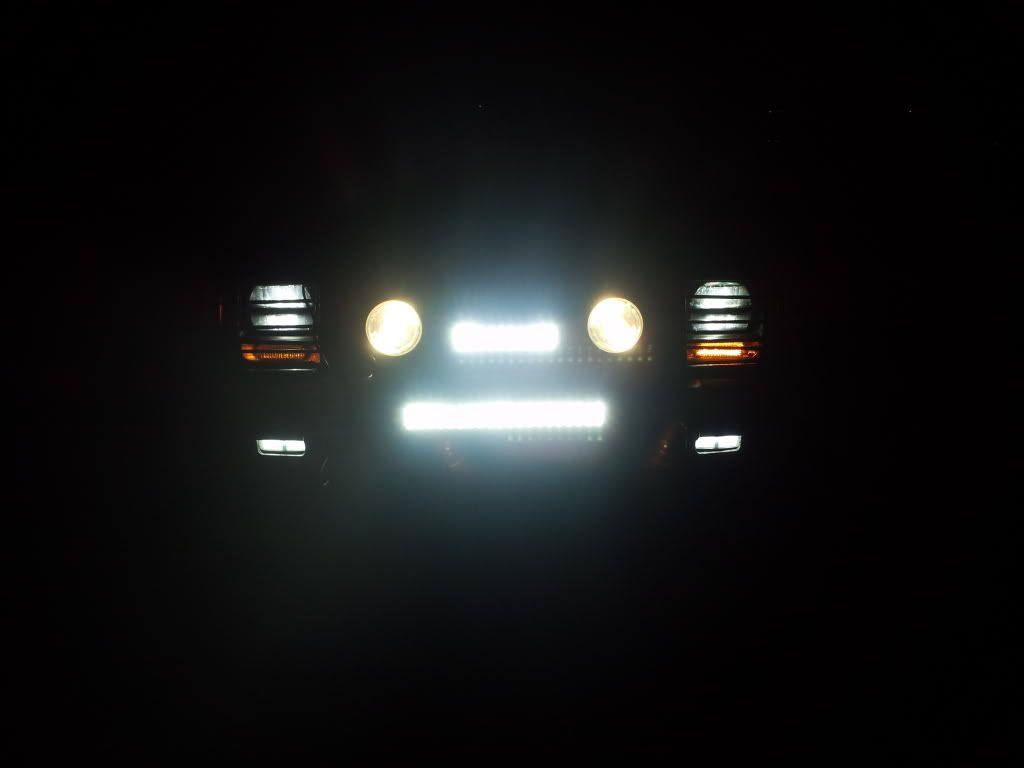
Couldn't resist the urge to ziptie the light bars onto my Jeep.. :whistling2:
The bottom one will sit a little higher than it does in these pics.
Now I really want to make a set of LED bulbs to put in the HF lights and fog lights... Must.Resist.Urge... I think I'll wait till I find a deal on a set of Lightforces since the reflectors in the HF lights are :sick:
 |
Quote:
Originally Posted by bpas328xi
|
Quote:
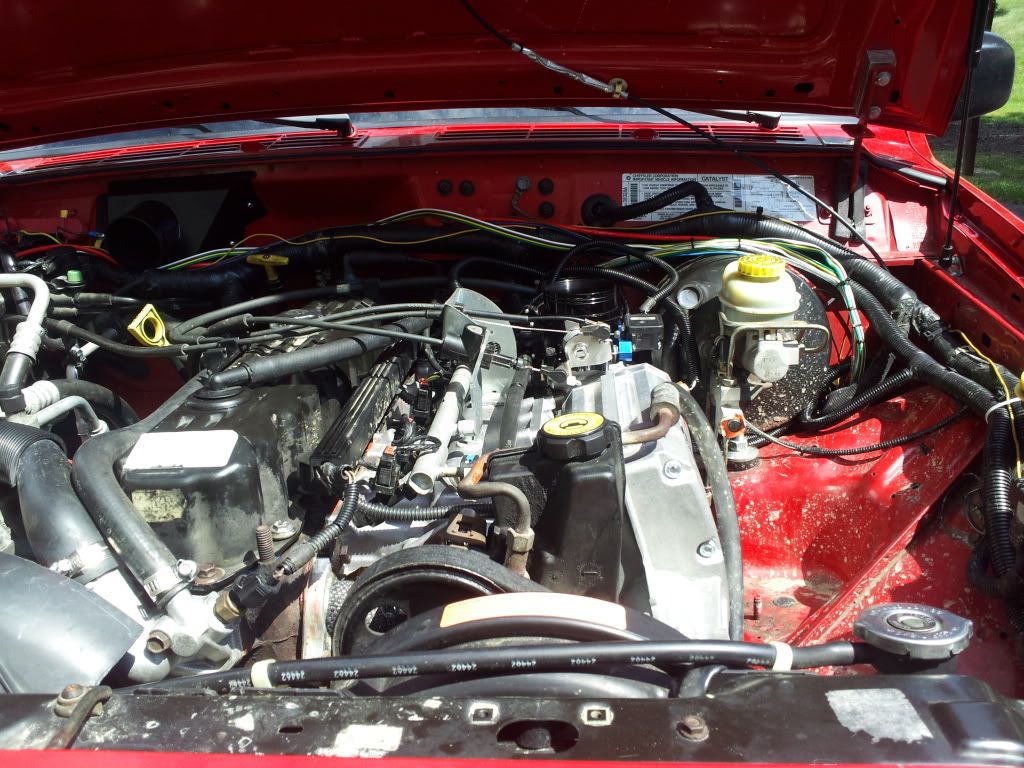
Originally Posted by bpas328xi
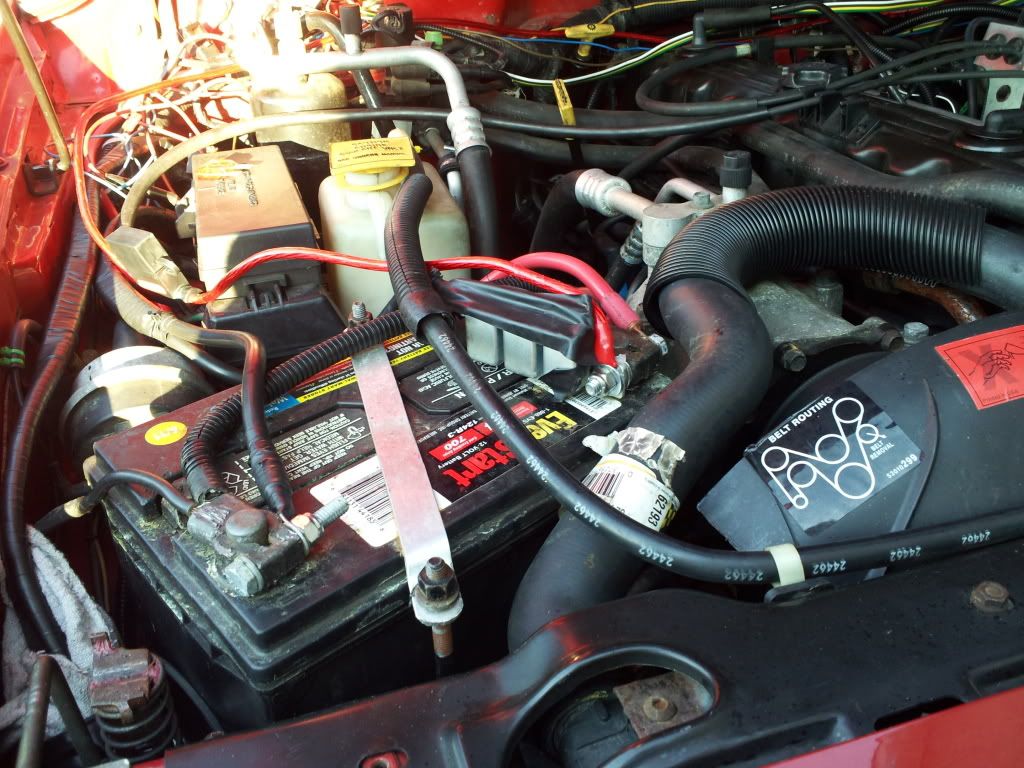
Quote:
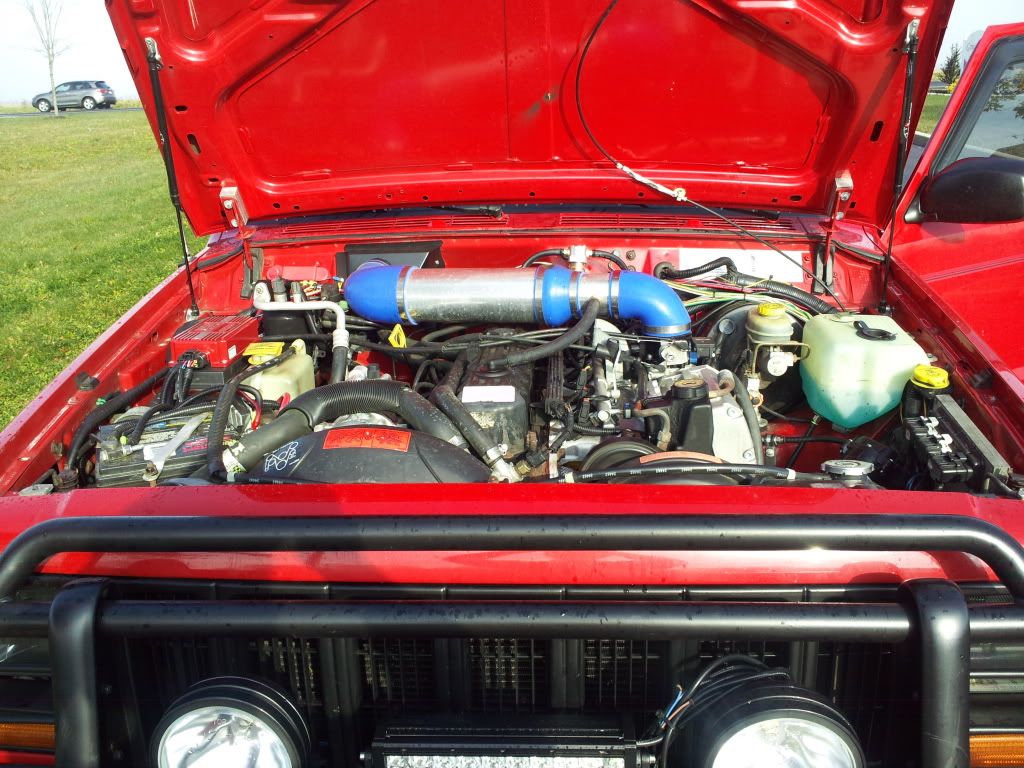
Originally Posted by Prototype4342
Can we get a full-width pic of your engine bay?
|
I still have to clean up some wiring... But that can wait till winter break or something. :cursing: :laughing:

Quote:
Originally Posted by Luke95
You are a bad bad man.
I bought a supercharger because of you. :notworthy:
|
Haha. Good luck on your build!!!
Quote:
Originally Posted by C H E R O K E E 98XJ
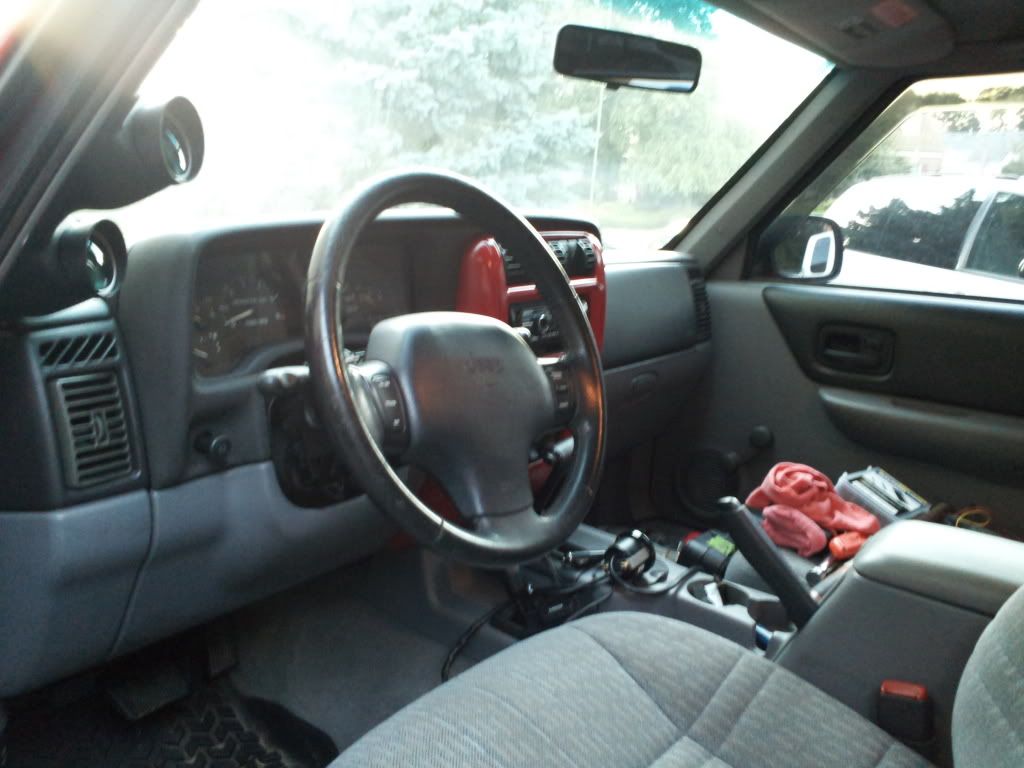
What kind of guages (brand?) are those you have beside your dash cluster!? Im looking to do the same set up!
Also where did you find the holders for them!? They blend right into the trim!
|
The shrouds came with the Prosport gauges.
Linkys: boost temperature
The gauge pod is a autometer pod. |
|