Installation Guide – NBT Navigation Unit
**WARNING**
Disclaimer:
I do not guarantee expressly or implicitly, nor take on any legal responsibility and any responsibility about the correctness, the exhaustiveness or the usefulness of any information of this installation guide, as well as its usage. Proceed at your own risk, always consult with a qualified automotive electrician.

Tools Required:
- Trim Removal Tool
- Plyers
- Torx Screw Drivers
- Phillips & Flat head screw drivers

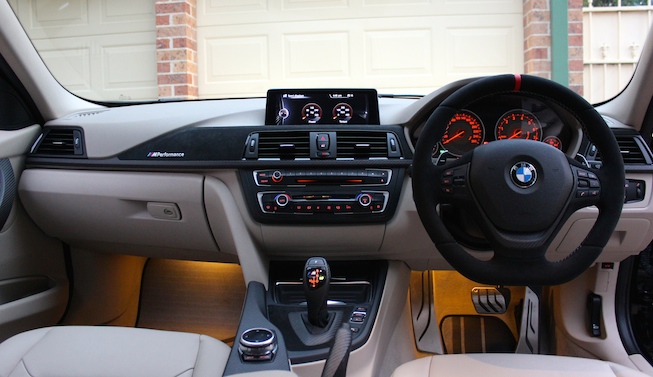
1. Remove the center trim piece.

2. Unscrew the 6.5' LCD Display with a phillips screw driver and fixate the 8.8' LCD display. Remove the aircon control panel with a torx screw driver.

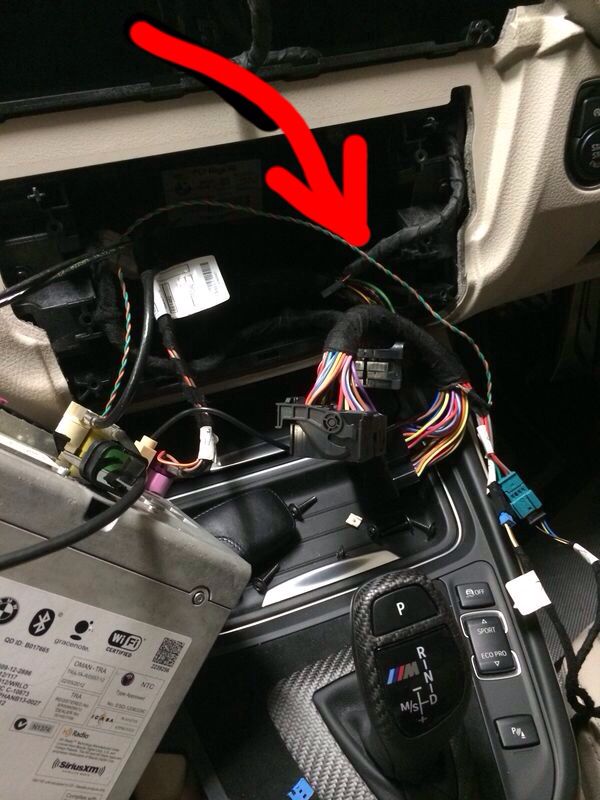
3. Unscrew the surrounding torx screws around the CIC head unit and extract from the console.

4. Disconnect all the wiring and connection from CIC Head Unit.

5. Once the head unit is removed, feed the magenta LCD cable through the air vents to the bottom of the console.
6. Remove iDrive Trim and connect the touch input module.

7. Disconnect CIC iDrive Controller cable.
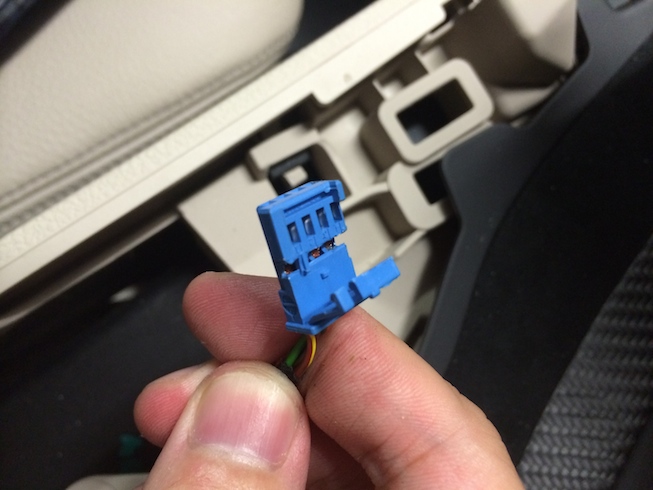
8. Unlock CIC iDrive cable housing.

9. Eject two pins from housing.

10. Wrap the pins with electrical tape.
11. Feed cable through inner console.

12. Feed cable through this point in the console.

13. Wrap the NBT iDrive Pins in Electrical cable and feed it to the trim sidewall of the drivers seat.

14. Once the cable is fed through, tuck the remaining cables into the side wall.
15. Connect the cable to iDrive Controller housing and wrap the other in electrical tape.

16. Replace CIC Controller with a NBT touch controller by unscrewing the rear torx screws. Connect turquoise cable to newly modified iDrive cable.

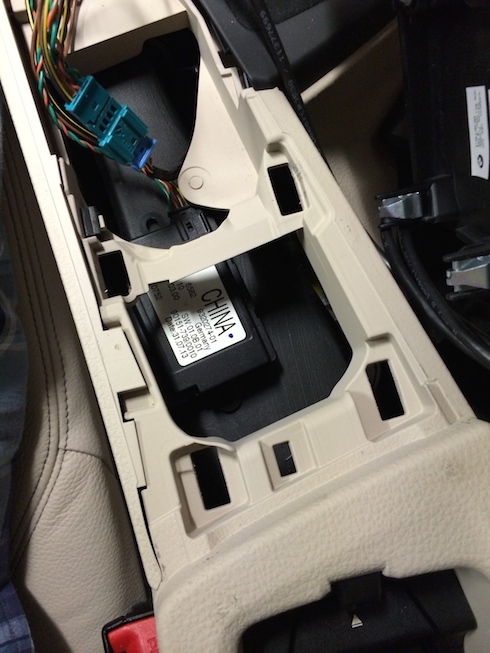
17. Open the center console, remove the USB Trim by wedging a trim removal tool between the gaps.

18. Pull firmly to remove the trim and disconnect the cable.

19. Follow the same process and feed the khaki cable through the driver side trim and into the center console.
20. Connect the khaki cable to USB Connection trim and the other end of the modified iDrive cable.

21. Cable tie the old cable & slot back into place.

22. Feed the bluetooth handsfree cable towards the other end of the dash.


23. Remove the plastic cap on the side of the dash and feed bluetooth cable through.

24. Remove door seals.
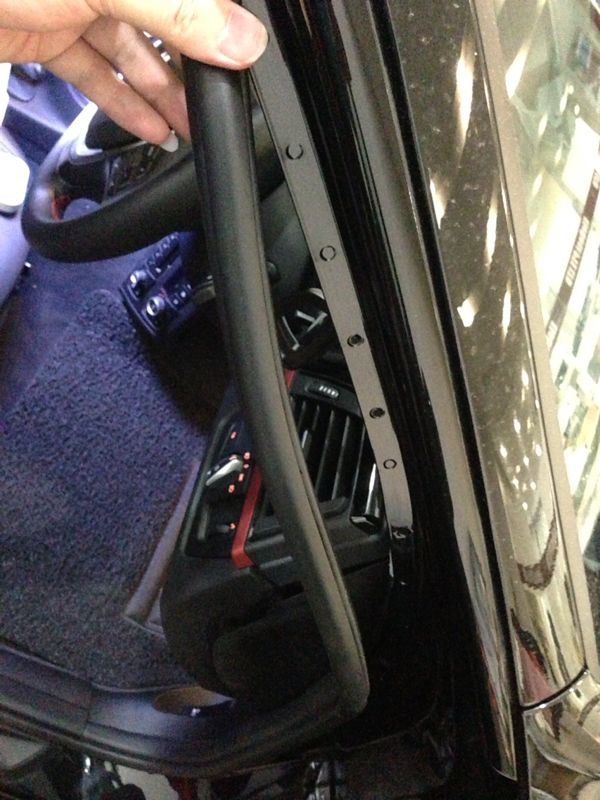
25. Feed bluetooth microphone cable between side trim.

26. Now feed cable upwards to the headliner between the airbag.


27. Remove Bluetooth microphone cover from headliner.
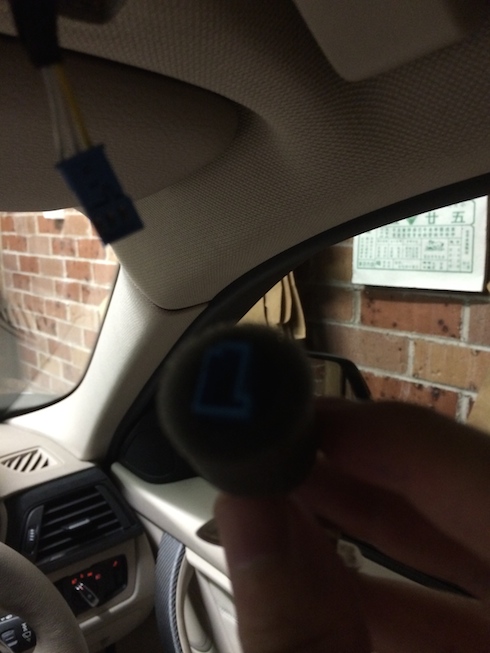
28. Disconnect microphone from existing cable and plugin new microphone cable.
29. Connect all the cables according to their colour on their NBT head unit.

30.
**WARNING**
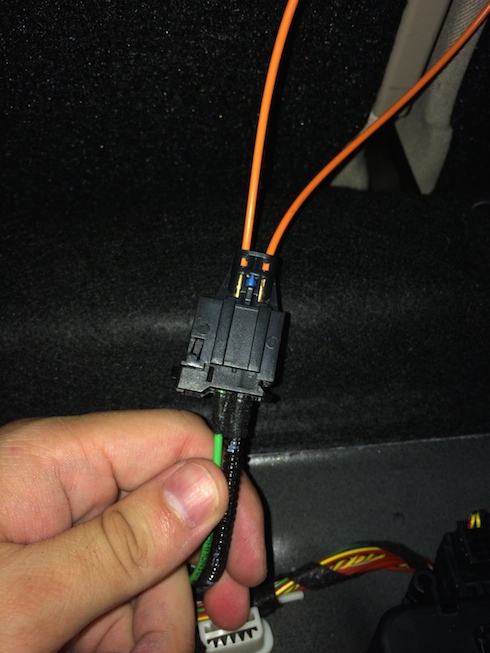
This may or may not be applicable to you. Proceed at your own risk ! Since I didn’t have Harman Kardon Audio. I had to splice the cable to enable audio with a pair of plyers.


31. We will perform a wire jump. Cut a bit of the cable from Pin 13 and Pin 15. Wrap the unsheathed copper wires around each other forming a bond., make sure it’s firmly wrapped to avoid short circuiting. Mine isn’t done very well, So I recommend if you know a auto electrician have them assist you.

32. Now wrap the cable in heat shrink or electrical tape, which ever you prefer.

33. Connect the extended harness to the original one in the car, Female to Male.

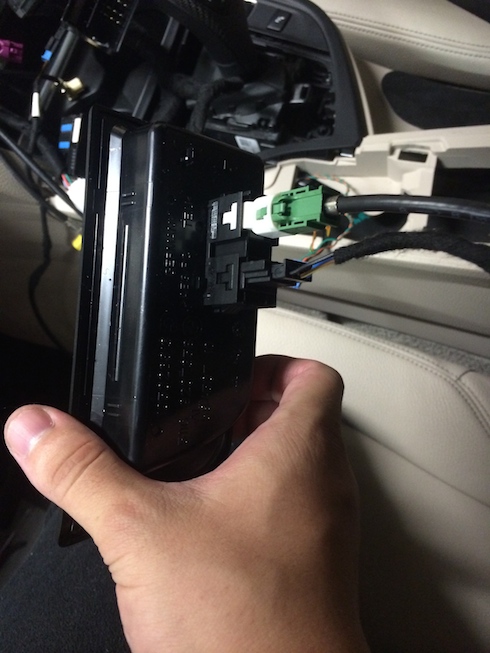
34. Once all the cables have been inserted, insert the NBT Head Unit back into position.

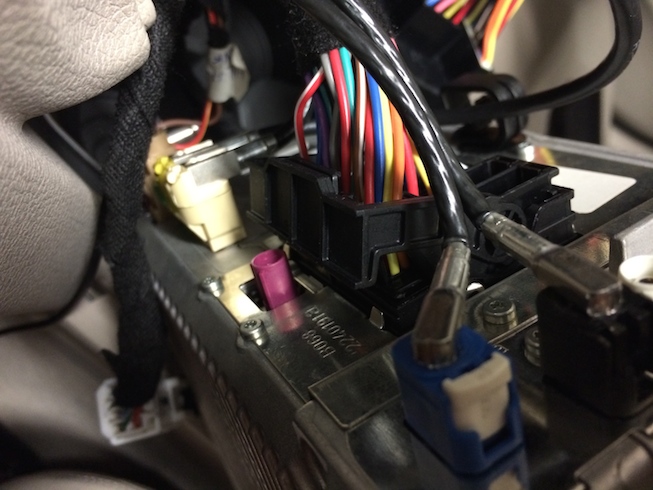
35. In the boot of the car lift the cargo liner out of the way and it should reveal the CANBUS. Disconnect all the cables from CANBUS.

36. Once all the cables have been disconnected, Connect orange loop cable to existing cable

37. Turn on the ignition to test the NBT iDrive before attaching all the screws and trim.

38. Now connect your OBDII Cable to the OBDII port on the vehicle. Code the new NBT values with E-sys & PSdZData. Consult a coder or a friend for assistance to update the new values.


39. Installation is complete. Now sit back and admire your hard work.