BMW 3-Series and 4-Series Forum (F30 / F32) | F30POST
>
My F30 Sub Build (Lots of pictures)
| 05-18-2016, 09:16 PM | #1 |
|
Second Lieutenant
 94
Rep 262
Posts
Drives: 2013 BMW 335i M-Sport
Join Date: Jul 2014
Location: Cleveland, OH
|
My F30 Sub Build (Lots of pictures)
Sooo I've had this itch for some time to add a trunk sub to my F30. I leased my first F30 328 XI and was very reluctant to make any kind of audio modifications. Now that I've purchased my second F30 335i I knew it was finally time to pull the trigger.
Now my 328xi had me thinking about going down the path of the JL XD800/8 to upgrade the HIFI system that my car had. But then I purchased the 335i which was equipped with the HK system! While the HK is a big upgrade over the HIFI system it still lacks a little bump in the trunk. I want to upgrade the entire system in stages starting with the subs. I also want to make all upgrades look factory or be hidden. So with that in mind I decided the way to go was to start the audio upgrades with adding power to the HK subs and adding a 10" sub in the trunk. First the car:   So after a ton of research, Technic's harness, MusicarNW, and great build posts from Technic and G8RM3, I dove in. I picked up Technic's harness and LC2i, JL 10 W3V3, JL XD 500/3 V2, Castle Connector (sub quick disconnect), JL 4 AWG power and ground wire, industrial velcro, inline fuse connector for LC2i, 16 AWG wire for the LC2i's power ground and remote signal, and some miscellaneous cable management parts. 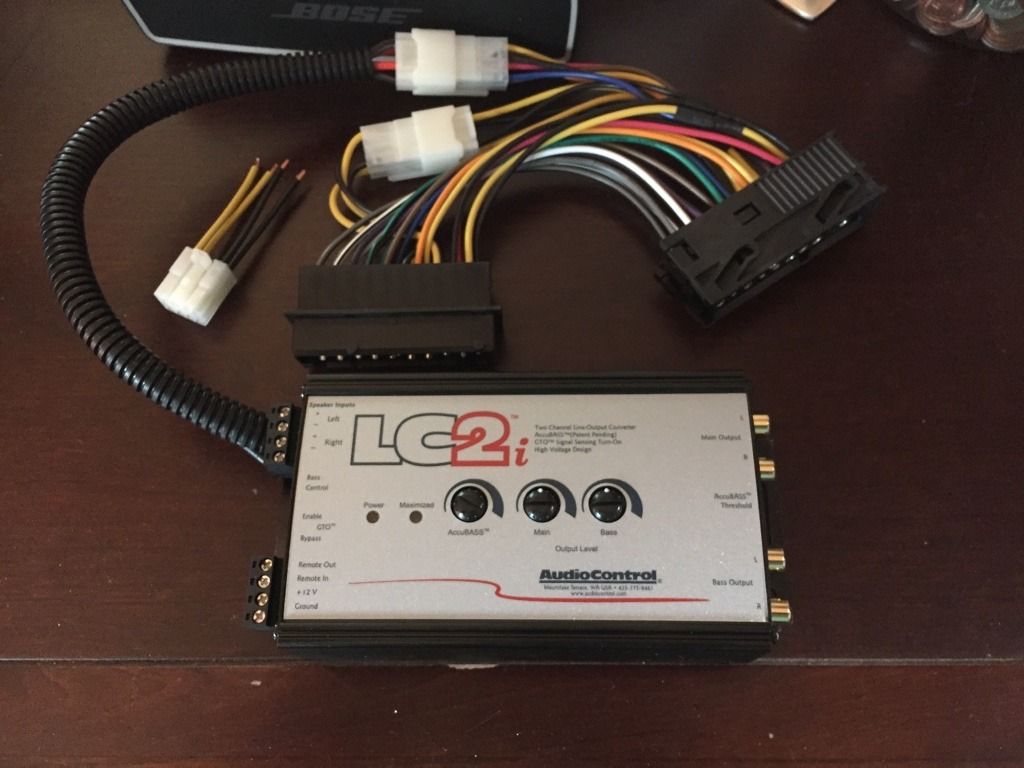 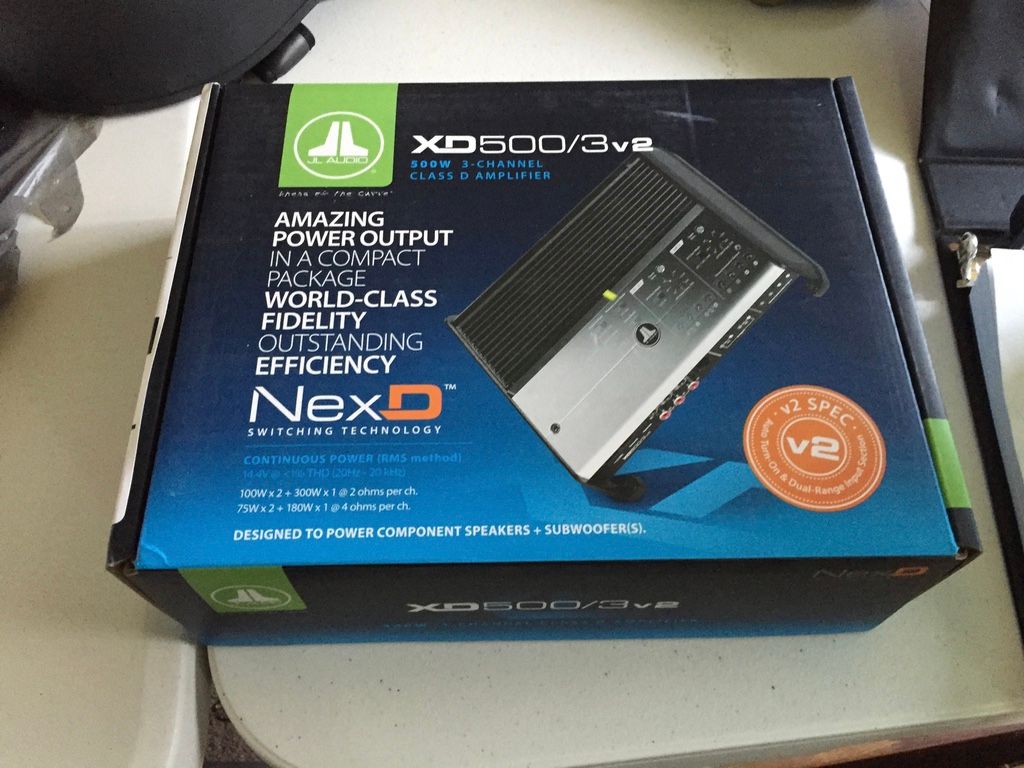 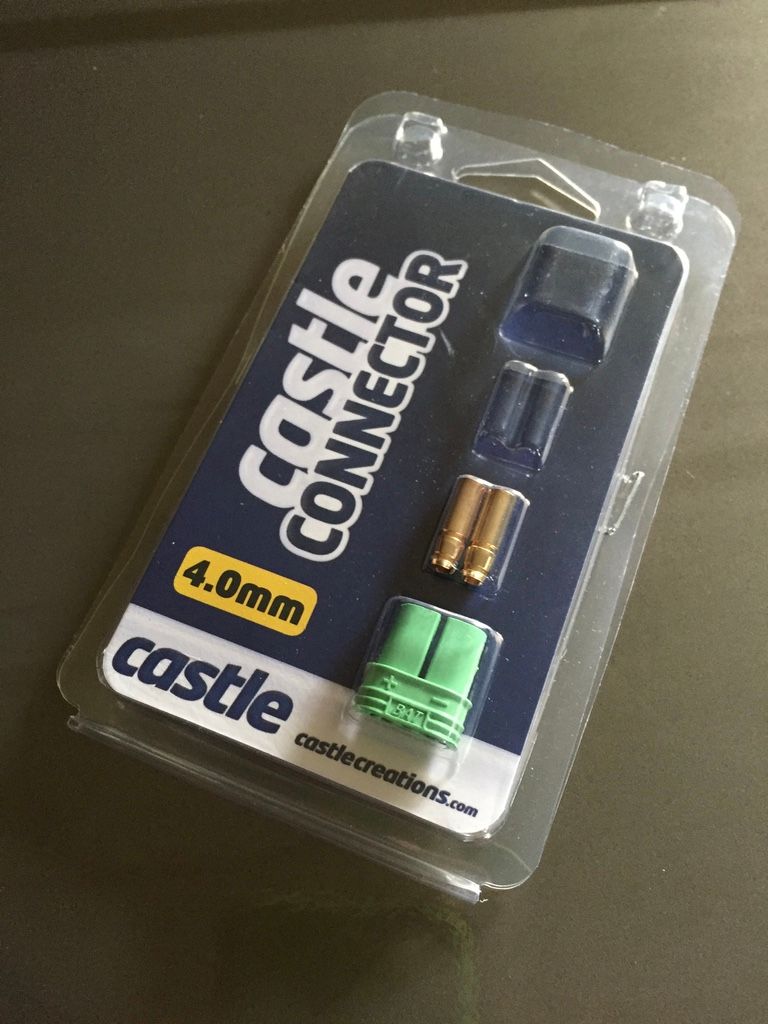 First the teardown: 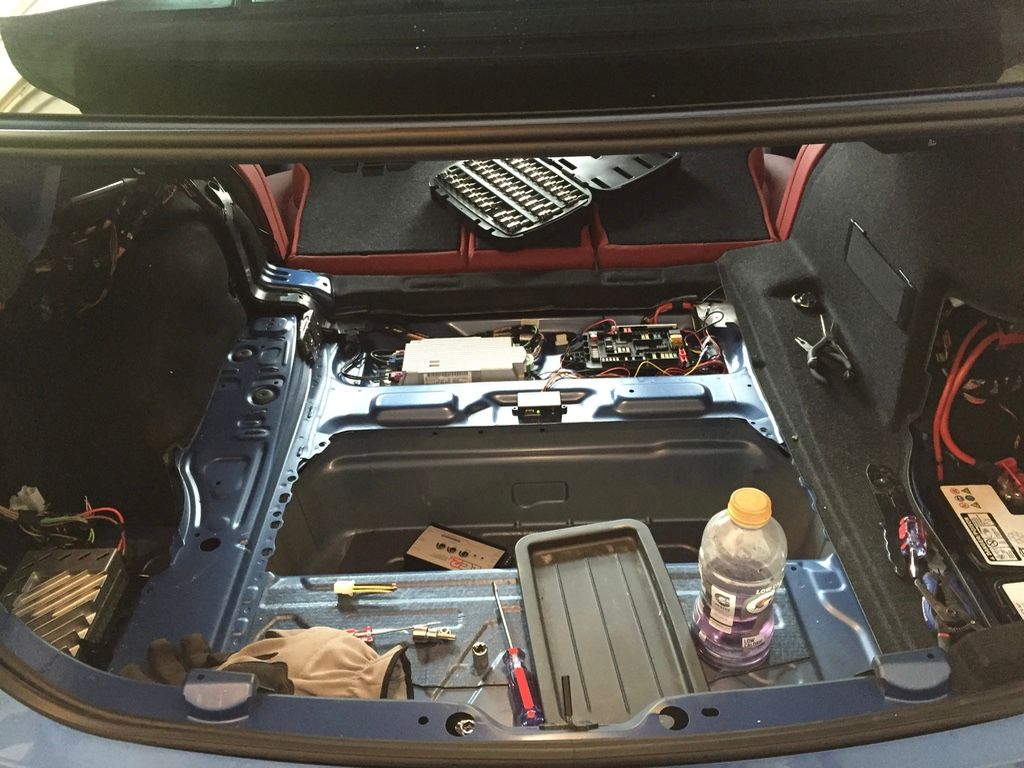 So to get all of the panels out was pretty simple. All you need is a flat head screwdriver or panel removal tool to remove the plastic rivets. A torx bit will be required to remove the cargo tie downs by the seats. When removing the panel with the 12v accessory outlet be sure to unplug the power cable from the outlet. Keep in mind that this outlet power cable is were 12 remote turn on signal can be tapped. 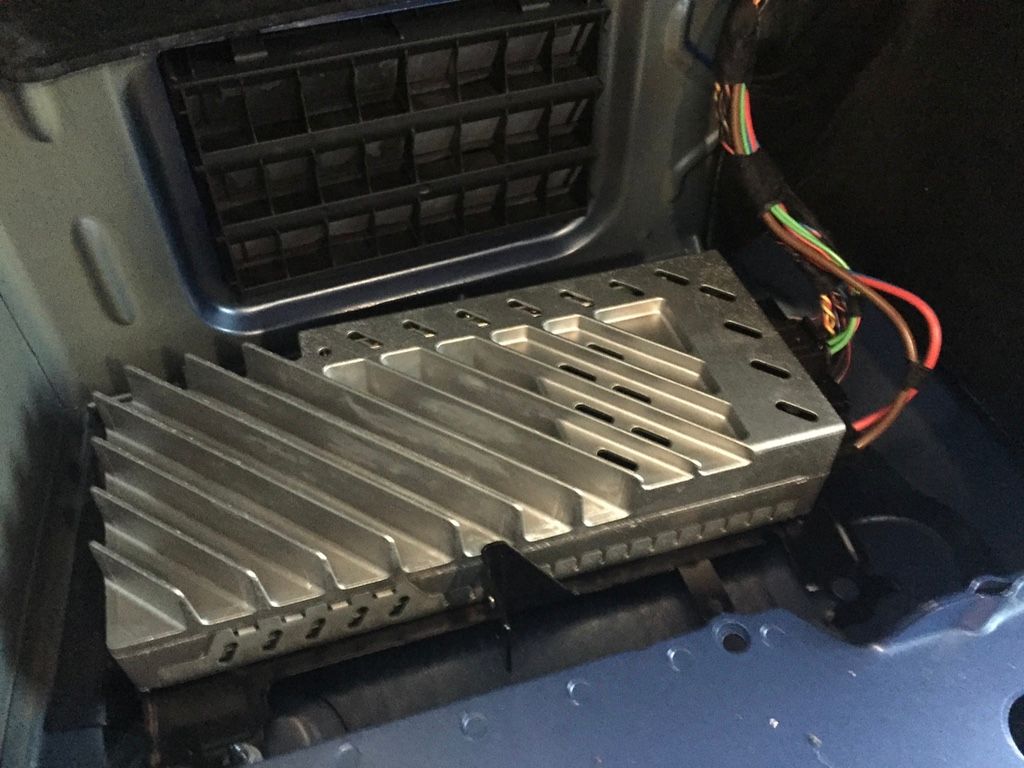 I chose to mount the LC2i in between the factor HK amp and wheel well. In this location you have easy access to the factory amp harness, 12v remote signal, and so I could completely hide the unit. Now for the JL XD500/3. I decided to place the amp in the cargo compartment below the trunk floor. The cool thing about the XD500 is it takes up less than half of this space so I have very little storage loss. Only one problem, theres no direct path to get the power and ground over to the battery. So what I decided to do was drill through the bulkhead for a direct hidden route over to the power and ground access. Then I made a small platform to mount the amp on and mounted the platform to the cars cargo tray with the industrial strength velcro that I mentioned earlier. 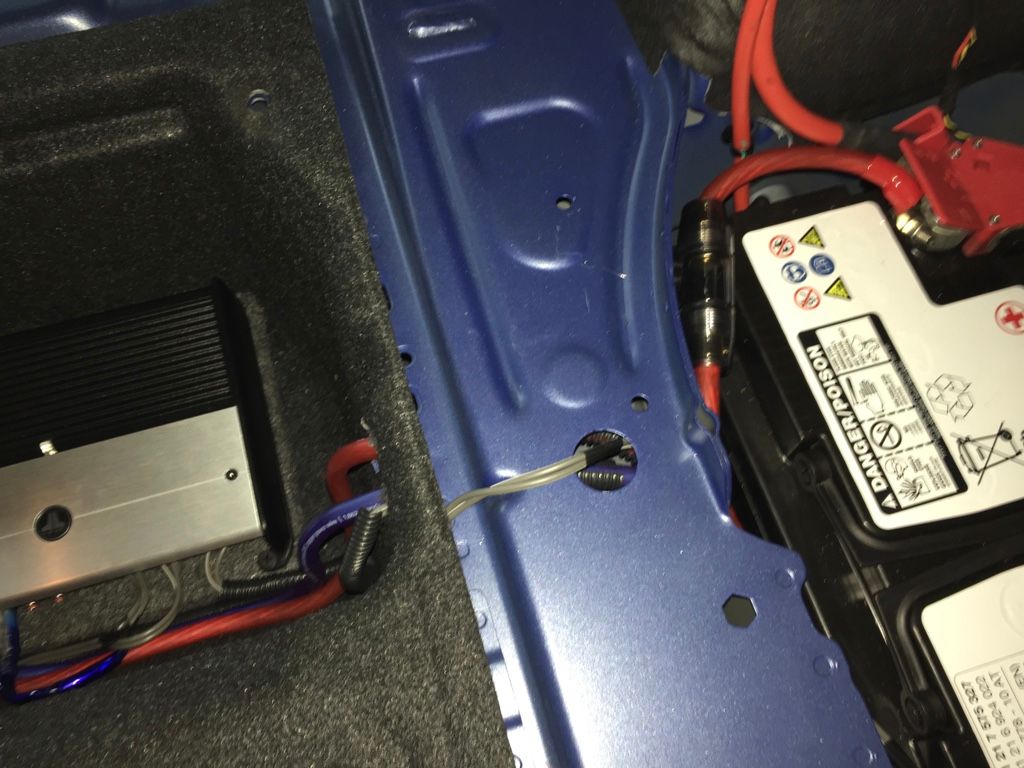 Tapping into power and ground was extremely easy. The positive battery terminal has a free post that can be used for a power connection. The mount for the battery retention bar works for a ground connection. 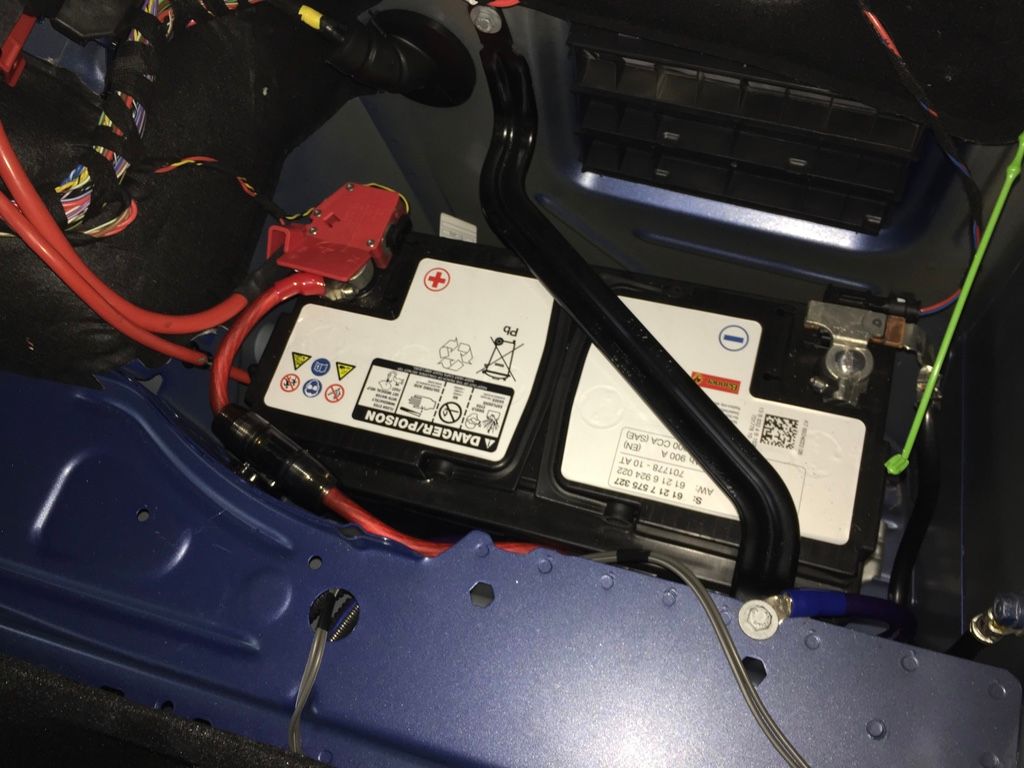 To get power and ground connections to the LC2i I simply tapped directly at the XD500/3. Now to get the power, ground, and signal connections from the AMP to the LC2i it was time to drill again. 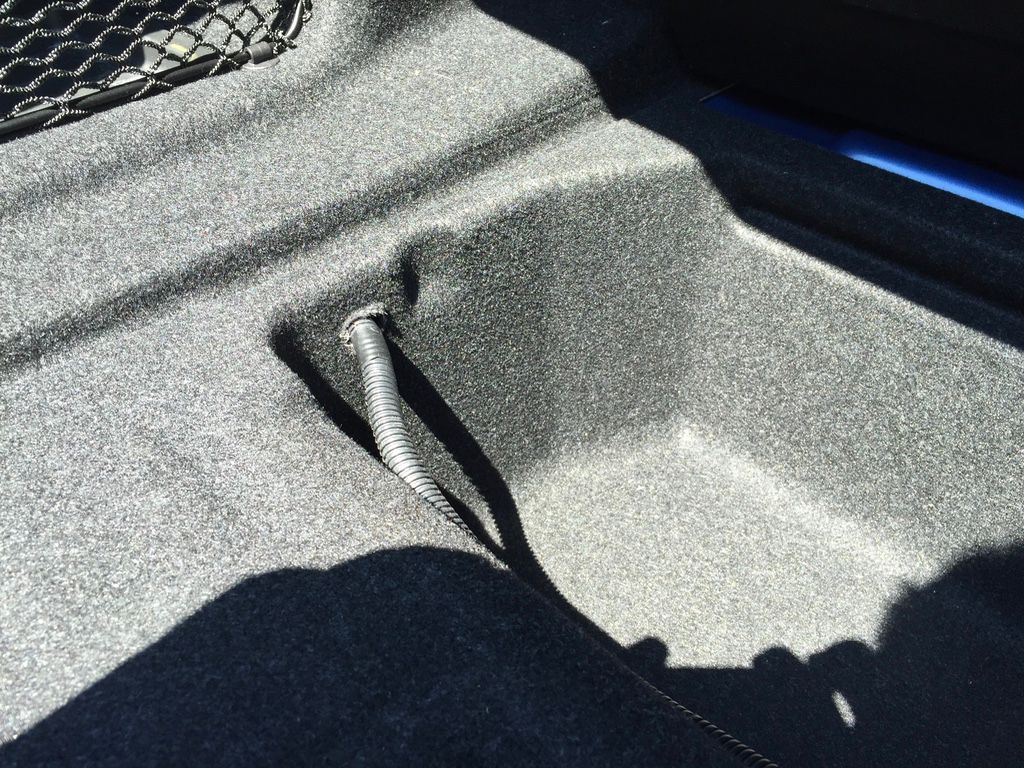 As mentioned earlier the 12v outlet above the factory amp is an excellent remote signal source. All I did was use a simple signal tap to 18 awg wire and ran it to the LC2i. Mounting the LC2i was also easy using more velcro on the wheel well to do the job. Once I tested the XD500 and LC2i to confirm that they were functioning I replaced the body panel on the LC2i side of the car. 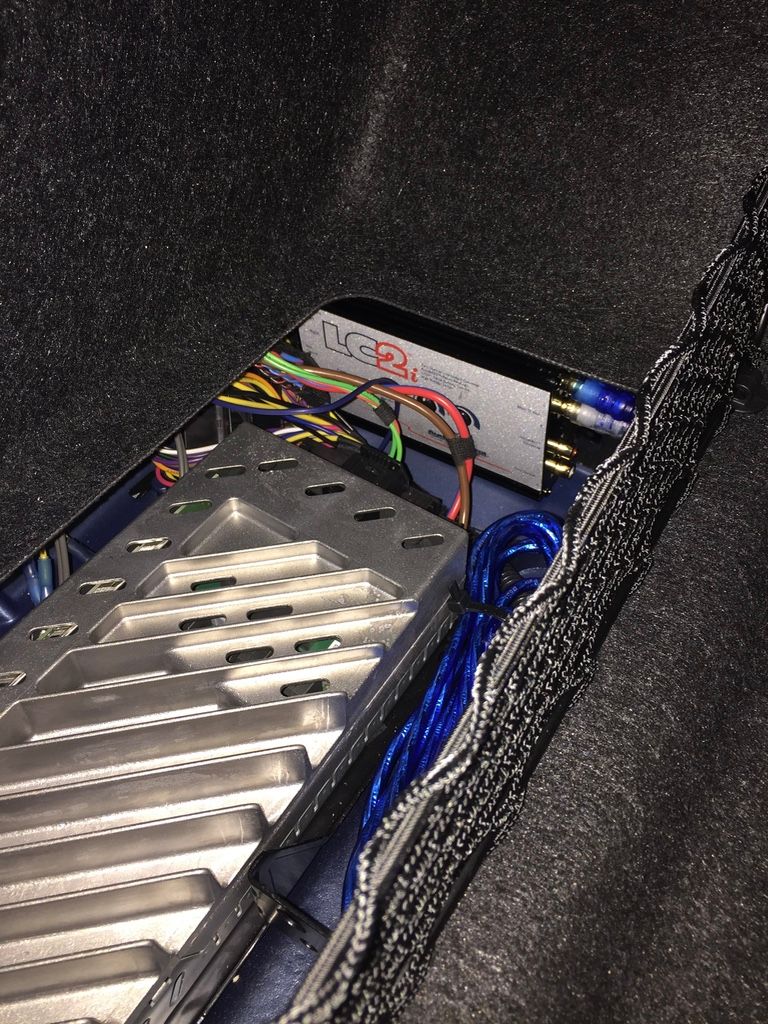 Now for the sub. MusicarNW sent me one of their beautiful fiberglass enclosures made with the JL W3 in mind. The enclosure came carpeted and prewired! 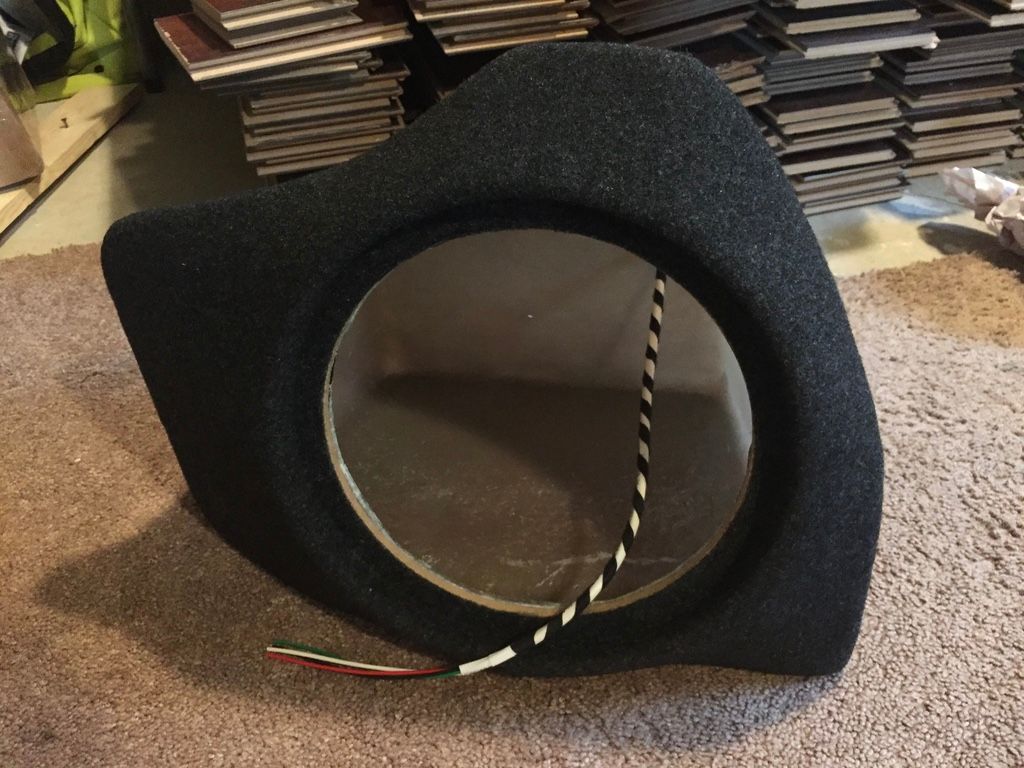 After test mounting the sub I moved on to making quick disconnects. 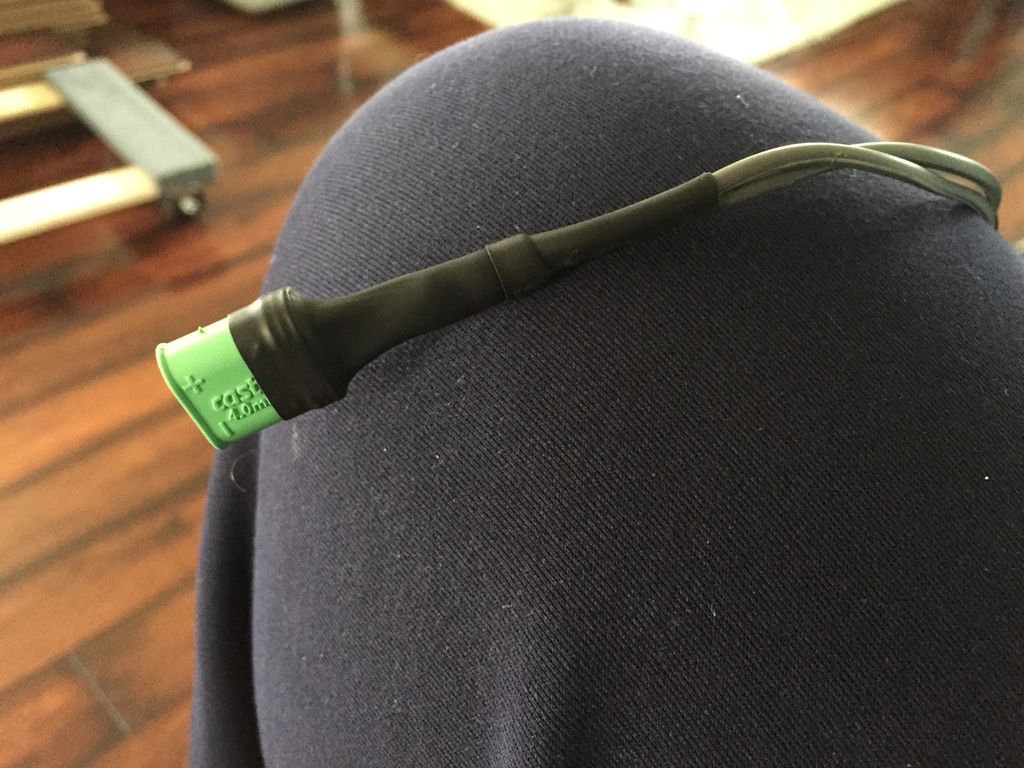 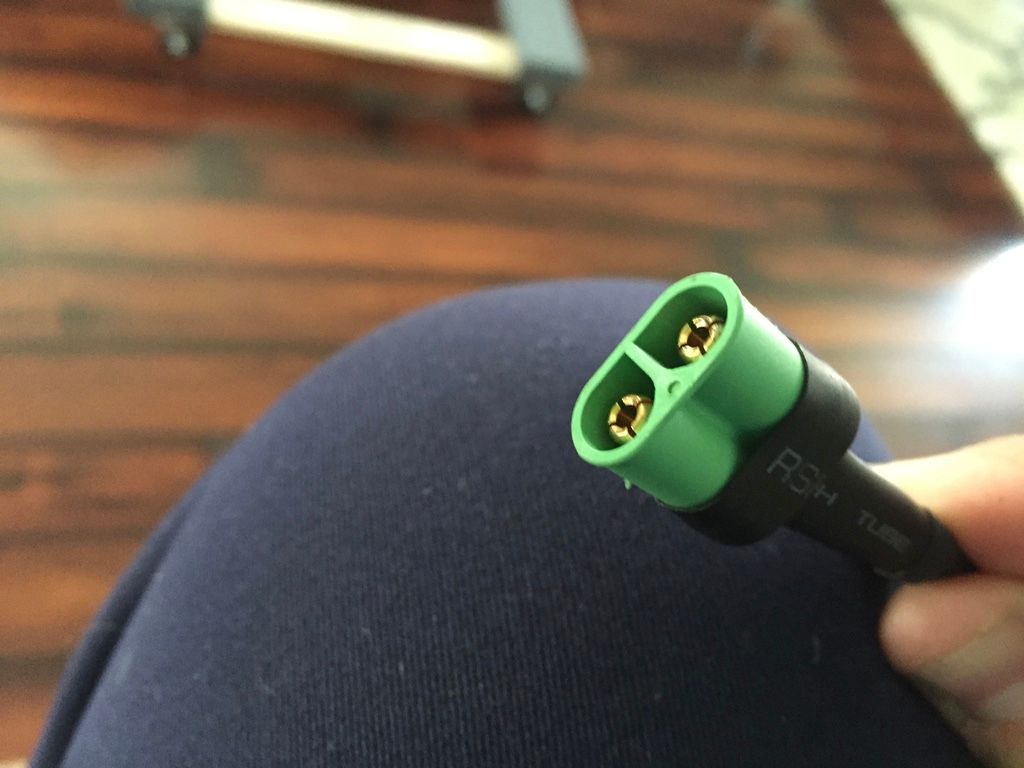 Now to put everything back together and remount the sub!  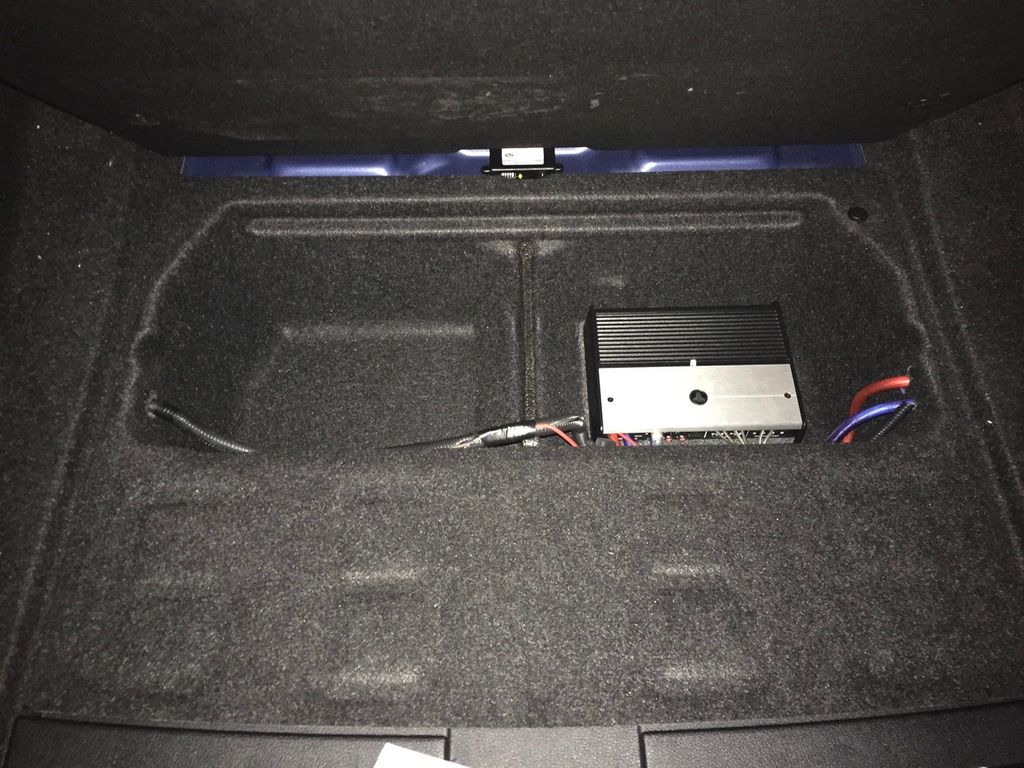 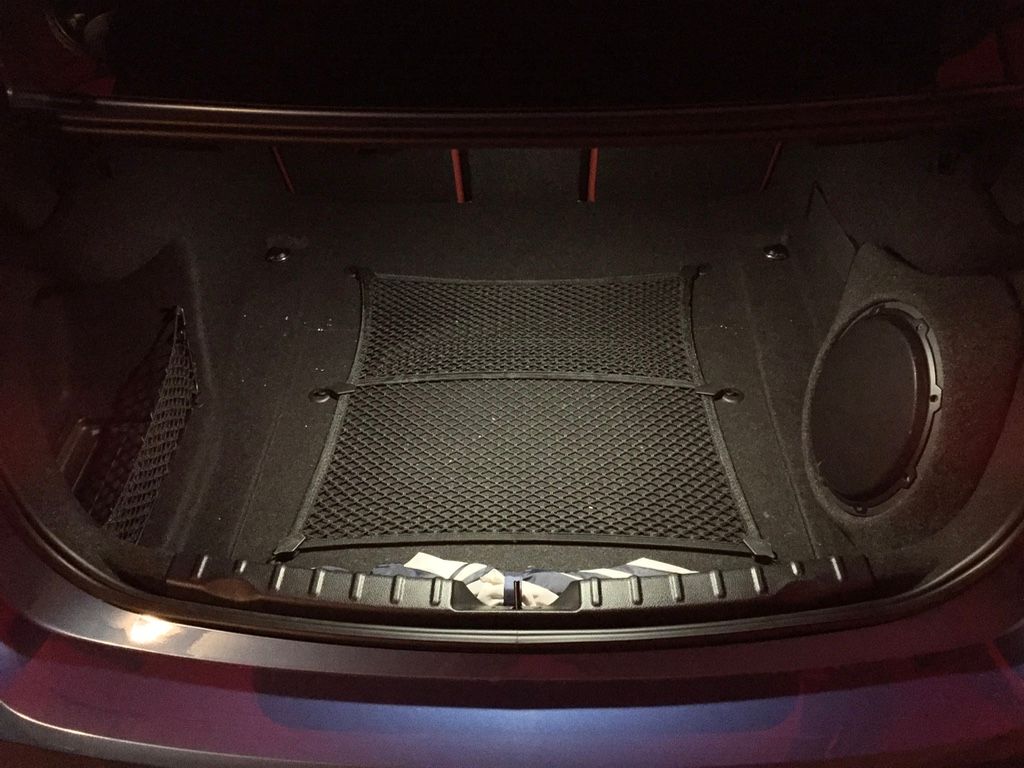 A few post installation notes. Using Technic's build guidelines the trunk sub and factory sub amp settings works extremely well! The HK's pick up and handle all of the high bass and the JL handles the low stuff. The setup sounds good all round on any type of music but it particularly slams on EDM and rap music. You will want to use sound deadening! The car is rattling like a SOB at the moment. So now I have to dissemble the entire setup to install the deadening after the fact. So for those of you out there who added a sub in the trunk what did you do to stop the rattling? Was it just sound deadening and if so where was it installed? I know the car with a completely stock system rattles and sounds like general crap from the outside with the music cranked. My goal is to be rid of the rattles all together. Any recommendations? |
| 05-19-2016, 09:00 AM | #2 | |
|
Private
 15
Rep 74
Posts |
Quote:
 I always say "Damn I shoulda taken pictures as I went!" on this sort of project. On the rattles question, I'm curious too as I'm thinking of going a very similar sub / amp / enclosure on my 2015 F30 (when I can afford it ... LOL! Just got a Bimmer-Tech PP82DSP, wife is shell shocked.). I think you might get more bites on the question if you put it out as a separate thread ... just sayin'  Once again, nice work, and really nice you shared it! PuterPro |
|
|
Appreciate
0
|
| 05-19-2016, 02:16 PM | #3 |
|
Private First Class
 64
Rep 155
Posts |
What's really impressive is you were able to get technic to sell you a harness. My audio plans never got off the ground due to how difficult it was to get him to sell me a harness.
|
|
Appreciate
0
|
| 05-19-2016, 10:55 PM | #4 | |
|
Second Lieutenant
 94
Rep 262
Posts
Drives: 2013 BMW 335i M-Sport
Join Date: Jul 2014
Location: Cleveland, OH
|
Quote:
I hear you! From what I understand Technic sells the harnesses as more of a hobby. To that point I had to be pretty persistent via multiple forums due to the volume of people contacting him and the part time nature of his viewing of the forums. Remember Technic is only one person. Just my $0.02. |
|
|
Appreciate
0
|
| 05-20-2016, 06:09 AM | #5 |
|
Brigadier General
 5931
Rep 3,288
Posts |
I had a gas door rattle with my MusicarNW sub on my 328. It was solved with two little nubs of rubber above and below the latch. I honestly don't know what the rubber bits were originally supposed to be but they were sticky on on side like weather seal foam.
The other big rattle I had with it turned out to be the high brake light housing. The tint guys had broken a clip in it (and it wasn't the same clip the doors used). I stuff some foam in there and it never rattled again (the clip never got replaced). |
|
Appreciate
0
|
| 05-20-2016, 11:21 AM | #6 | |
|
Private
 15
Rep 74
Posts |
Quote:
PuterPro |
|
|
Appreciate
0
|
| 05-20-2016, 11:37 AM | #7 | |
|
Private
 15
Rep 74
Posts |
Quote:
I think you could use foam rubber "feet" on the fuel door. Places like Home Depot and Bed, Bath, and Beyond sell them for sticking on the bottom of lamps and such. Some small ones on the fuel door will probably do the trick. I seem to recall seeing (E Series Forums??) some people had sub rattle actually DAMAGE the latch, might search for it. In any case, I wouldn't let it go long without handling. The rear quarter panel is a whole 'nuther thing. I'd search the Forums for rattles (they'll be a million), you can't be the first to run into this. I suspect sound deadening mats are in your near future! (It's a real PITA, too.) BTW - that little 2 conductor wire in the battery pics (coming up through the big hole in the blue frame member). While you're in there, be SURE to put a rubber grommet in that hole, or life might get very uncomfortable when it vibrates through and shorts to the frame! Until you get it in just use some black tape in several layers (not a permanent solution!)  EDIT - I admit, I'm puzzled; I don't get why that's run there. You did an ultra neat job on the rest, and there's a hole run between the two compartments. Why up and over the frame member on that one? It also is exposed to fraying where it goes through the hole, as well as over the edge ... You really did a super job on this, I was just re-admiring it! PuterPro Last edited by PuterPro; 05-23-2016 at 07:21 AM.. Reason: Added last Question |
|
|
Appreciate
0
|
| 05-24-2016, 09:39 PM | #9 | |
|
Second Lieutenant
 94
Rep 262
Posts
Drives: 2013 BMW 335i M-Sport
Join Date: Jul 2014
Location: Cleveland, OH
|
Quote:
|
|
|
Appreciate
0
|
| 05-28-2016, 05:40 PM | #10 | |
|
Private
 15
Rep 74
Posts |
Quote:
My Wife uses a formula for my projects: She takes the time i say it will take multiplies by 2 then adds 10%.  I figured you knew, but ... BTW- if you don't drill the 3rd hole you can use a piece of plastic or rubber tubing slit to allow it to fit the metal edge. To keep it from falling off you can use U-Glu (that stuff is magic!). PuterPro |
|
|
Appreciate
0
|
Post Reply |
| Bookmarks |
|
|