BMW 3-Series and 4-Series Forum (F30 / F32) | F30POST
>
Side blade pic request

| 02-25-2016, 05:07 PM | #1 |
|
Lieutenant Colonel
 1393
Rep 1,986
Posts |
Side blade pic request
Hi,
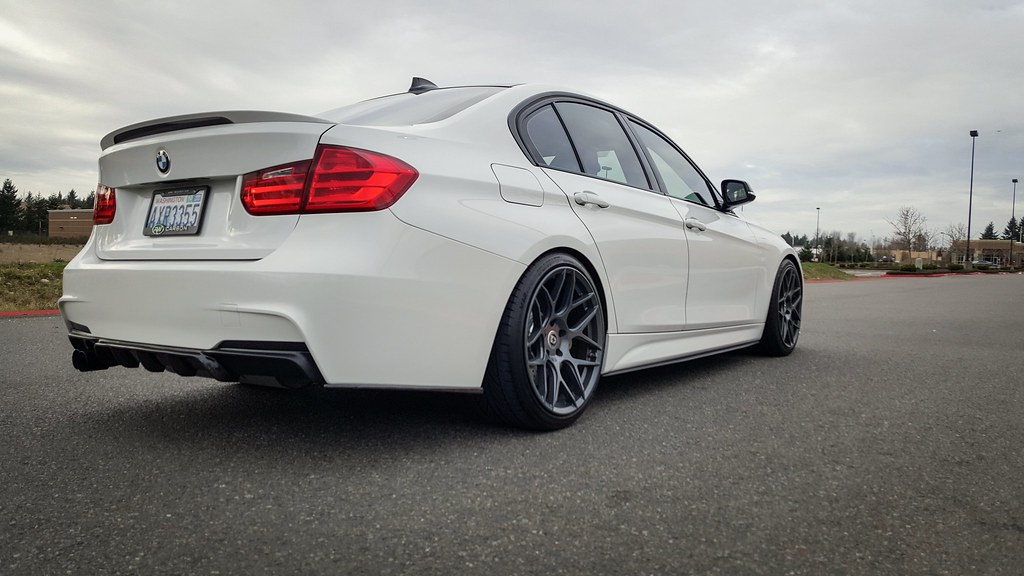
Does anyone have pics of a AW F30 with the side blades and no black m performance decal (i.e. the black vinyl)? Also, has anyone tried ordering the ebay ones? Any fitment issues and do you know if it screws in or is it just double sided tape? I'm afraid it'll fall off with just tape after some time. Thanks |
| 02-26-2016, 08:34 PM | #3 |
|
Lieutenant Colonel
1393
Rep 1,986
Posts |
Thanks for the info.
Does anyone have the ebay ones? It looks like those are just held on by double sided tape. Can anyone comment on the fitment? Thx |
|
Appreciate
0
|
| 03-01-2016, 07:43 PM | #4 | |
|
Pace Car Driver
1548
Rep 3,164
Posts |
Quote:
|
|
|
Appreciate
0
|
| 03-06-2016, 09:33 PM | #5 | |
|
Lieutenant Colonel
1393
Rep 1,986
Posts |
Quote:
http://www.ebay.com/itm/221693165978 Anyone here who bought a replica install it without screws? I don't feel comfortable driving around with it just hanging on with double sided tape especially since it will continuously get soaked in the rain. I'm not sure if I should just use whatever screws I have lying around at home to install them. Any advice? Has anyone bought the screws / rivets from BMW for the install? |
|
|
Appreciate
0
|
| 03-07-2016, 12:12 AM | #6 | |
|
1/2 Asian Sensation

217
Rep 397
Posts
Drives: 2011 BMW M3 e92 ZCP
Join Date: Dec 2014
Location: Raleigh, North Carolina
|
Quote:
__________________
All too easy...
|
|
|
Appreciate
0
|
| 03-07-2016, 08:57 AM | #7 |
|
Private First Class
 
58
Rep 151
Posts |
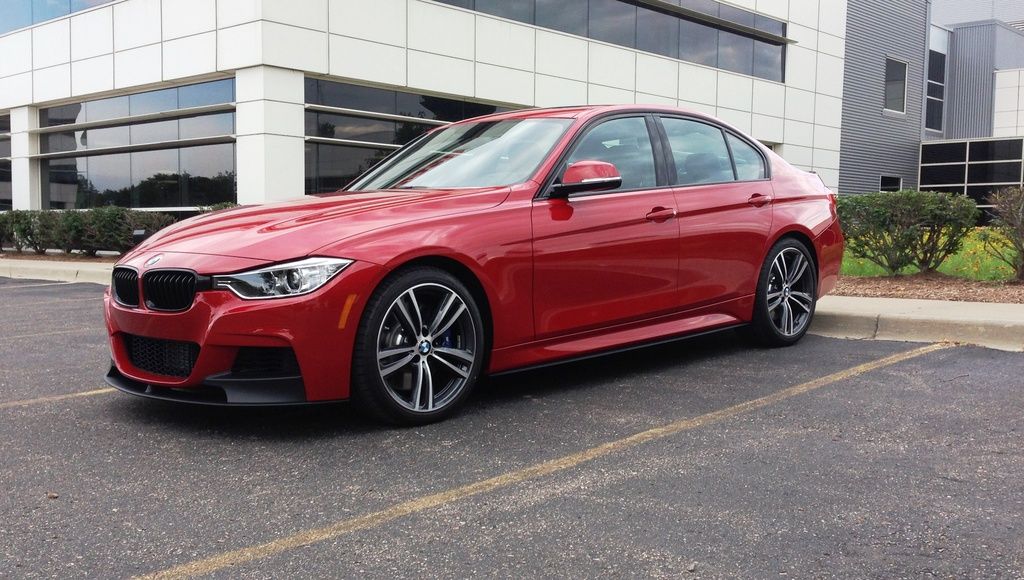
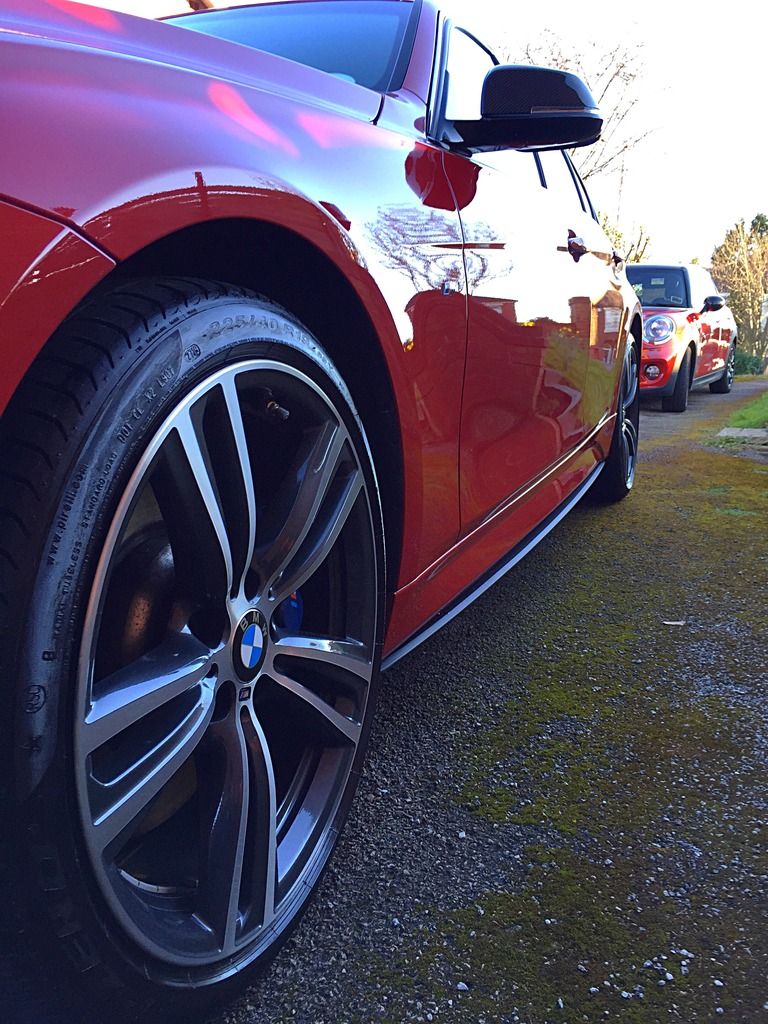
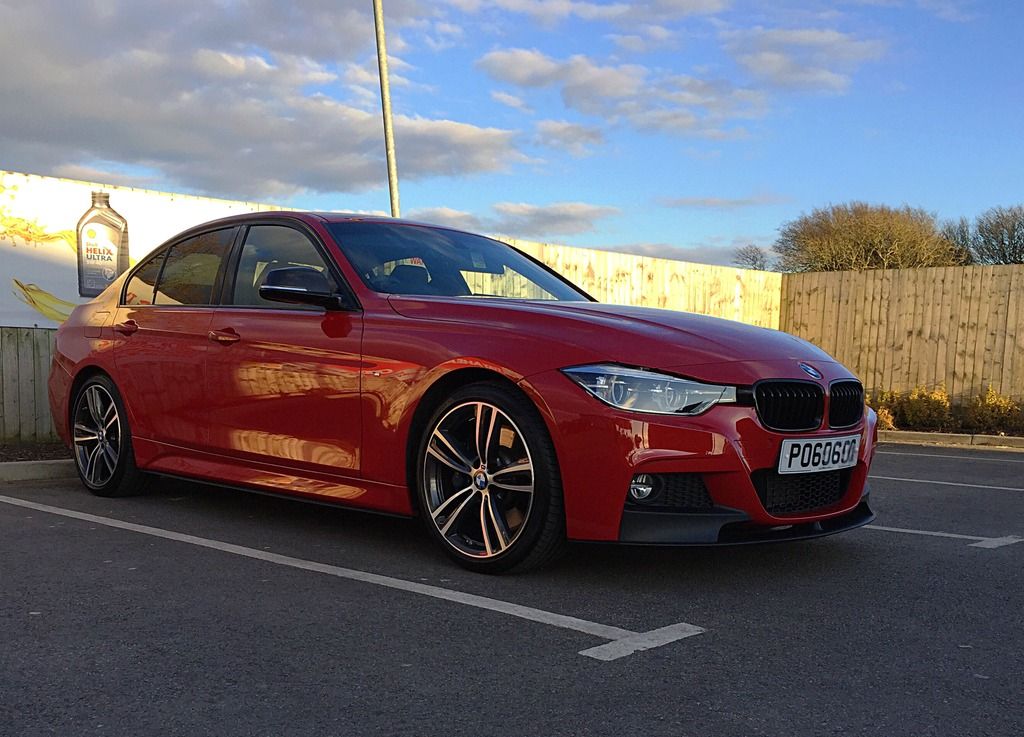
I've got pics of OEM side blades on without the Black vinyl but on Melbourne Red not white.... but I have seen a white one without the vinyl somewhere on here.
  |
|
Appreciate
0
|
| 03-08-2016, 12:12 AM | #10 |
|
Private First Class
58
Rep 151
Posts |
It's fairly easy. I'd advise getting the jacking point adaptor if you don't have it already. You then pre-drill a load of 6mm and 3mm holes in the blade. I then lined it up on the car, a little hook located at the rear of the blade, and I then masking taped it to my car along the length of the sill. When you get towards the front if you push the blade outboard it rests against a lip (along which the 3mm holes were drilled.
It's then just a case of transfer drilling the 6mm holes through the sideskirt and using supplied plastic blind rivets (you'll need a plastic rivet gun). Then screwing supplied torx head screws through the 3mm holes. It's also held on with foam tape which sticks. I pulled it off as I riveted it from underneath. Took me an hr per side taking my time and having to jack the car off the floor to get my drill in. Hope this helps |
|
Appreciate
0
|
| 03-08-2016, 07:44 AM | #11 |
|
Private
 10
Rep 81
Posts |
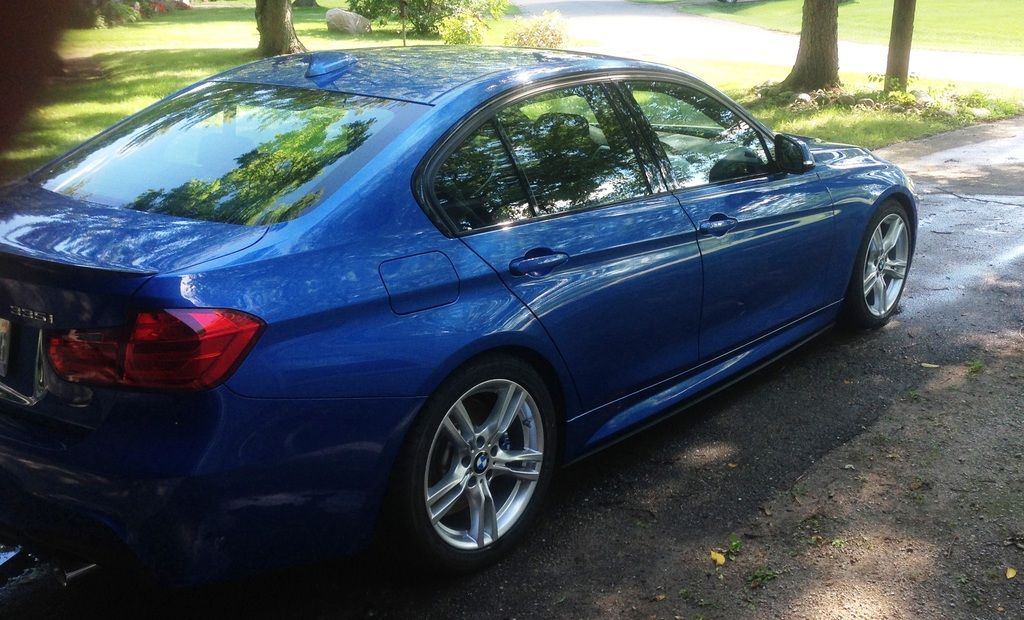
I got mine on eBay and had the dealer install it. It came with tape, but no screws. They had to drill holes themselves which is why I brought it to them. Estoril blue not white, but hope it gives you an idea. Fitment is great and they look awesome.
|
|
Appreciate
0
|
| 03-08-2016, 08:49 AM | #12 | |
|
Private First Class
38
Rep 101
Posts |
Quote:
|
|
|
Appreciate
0
|
| 03-08-2016, 09:44 AM | #13 |
|
Captain
 
353
Rep 939
Posts |
Pretty easy install. I used rhino ramps and a angle drill to drill the required holes. Bought the plastic rivit gun on Amazon. 11 screws and 17 plastic nylon rivets per side.
|
|
Appreciate
0
|
| 03-12-2016, 05:05 PM | #14 |
|
Lieutenant Colonel
1393
Rep 1,986
Posts |
Thanks for all your input guys.
I bought the side blades from eBay and installed them myself. I did the following: 1) as suggested above, I removed the rocker panel completely. There are 11 hex head plastic screws on the bottom of the rocker panel that need to be removed. I just laid down to unscrew them (didn't jack the car up or drive up any ramps). Once unscrewed, pull the rocker panel starting from the back (you don't need to have the doors open or anything like that. They just snap right out. Put something on the floor to prevent it from falling once you've taken it out and scratching the paint. 2) Clean the rocker panel to get rid of any dirt and then use rubbing alcohol to prep the bottom. 3) Rather than using the provided rivets, I just used #10 3/4" screws with a round phillips head (easier since you don't have to buy a rivet gun). I laid the rocker panel down on a table and drilled the screws in (there are 19 or so to drill in the middle, and another 11 or so on the side. 4) Once done, wax the rocker panel and put it back the same way you took it off (starting from the front snapping it in all the way to the back, then put screw the plastic screws in on the bottom. Voila Hope this helps and thanks again for all the input. |
|
Appreciate
0
|
| 03-16-2016, 12:33 PM | #15 | |
|
Lieutenant Colonel
304
Rep 1,739
Posts |
Quote:
I know on the blade/extension there is like a little tab/hook on one end that shows how it aligns with the skirt. If you install with the skirt off, does the tab still rest against something? |
|
|
Appreciate
0
|
| 03-16-2016, 06:03 PM | #16 | |
|
Lieutenant Colonel
1393
Rep 1,986
Posts |
Quote:
Last edited by White340; 03-16-2016 at 06:04 PM.. Reason: typo |
|
|
Appreciate
0
|
| 03-16-2016, 06:13 PM | #17 |
|
Second Lieutenant
150
Rep 278
Posts |
I have the ebay ones on my car held on by double sided tape and 6 screws. Most pictures I have they are difficult to see due to them blending into the shadows. Hope these help
 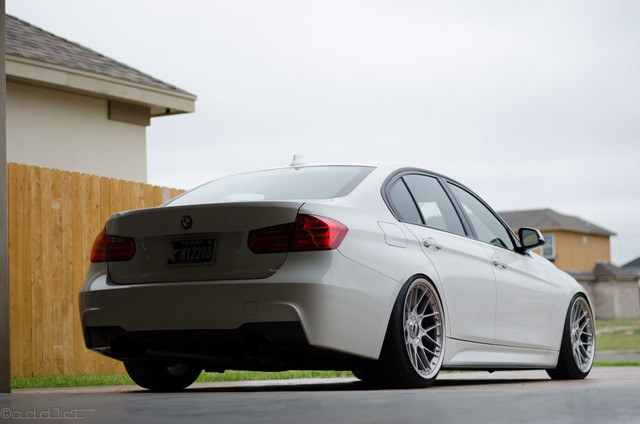 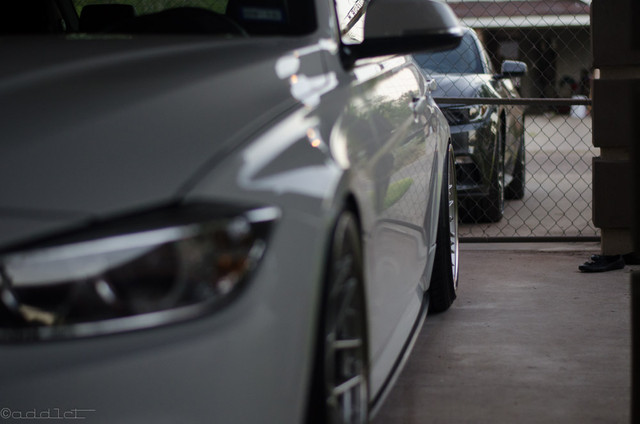
__________________
 INSTAGRAM:@add1ct 2010 E90 335I : FBO | M Sport Conversion | FK Streetline | 19" Apex Arc-8 (SOLD)2013 335i M Sport : FBO/Meth | BC Racing coilovers | 20" BBS RSII (SOLD) 2011 135i : FBO | Airlift suspension | CCW LM5 |
|
Appreciate
0
|
Post Reply |
| Bookmarks |
|
|